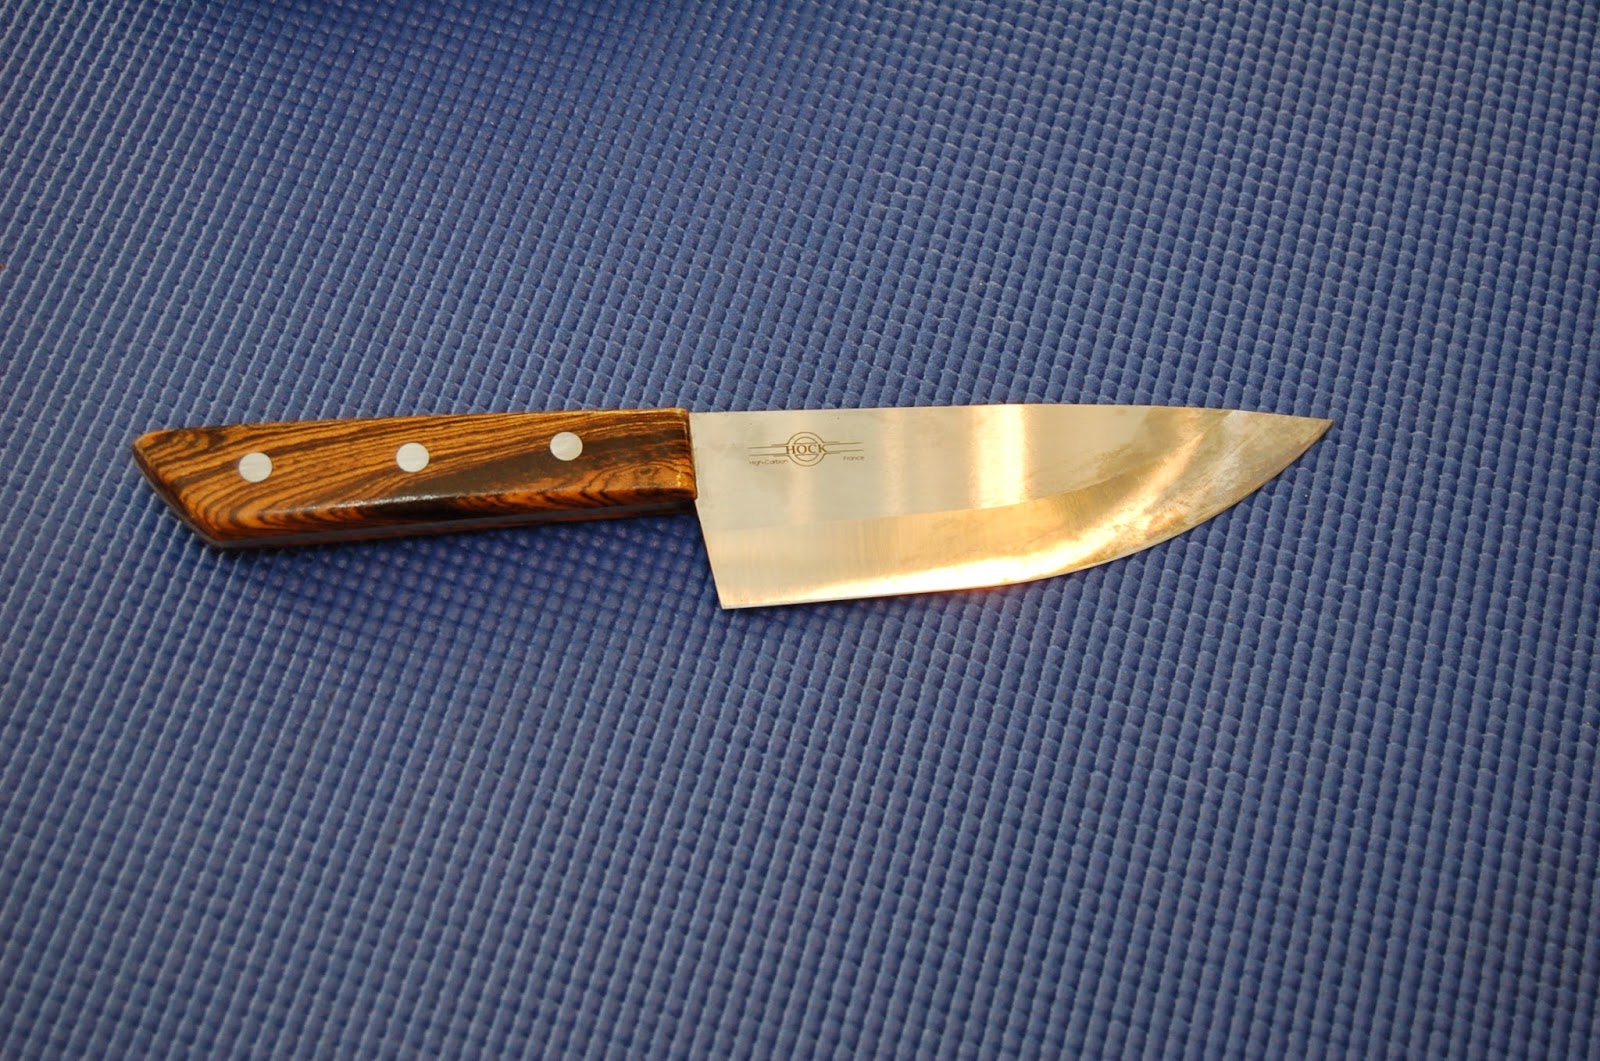
For those who want their creativity reflected in their knives (be it for the kitchen or for outdoors) there are quite a number of knife kits (blade only) in the market to suit your taste and the challenge and degree of difficulty you are willing to take on. This one here is from an unlikely knife maker. Ron Hock makes excellent hand plane blades. I've used three of his blades when I decided to make my own hand planes a few years ago. So I was ecstatic to see him diversify to knives. So far I've seen two that he's made - a paring knife and the chef's knife. I've made a few paring knives from stainless steel Damascus blades in the past. I think this one will be a good one.
The standard chef's knife is typically 9 inches long. I venture to say that more than 50% of the time one does not need all that length. This project also includes the three inch paring knife.
 |
| The blade comes with very clear instructions for making the handle, also called "scales". I chose a Bocote - a South American hardwood. |
 |
| A 5-inch cut from the piece will be sufficient. |
 |
| I ripped 1/4 inch thick pieces, only two will be needed. |
 |
| The instruction calls for taping (as in masking tape) the knife handle, tang, to the two pieces of the scales. I opted to use double sided tape instead. |
 |
| With all three pieces taped up, making sure that the grain you favor will show on the outside. It calls for three 1/4 inch holes using the hole in the tang as guide. A drill press is highly recommended. The one I have is shown here configured in the horizontal position. Insert the pins (provided with the kit) as you go along. |
 |
| It calls for using a band saw, or coping saw to cut as much excess wood. Here I used my router table with a flushing bit (roller bearing guides the bit to cut flush to the steel tang. Not recommended for someone not quite experienced with using the router table for this delicate method. Typically a flush trimming is not that difficult at all but this is on a small, irregular piece. So, be careful! |
 |
| I used the cut-off pieces taped to the blade portion to stabilize the work piece as I ran it through the router table. This is a must!! |
 |
| Remove the pins and separate the handles (scales). |
 |
| I used a 1/8 inch round over bit to ease the edges of the scales (or handle). Again, be careful with this operation! |
 |
| I clamped the assembly overnight. |
 |
| Per the instruction I used a slow setting 2-part epoxy. First insert the pins to one of the scales. Apply the epoxy. Put the tang on and through the holes. Apply epoxy to the other piece. |
 |
A good amount of the steel pins shown after the epoxy had dried overnight needed to be flushed with the scales. I took the time to trim off as much as I can with a hack saw. Taping up the scales insures that they will not be damaged by the saw.
|
 |
| I spent as much time, if not more, in making the knife stand as the knife scales. I still have some of another So, American hardwood that is commonly called "Pink Flame" (some of its tight dense grain sometimes exhibit a pink/reddish tint. I came close to my original drawing at the start of the project. |
 |
| The joinery is my little trade secret. |
 |
| The blade is 01 High Carbon Steel, not stainless steel, so it will rust if not cleaned and dried immediately after each use. Over time it will acquire a bluish/gray patina giving it the natural look of natural steel. |
 |
| The base of the knife stand was trimmed with the same species of wood - Bocote - as the handle. |
 |
| Very, very worthwhile and rewarding project - my personal best so far, as small projects go. |
 |
| This is a very sharp knife that requires little time to sharpen and hone for as long as you maintain doing it often, |
 |
| The paring knife for which this knife stand was made the same way as the chef's knife. The handle and trim for the knife stand were made from Cocobolo, another hardwood akin to Bocote. |
 |
| Used biscuit joinery to join the end trim to strengthen the glue joint. |
 |
| The true test to a paring knife's sharpness is when slicing tomato. Most folks would rather use a serrated knife instead of a so-so sharpened kitchen knife. This is the top of the line. |


