Welcome to Woodworks Made Easy

Practice any art, however well or badly, not to get money and fame, but to find out what's inside you.
--- Kurt Vonnegut

Pictures are meant to be self explanatory, and for visual clarity you may
click on each photo to enlarge. For older projects see Blog Archive. I don't specialize on a particular genre so there is quite a variety of projects for a number of different interests.

Even if you are not a woodworker but you like some or all of the projects, have your local crafts person make them for you from the ideas and photos you see here. For a particular project just click the specific title on the Blog Archive list (right side column below).

For anyone willing to learn or begin to do woodworking for the first time, please read first from the Blog Archive, "How and Where to Begin a Woodworking Hobby.

And it is not for men only. Read my note on "Women in Woodworking" from Blog Archive, April 2010.


click on each photo to enlarge


Friday, July 8, 2022

Anatomy of a Small Workshop Part 1

As hobbyist workshops go, my workshop can only be described as adequate, at best, petite by some standards.  Though I'll have to say, more than petite projects have come out of it  over the years.  The previous owners of the house (built in 1990, we purchased it in 2005) had this built in addition to but separate from the three-car garage at the back of the house.  It was made as a garden/yard tool room at the back of the house adjacent to the garage. It is only 205 sq. ft, or 18.5 sq. meters for my metric readers. It's 1845 cubic feet, or 53 cu. meters. (This matters, of course, for cooling or heating calculations). 

Below is almost a drawn-to-scale layout where the blank grids are the areas I can move about, while the shaded rectangles are the tools and other space occupiers that are excluded from foot traffic. And it is definitely a one-person workshop.


Part 1 is the Workbench

If the table saw is the heart of a woodworking shop, the workbench must be the brain.  This is where the woodworker would stand next to when contemplating about the project, make some sketches, think over a beverage while wondering what is next, or simply resting on a stool while doing more serious contemplation.

If the table saw is the mouth, doing all the chewing and cutting from big work pieces to small pieces, the workbench is the stomach, where all the digesting takes place, glue ups and assembly, because this is where the workpieces then become useful projects.  At least, that is the ultimate plan. Now, woodworking is possible without the table saw but clearly a non-starter without the workbench. It can be as low as a foot or less above the floor, as in ancient-style Japanese woodworking (still practiced today by Japanese purists) or 28 inches or higher in modern workshops.

Years ago I purchased a baker's table made of maple. Its original mission, I was told, was to be at the bakery. With a portable circular saw, I ripped it lengthwise into three sections: a wider piece and two narrower pieces. I turned it into a European-style workbench which is defined mainly by a center channel somewhere in between what essentially looks like two bench tops.  The idea is for the channel to serve as repository for wastes like shavings, chips, saw dusts or as a space to park hand tools like chisels, hand planes, etc. while not in use but easily within reach by the woodworker. 


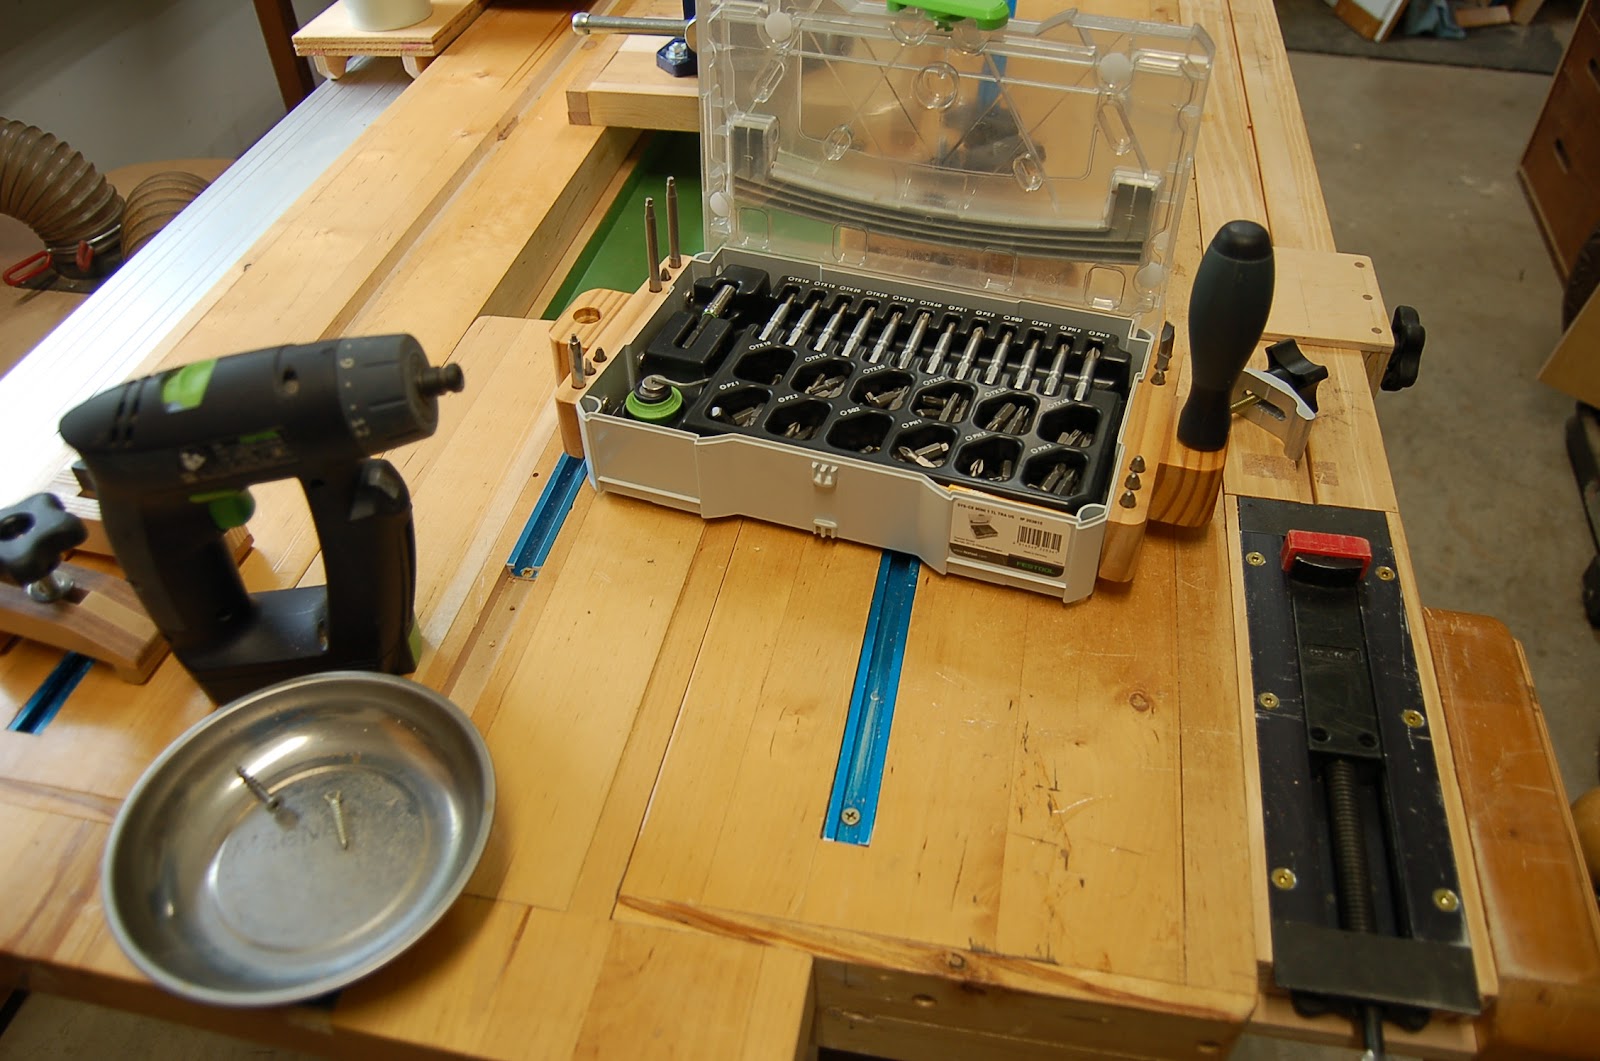
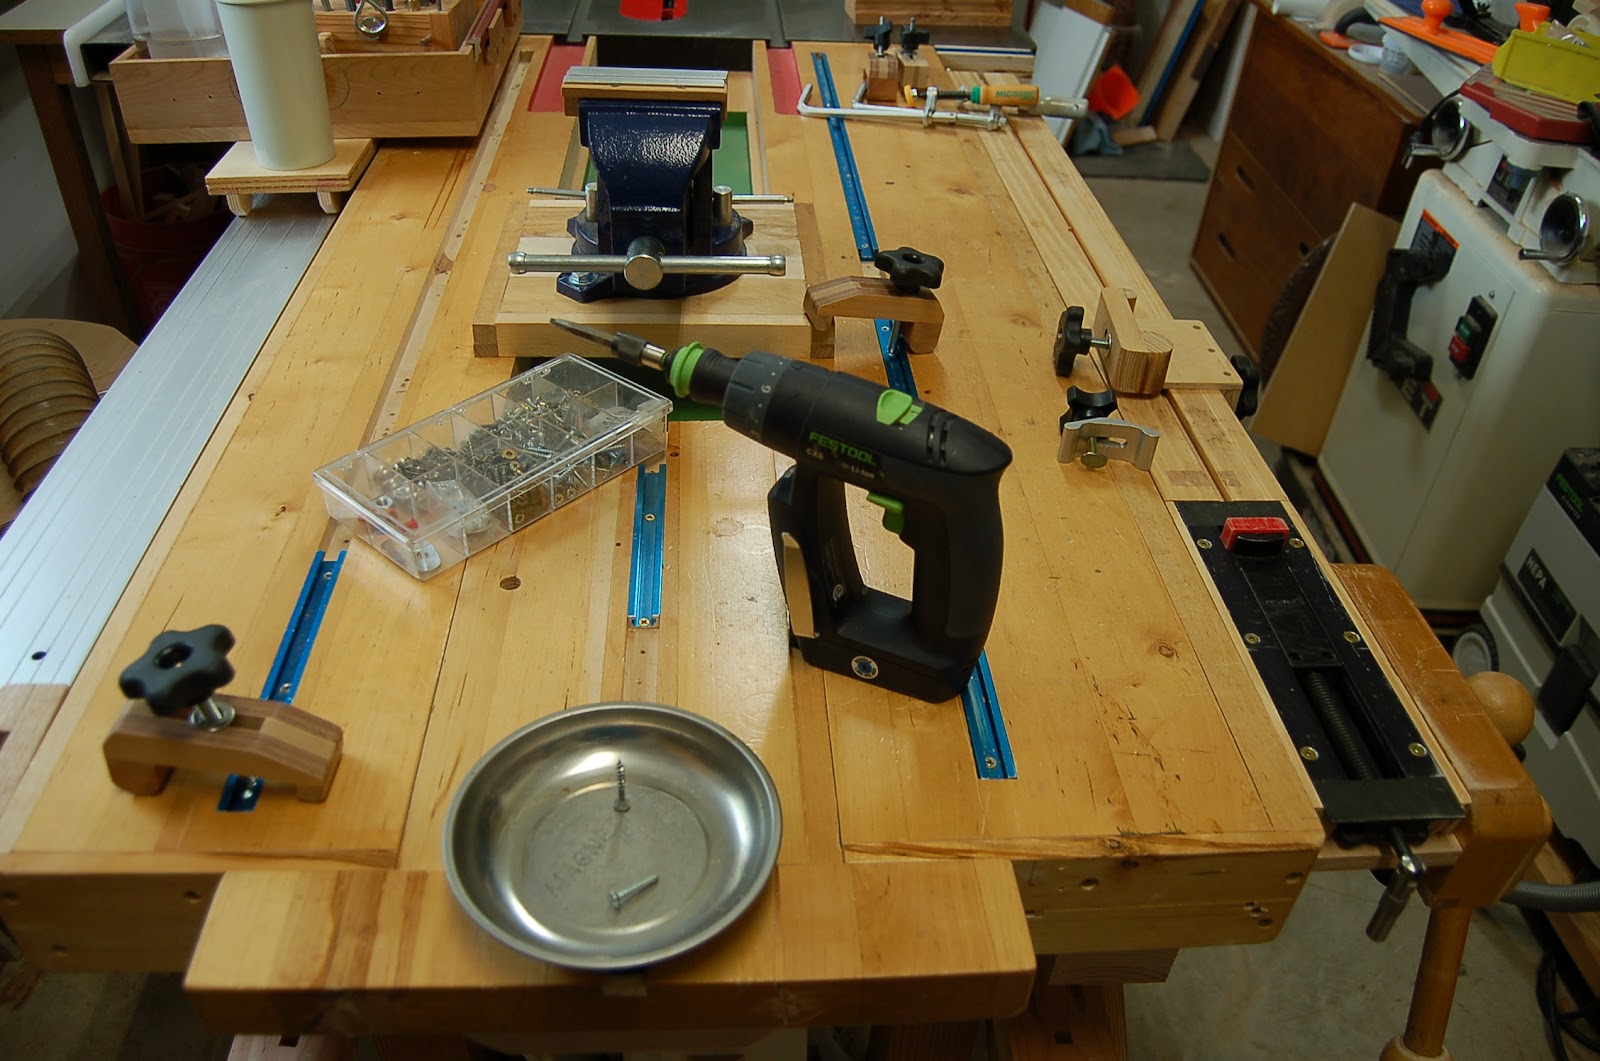
It is about 28 inches tall, 29 X 53 inches overall at the top. I positioned it so its one end butts directly into the forward end of the table saw. The narrow painted red channels will accommodate the runners for a table saw sled to run into (if used).  There are T-tracks (blue) for T clamps for various clamping locations on the table top.

The center channel, in this case, provides a way for other useful tools or tool rests to slide into temporarily.  For example, if I needed a small vise, it can easily slide in (with side spacer-stops underneath) and clamped securely.


A section of the center piece from the original top serves as a temporary extension  that can slide in and out, guided by drawer-style runners on the side.  Once clamped, even temporarily, it is quite a robust extension.

A metal strip at the top of the  T serves as anchor plate for a magnetic tray shown below. It's an excellent receptacle for screws, nuts and bolts.

I made a mini work bench that can be temporarily but securely clamped as shown. It is quite capable of holding on to small and medium workpieces. It is an excellent gluing platform because with an elevated platform the base it provides make clamping easy and more effective.  The elevation it provides make close up work without having to stoop for a close look.

Below, another clamping platform on top makes for additional options.  All of these can be stowed away when not needed.

Overall, I believe this work bench has made this petite workshop more than adequate.  Of course, who doesn't need a much bigger space?  Yes, of course, but it comes with a price.  It will cost more to cool (Texas summer can discourage even the most ardent woodworker if not for air conditioning). It will also warm up quickly in the winter.


But there is more.  Uniquely, I fashioned this tray - holder for various tools and accessories, securely on a runner from an old rowing machine.  This makes  this a unique receptacle and repository of accessories accessible from one end of the work bench to the other .


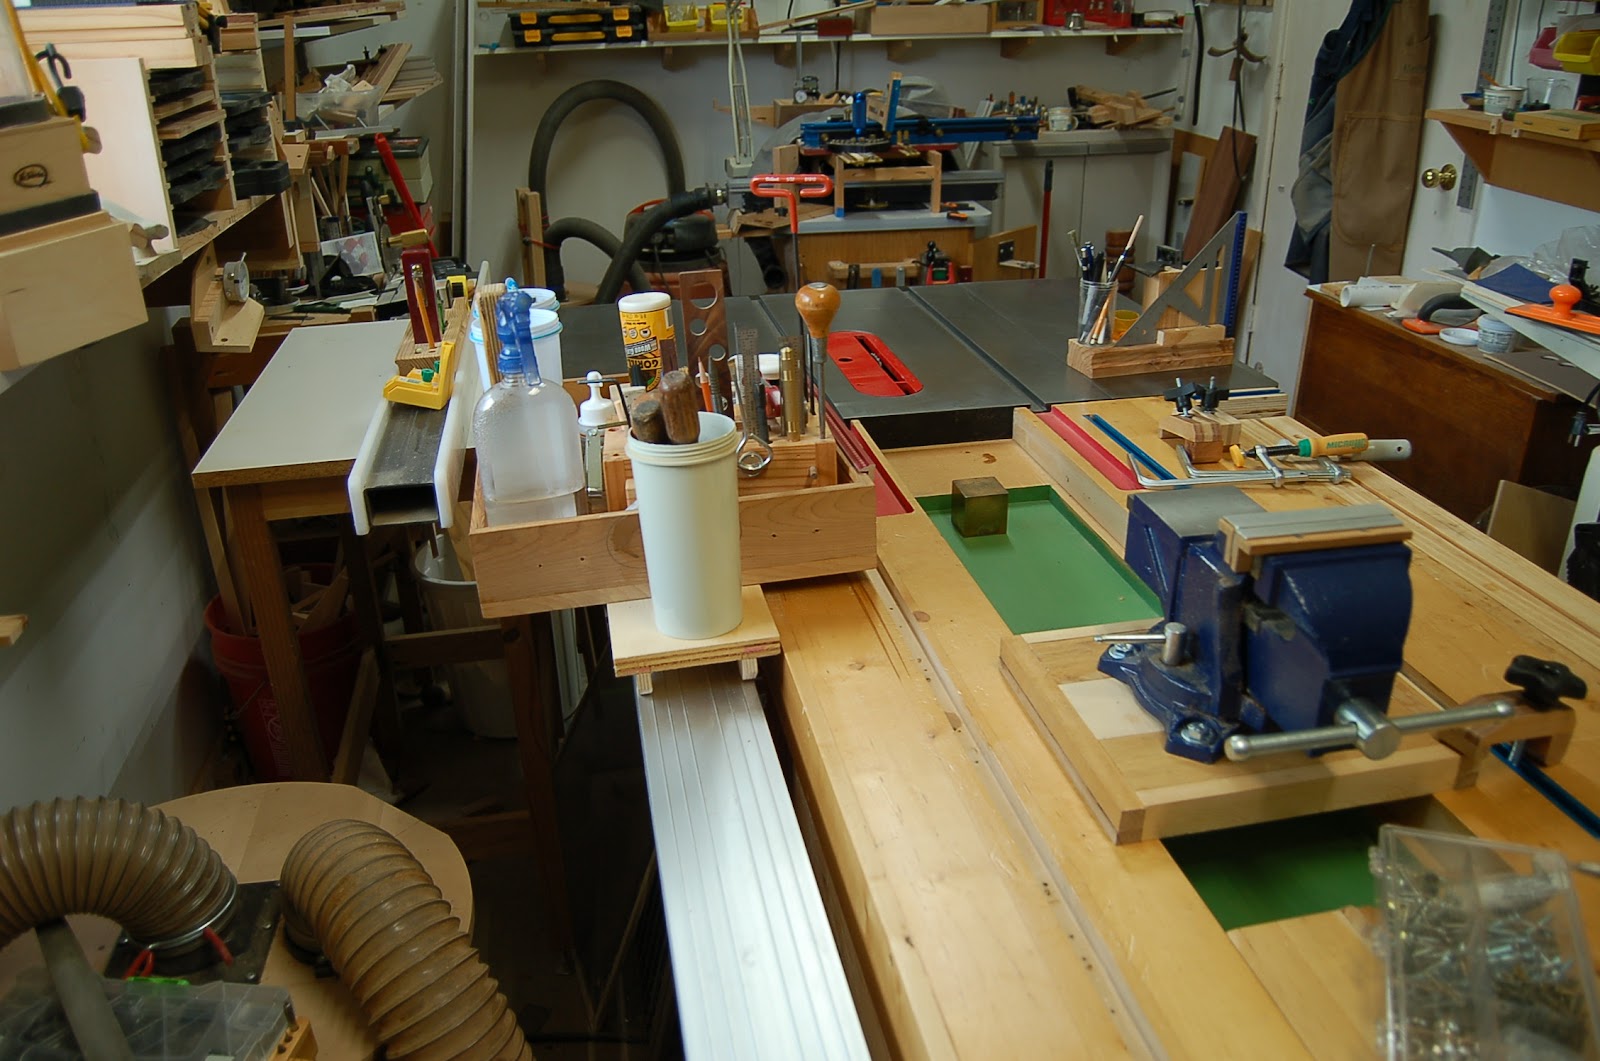
Visible below is the rowing machine runner where the tray can slide to and fro.  It can also be temporarily set aside if needed.


A sharpening station


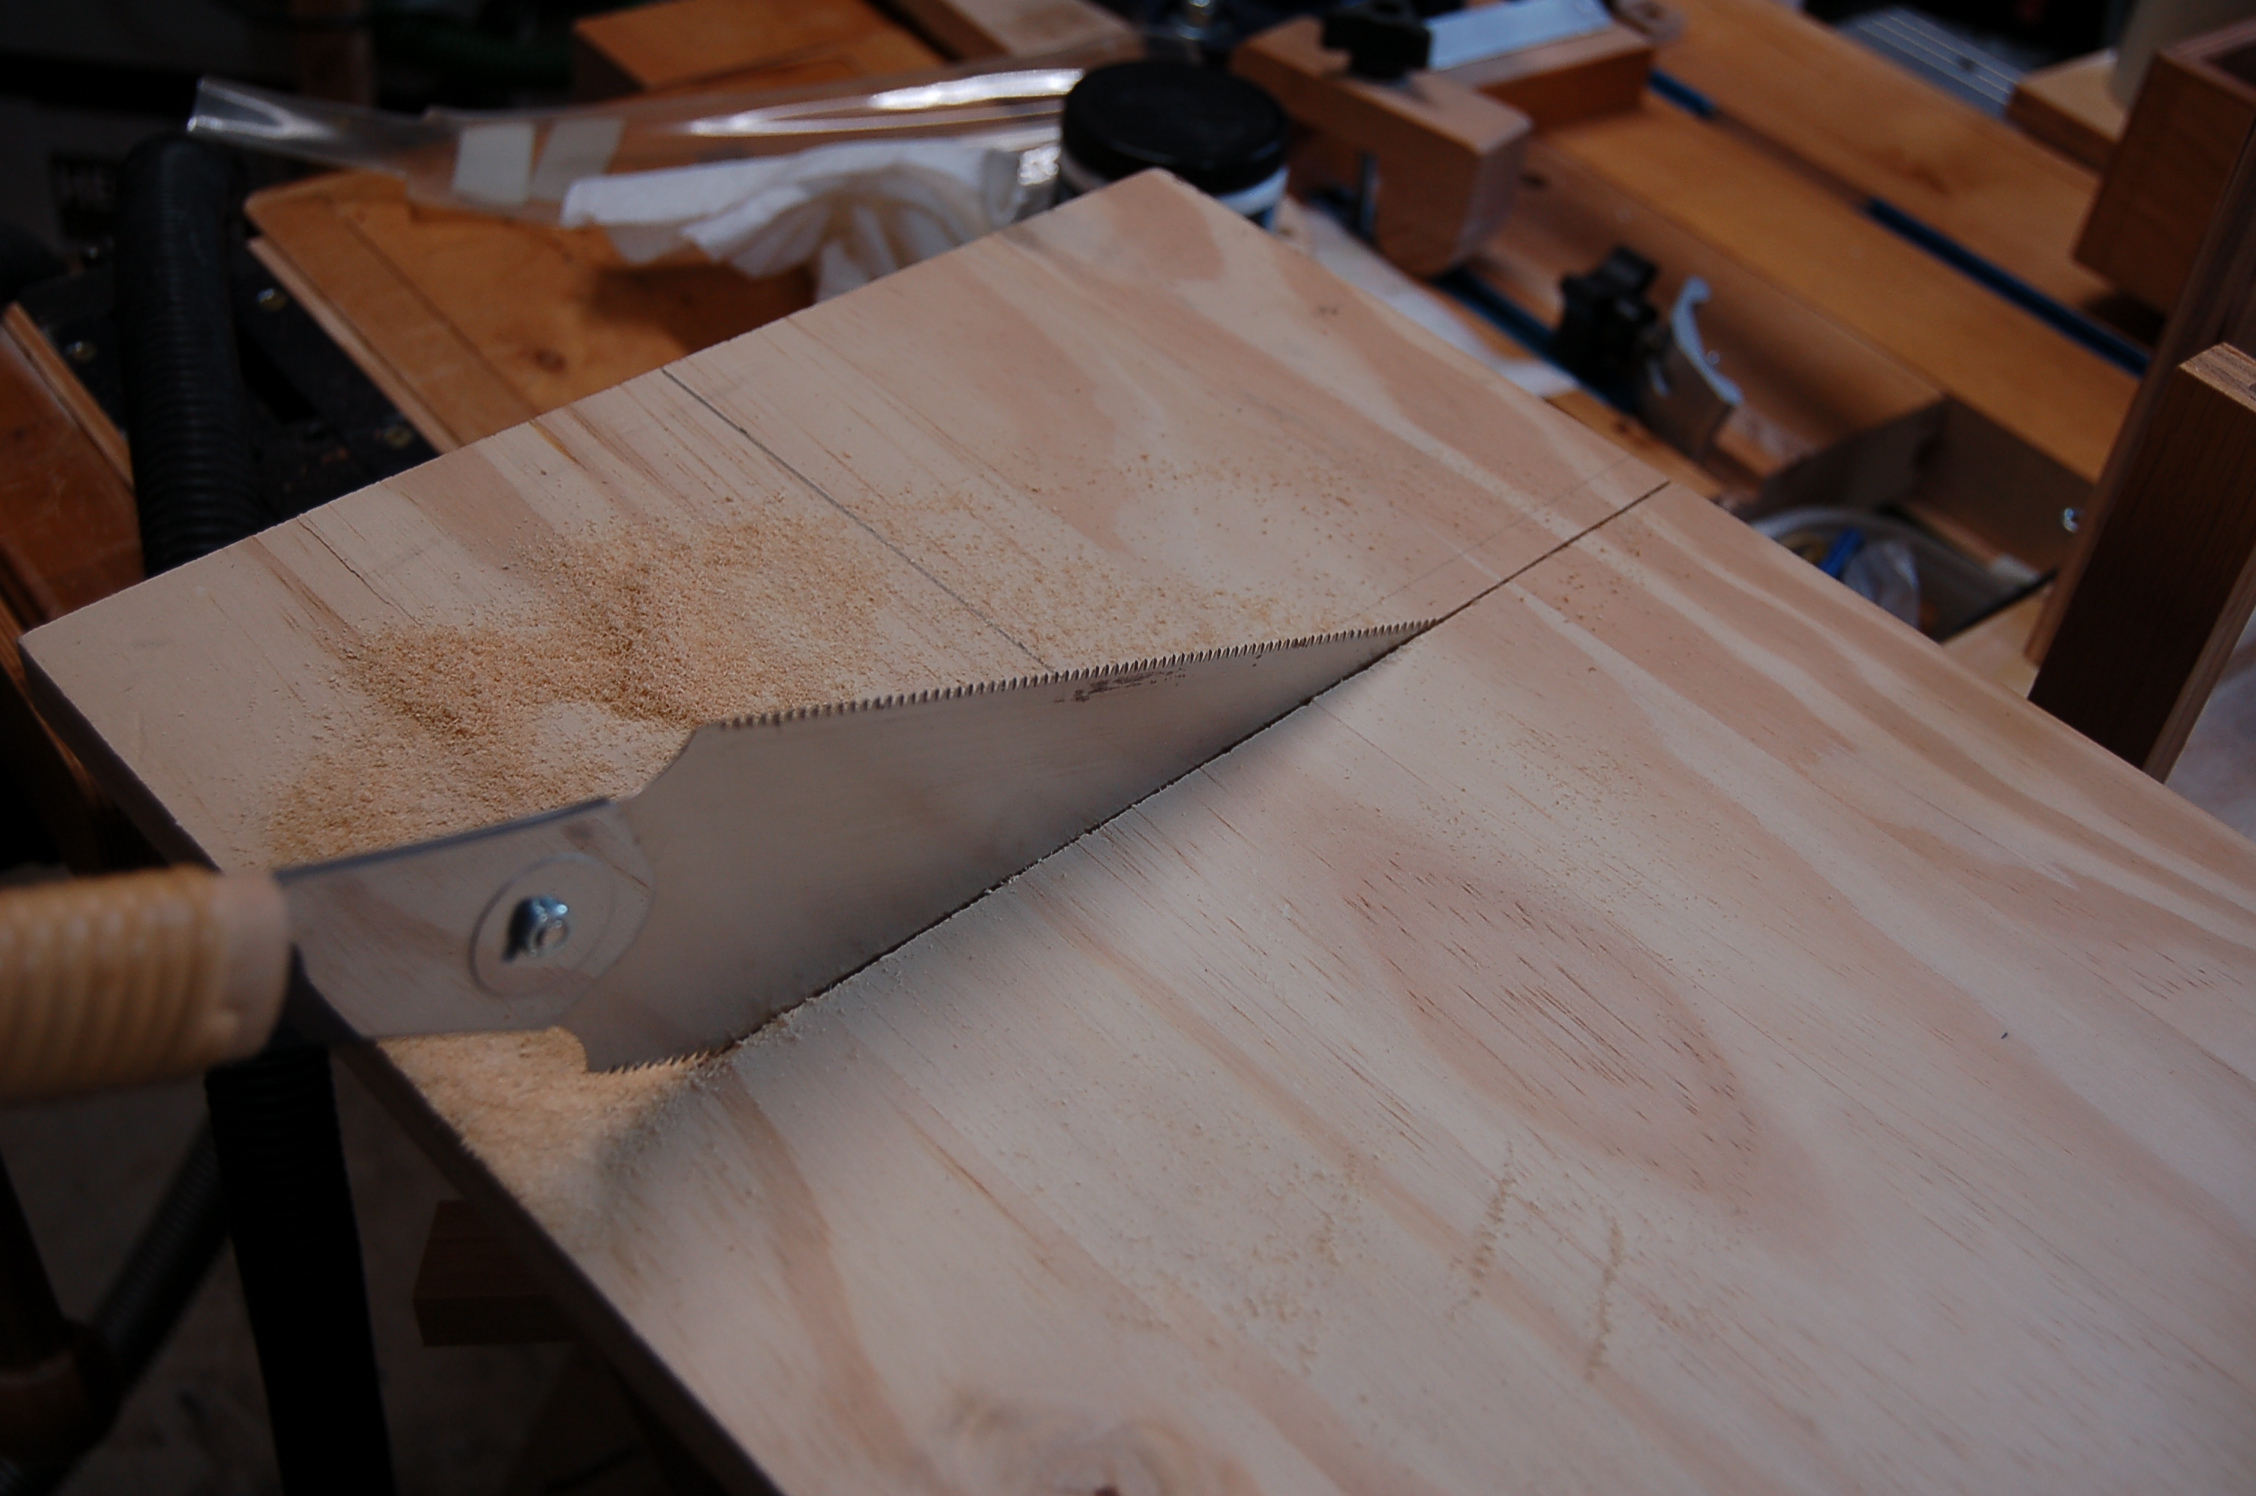
Assembling is the penultimate to a hopefully rewarding denouement for any woodworking project.

This bench is also a great platform for several bench top power tools - miter saw, scroll saw, sander, planer, etc. which from time were shown in my other earlier blogs.

So, the work bench is the brain of the workshop.  And for the traditional Japanese craftsman, who only uses hand tools exclusively to do their projects, it can be both the heart and brain of the workshop.

Friday, July 1, 2022

Bird Feeder 2G

It has been two years since the first "Rodent-Free Bird Feeder", so it's time for a second generation version.

So, from this:


To this:


This time it will have four posts, channeled along two adjacent sides to accommodate four thin Plexiglas (clear polycarbonate) to hold the feed.  A threaded rod will secure the top cover directly to the base. The original 2-inch PVC stand and base will be reused. 


To accommodate the four posts that have square cross sections, I drilled four holes first then with some chisel work, I created the square holes.


Bottom base of the new feeder had to be fashioned separately


Used marine plywood for the base


Cutting the clear Plexiglass 


The seeds are "metered" by adjusting the gap between the bottom of the Plexiglass and the base, as seen below:


Still, effectively rodent-free with Vaseline smeared around the PVC post.