My wife requested for this project with some requirements. It is quite obvious by now that the torsion box method of construction for making very light yet structurally rigid projects is my favorite, as earlier blogs on the subject indicate that very clearly. This time though I would like to show more details and prove once more how a 60-inch long, 18 inch wide bench can be made so rigid and strong, yet so lightweight. First key to this project is constructing the internal framework - an inner interlocking structure made with regular yellow or white pine soft wood.

The 2-inch wide pieces that make up the grid were constructed so precisely that no glue or any other fastener were needed to hold the parts in place. Not absolutely necessary to be effective but I want to demonstrate that a dial gauge caliper will allow precise cuts using the stacked dado blades on the table saw with trial cuts (shown above) be first made to insure a good fit. By the way, a dial gauge caliper that is more known as a machinist's tool is an invaluable woodworking tool such as in depth and height gauging, inside diameter measurements, etc.

Taking the time to set up the cutting order and use of stop blocks on the miter gauge pays off in a precisely accurate assembly of the grid.


A little tap with a mallet was all that was needed to put the grid together tightly and rigidly.

18 gauge pin nails and glue were used to fasten the side and end pieces, thus closing the "lattice".


To avoid sharp corners I made sure that it is done during the framing process.
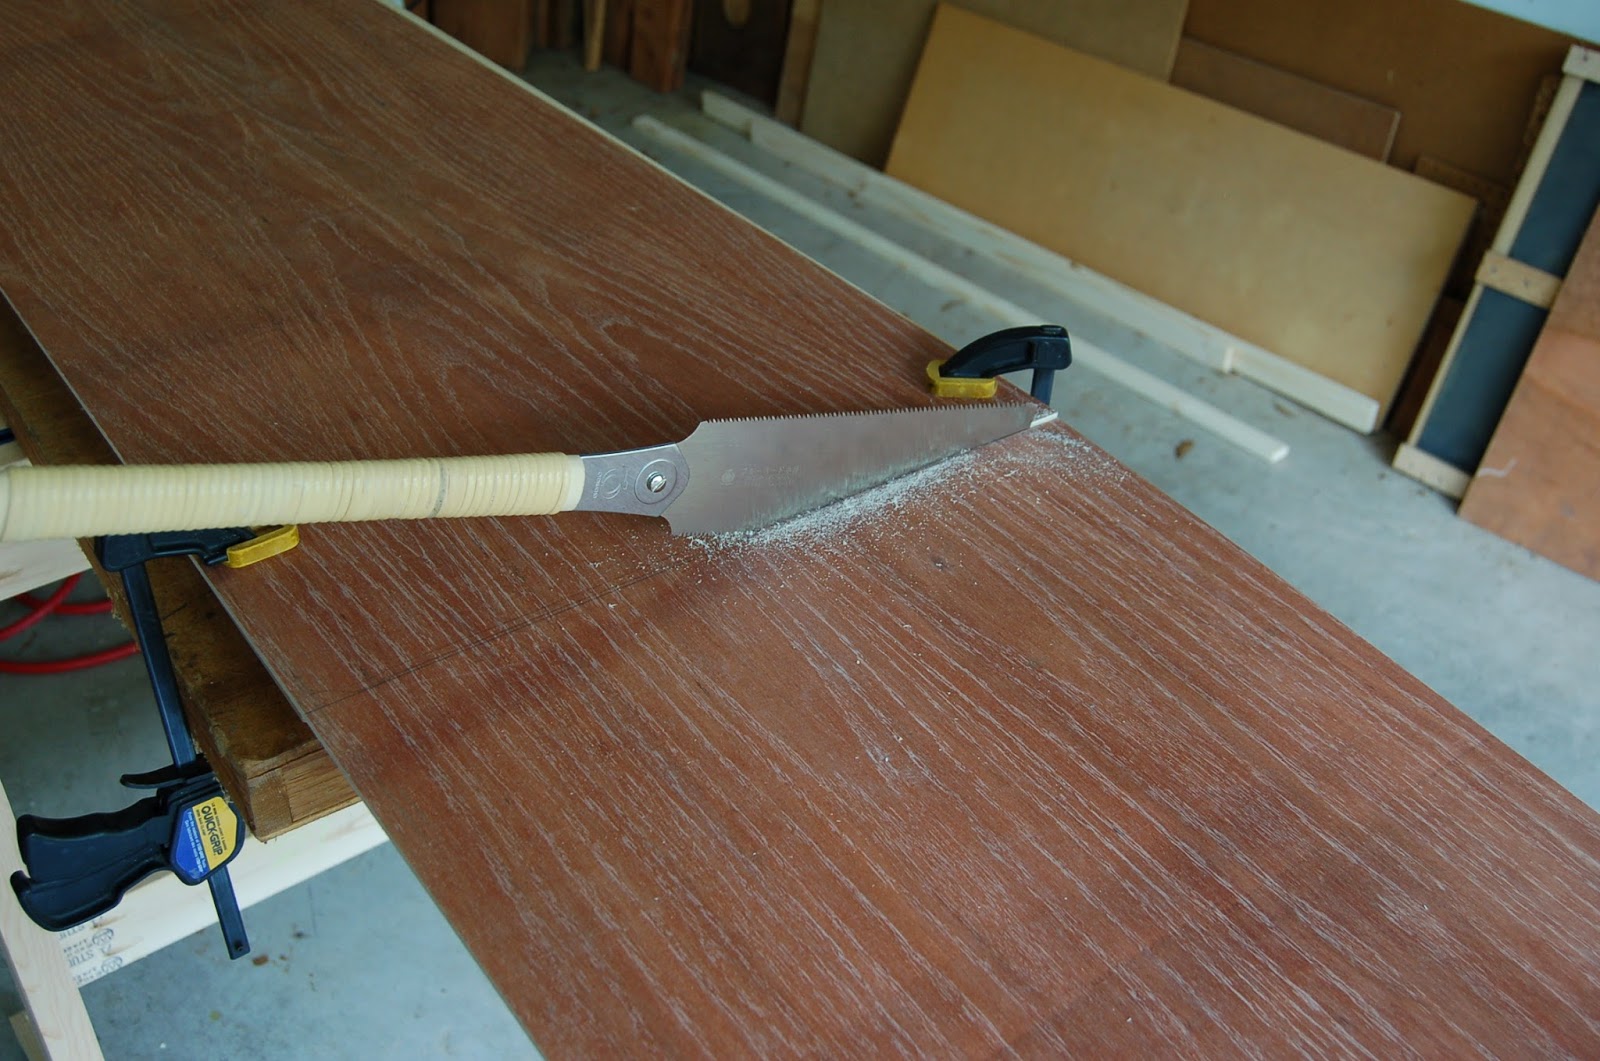
The 1/4 inch oak plywood skin is cut with a Japanese hand saw. No need to be really precise with the cut at this point except to make sure it is slightly over-sized over the frame. Edge routing will later trim it flush.


A little flattening and smoothing of the frames edges will insure good adhesion of the plywood skin when glued.

The side and end edges of the frame will be clad with 1/4 inch thick pieces of solid oak and walnut .


45-degree cuts will hide the seam between the oak and walnut.

23-gauge pin nails were used for the rest of the structure - fastening the plywood skin to the frame and the solid oak and walnut to hide the sides. A good amount of glue was used each time before nailing them all together.


A full size sketch of the leg is laid out on a board as shown below.

I used lap joinery, which is simple but must be cut precisely. The full size drawing helped in laying out the parts and in cutting the joinery. A dial depth gauge (shown below) is another precision tool that takes away the guess work or trial and error when cutting the joinery on the table saw.


All the effort and time (going slow and making sure the markings are precise) makes assembly a breeze.


The same jig is then used to drill the holes on the bench.

One requirement from my wife is that even her can easily move this bench effortlessly, hence the minimal use of material without compromising strength. The bench top dimension is 60 X 18 inches.

The dowel pins are glued first to the legs. Once dry and fully fixed, all three may not go in completely or are going to be very tight, so a slight sanding of one or two of them will insure a snug fit. (make sure not to force them in; so a little patience in fine tuning the fit will do the job).

Sufficient amount of glue and 3-1/2 inch wood screws and making sure they are perfectly perpendicular (90 deg) to the bottom will completely fasten the legs.


One coat of stain and three coats of rub-on polyurethane were applied.

Note an earlier 48-inch bench in the background. This 60-inch bench (or 1.523 meters to my European readers) tipped the weighing scale at a mere 17 pounds (or just 7.7 kilos); it is lighter than most carry-on luggage. One may carry this literally tucked in between one arm and one side.

The bench will seat two-three people

Now for an explanation as to why the legs were configured this way. First, the back edge needed to be flush to the bed mattress. The bed's platform would have been in the way. Second, my wife also wanted to round off the corner of the platform. I cannot just cut the corners off because the platform was also constructed as a torsion box (check my earlier blog on its construction) so the inner skeleton will be compromised. So, the next project will deal with that and it is likely that the best solution is to extend the width by about two inches, hence the allowance for a seemingly wide gap.

