Welcome to Woodworks Made Easy

Practice any art, however well or badly, not to get money and fame, but to find out what's inside you.
--- Kurt Vonnegut

Pictures are meant to be self explanatory, and for visual clarity you may
click on each photo to enlarge. For older projects see Blog Archive. I don't specialize on a particular genre so there is quite a variety of projects for a number of different interests.

Even if you are not a woodworker but you like some or all of the projects, have your local crafts person make them for you from the ideas and photos you see here. For a particular project just click the specific title on the Blog Archive list (right side column below).

For anyone willing to learn or begin to do woodworking for the first time, please read first from the Blog Archive, "How and Where to Begin a Woodworking Hobby.

And it is not for men only. Read my note on "Women in Woodworking" from Blog Archive, April 2010.


click on each photo to enlarge


Thursday, May 23, 2019

Balance (Rocker ) Board

Two days ago my wife asked me to go with her to her physical therapy session because there was one "apparatus" there that she wanted me to see. It is a rocker board. It lets patients do balancing exercises to improve ankle strength, better hip posture or alignment and general coordination. There are a variety of commercial models online, several of them will deliver in 2-3 days when ordered. So, that was two days ago. I dropped everything I was doing at the work shop yesterday; did it as a project and finished it this morning. Amazon and any online retailer will not have been able to deliver one. Now, I'm bragging but indeed it was easier than I thought.

The board is straightforward construction. The rocker "feet"  design will have to be worked out. To accomplish true symmetry, I drew just half of the entire rocker and use it to draw the other half on a piece of card board. I traced that onto a stiffer hard board to make a template.


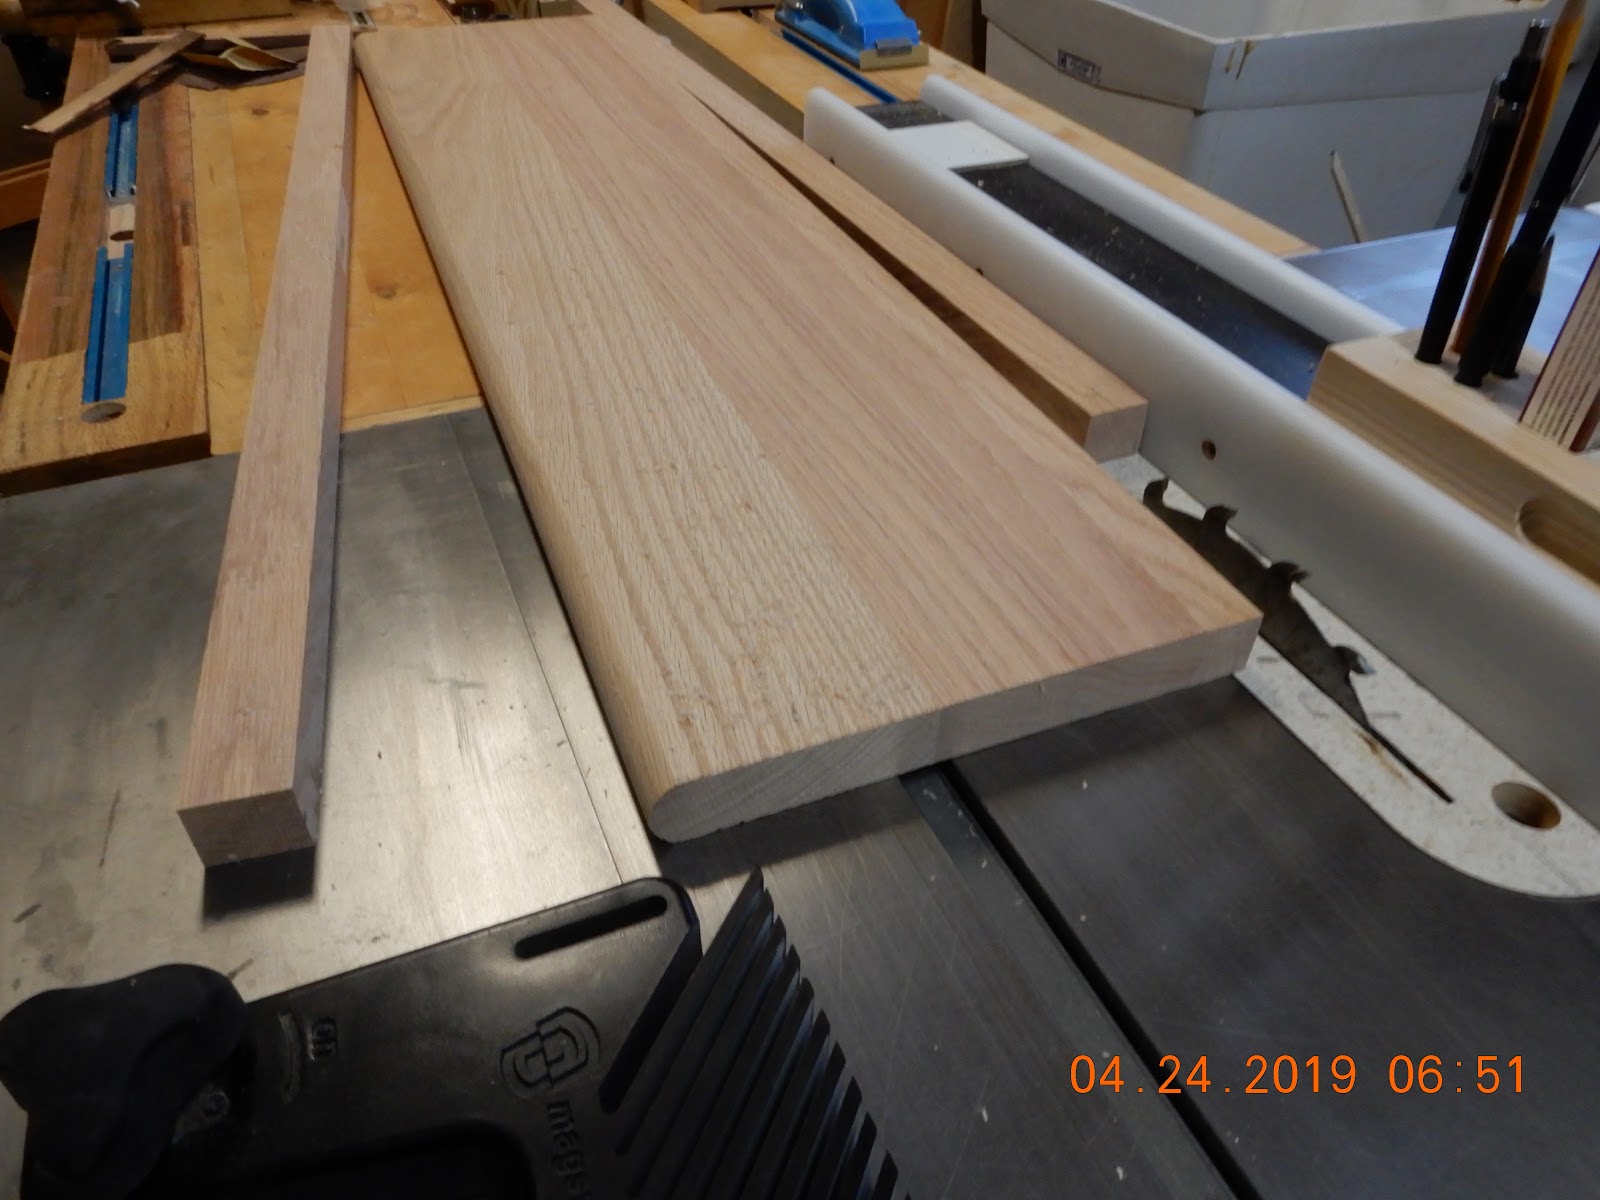
Cut some leftover 3/4 inch plywood and trimmed it on all four sides with solid wood.


I rough cut four pieces of 3/4 inch plywood. Using double sided tape the template guided the router bit to create exact copies.


Two pieces were glued together to make two thicker rocker feet.


To prevent the rocker board from sliding on smooth floor surfaces, I attached rubber "soles" with contact cement. The rubber soles were cut from an old Yoga mat.


A couple of pocket hole screws per rocker and two Torx screws from the top side of the board secured the rocker feet.


By shifting weight to one leg and bending the other slightly and switching by repeating the movement to the other leg rocks the board in alternating sequences.


A one-day project that is worth a handful of extra credits I can call upon the next time there is one irresistible tool I "need" to have.

Saturday, May 18, 2019

Roll-able Tool Stand

 The small enclosed workshop (separate from the garage where larger work projects get assembled) calls for wheels wherever I can put them. Seven tools (including the table saw) have wheels. Air cleaning or dust collection systems are also a must in an enclosed shop. A large dust collector is mostly dedicated to the table saw and sweeping, a medium one is right by the router table. This featured here  is the small one and so it is the most portable. It had an earlier bigger and taller stand. This second version needed to be one with the least amount of material, a smaller footprint and light weight, so it can be moved conveniently, including taking it outside of the shop into the garage or even inside the house. And like all the dust collectors, it has a pre-filter, or dust and debris separator incorporated with it (top shelf). 


Four posts ripped from stock lumber and cut to length

The main body consists only of the four posts and two plywood shelves (excluding the bottom "floor" where the posts and wheels are attached).

I took the time to make a temporary jig attached to the miter guide to cut the tricky four corners of the shelves. That is the only safe way to make the cuts accurately. It didn't take much time to fashion the jig; but it is a critically safe thing to do.


The simple, safe indexing jig (the yellow thingy by the table saw fence) does the trick in accomplishing accurate, strong joinery. This jig was discussed in an earlier blog.


Note the foot switch at the bottom shelf. It is a very valuable convenient, yet inexpensive feature to have. 


Friday, May 3, 2019

The Corner Table

Solid hardwood to the thickness beyond the standard 3/4 inch from hobby centers and lumber suppliers is more expensive. A 1-1/2 inch thick  12 X 12 inch material, can be prohibitively discouraging to the average hobbyists in price and much too heavy to process. This project is about making a 1-1/2 thick, 16 X 16, table top from 1/2 inch plywood. Photo below is that of a corner table that is half as heavy as solid wood, yet more rigid and immune from warping and more stable with changing humidity that solid wood is sometimes vulnerable to.


And there is the table legs and apron assembly. While the  top gets the visual attention the leg construction is a critical part of construction; with  many different ways to make them. The one I did here is inspired by Japanese joinery.  Japanese craftsmen would fashion this only using hand tools - Japanese saw and chisels. I do not have their skills or training so I used power tools at a fraction of the time, although the Japanese woodworker can still do it relatively quickly.


This is as close to workshop engineered wood as one can achieve. A 1/2 inch good quality oak plywood for the top, a cheaper picture frame 1/2 inch material and another cheaper common 1/2 inch birch for the bottom all laminated together by glue makes for a 1-1/2 inch thick "sandwiched" table top. Ribbed solid oak pieces are then wrapped around - tongue and groove joinery - to make for a solid looking top, lighter and stiffer.  


Frame spacer glued first to the bottom layer

Top oak layer is glued next

Solid oak trim covers the plywood edges.

Finished, is as "solid" looking as a 1-1/2 inch thick table top.
 As specialty tools go, the two options I have are the digital height gauge (below) and a mechanical indicator (next photo). Height of the saw blade is critical to getting it right with the operation in third photo below. 


A drawing of how the table legs and apron will go together is a valuable tool in making sure the cuts are consistently done.


A $60 tenoning jig takes the place of Japanese workmanship. Once set, it will make exact accurate cuts the settings are changed. This does not take away the skills of the Japanese woodworkers; it actually highlights their talents.

The cutoff piece above (top of photo) is the first cut I did which serves to check the fit of the apron that crosses the leg top. It is easier to check for fit using the cutoff piece instead of the entire leg each time.


Tip: Stair treads from the home center, laminated hardwoods, are a great and economical way to find 1-0 inch thick material than getting the same thickness piece from the lumber yard. You can buy by single pieces - already smooth, straight and flat and well seasoned.


Shop made clips fasten the table top to the apron through the narrow channels routed earlier


This little nook of a mini-office does not take up much footprint, next to the kitchen table, but this is where many of my ideas germinate, or at least how they are initially sketched or drawn on graphing paper.