Solid hardwood to the thickness beyond the standard 3/4 inch from hobby centers and lumber suppliers is more expensive. A 1-1/2 inch thick 12 X 12 inch material, can be prohibitively discouraging to the average hobbyists in price and much too heavy to process. This project is about making a 1-1/2 thick, 16 X 16, table top from 1/2 inch plywood. Photo below is that of a corner table that is half as heavy as solid wood, yet more rigid and immune from warping and more stable with changing humidity that solid wood is sometimes vulnerable to.

And there is the table legs and apron assembly. While the top gets the visual attention the leg construction is a critical part of construction; with many different ways to make them. The one I did here is inspired by Japanese joinery. Japanese craftsmen would fashion this only using hand tools - Japanese saw and chisels. I do not have their skills or training so I used power tools at a fraction of the time, although the Japanese woodworker can still do it relatively quickly.
This is as close to workshop engineered wood as one can achieve. A 1/2 inch good quality oak plywood for the top, a cheaper picture frame 1/2 inch material and another cheaper common 1/2 inch birch for the bottom all laminated together by glue makes for a 1-1/2 inch thick "sandwiched" table top. Ribbed solid oak pieces are then wrapped around - tongue and groove joinery - to make for a solid looking top, lighter and stiffer.
 |
| Frame spacer glued first to the bottom layer |
 |
| Top oak layer is glued next |
 |
| Solid oak trim covers the plywood edges. |
 |
| Finished, is as "solid" looking as a 1-1/2 inch thick table top. |
As specialty tools go, the two options I have are the digital height gauge (below) and a mechanical indicator (next photo). Height of the saw blade is critical to getting it right with the operation in third photo below.
A drawing of how the table legs and apron will go together is a valuable tool in making sure the cuts are consistently done.
 |
| A $60 tenoning jig takes the place of Japanese workmanship. Once set, it will make exact accurate cuts the settings are changed. This does not take away the skills of the Japanese woodworkers; it actually highlights their talents. |
 |
| The cutoff piece above (top of photo) is the first cut I did which serves to check the fit of the apron that crosses the leg top. It is easier to check for fit using the cutoff piece instead of the entire leg each time. |
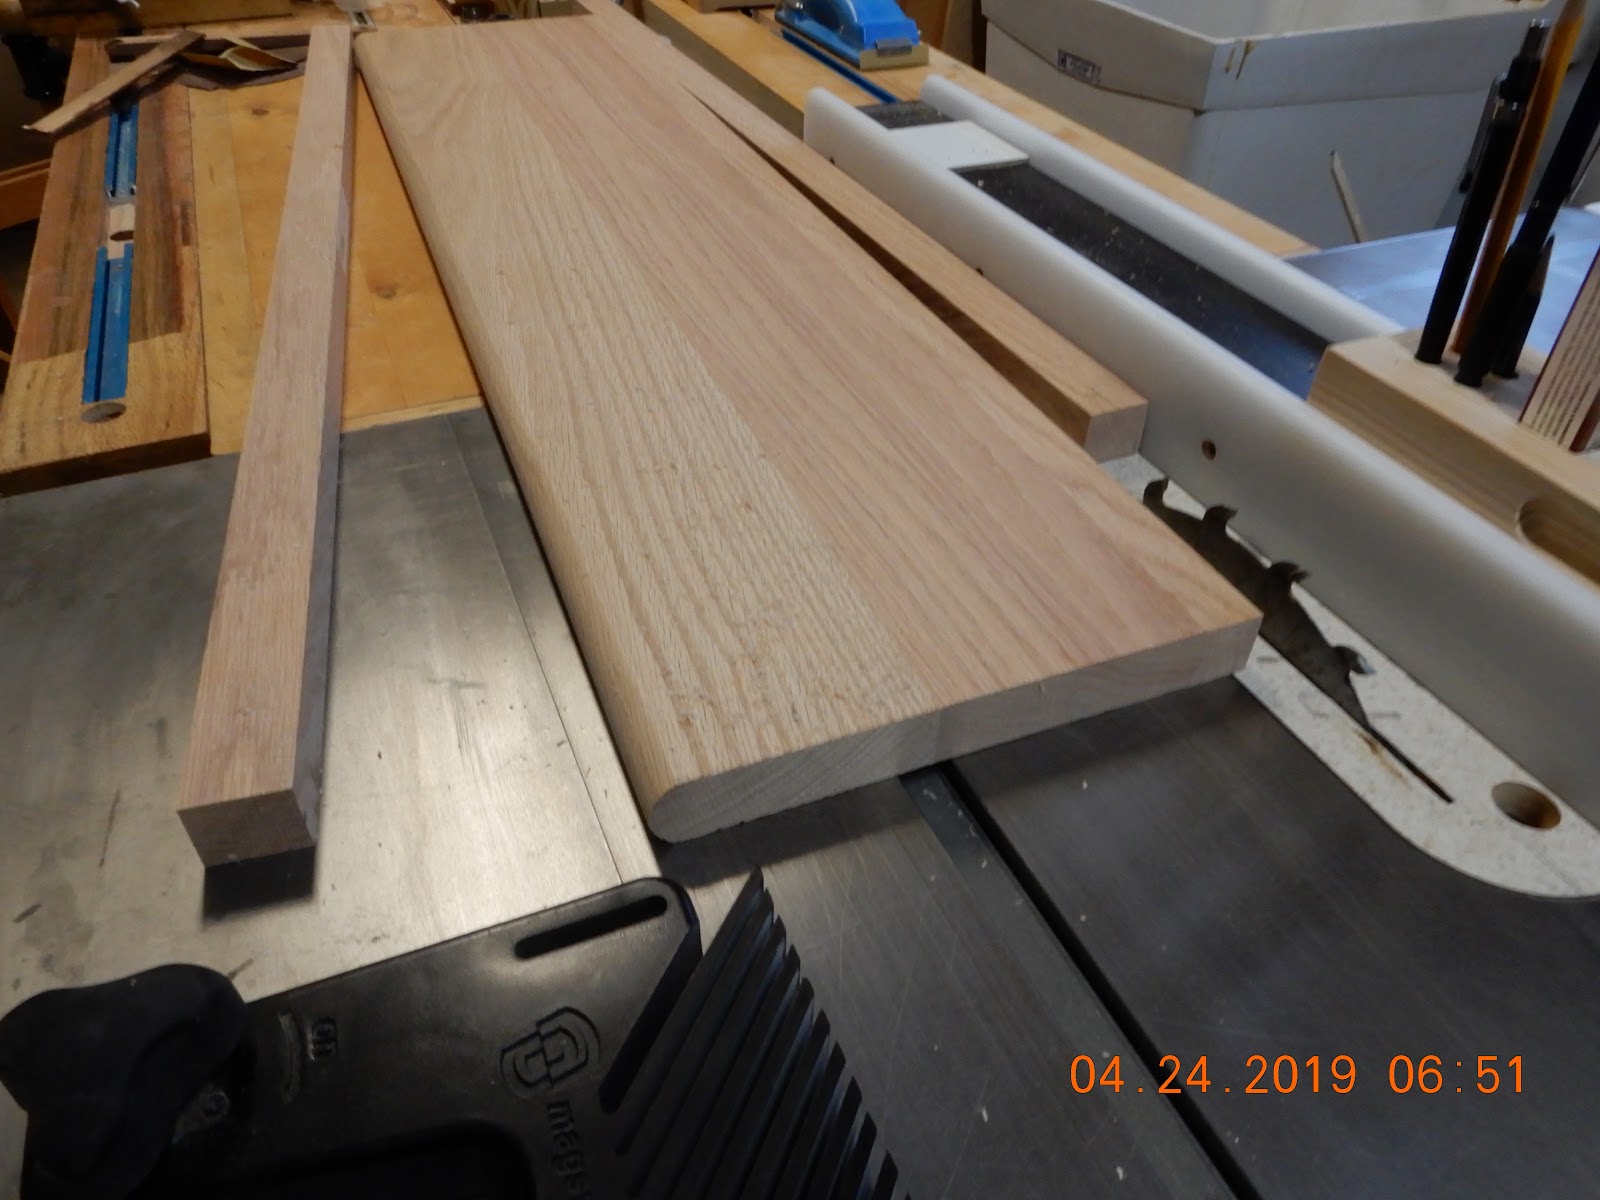
Tip: Stair treads from the home center, laminated hardwoods, are a great and economical way to find 1-0 inch thick material than getting the same thickness piece from the lumber yard. You can buy by single pieces - already smooth, straight and flat and well seasoned.
 |
| Shop made clips fasten the table top to the apron through the narrow channels routed earlier |
This little nook of a mini-office does not take up much footprint, next to the kitchen table, but this is where many of my ideas germinate, or at least how they are initially sketched or drawn on graphing paper.


No comments:
Post a Comment