The small enclosed workshop (separate from the garage where larger work projects get assembled) calls for wheels wherever I can put them. Seven tools (including the table saw) have wheels. Air cleaning or dust collection systems are also a must in an enclosed shop. A large dust collector is mostly dedicated to the table saw and sweeping, a medium one is right by the router table. This featured here is the small one and so it is the most portable. It had an earlier bigger and taller stand. This second version needed to be one with the least amount of material, a smaller footprint and light weight, so it can be moved conveniently, including taking it outside of the shop into the garage or even inside the house. And like all the dust collectors, it has a pre-filter, or dust and debris separator incorporated with it (top shelf).
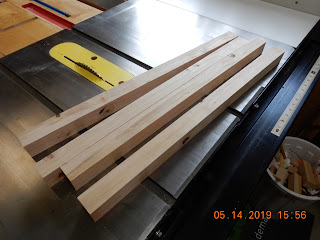
Four posts ripped from stock lumber and cut to length
The main body consists only of the four posts and two plywood shelves (excluding the bottom "floor" where the posts and wheels are attached).
I took the time to make a temporary jig attached to the miter guide to cut the tricky four corners of the shelves. That is the only safe way to make the cuts accurately. It didn't take much time to fashion the jig; but it is a critically safe thing to do.
The simple, safe indexing jig (the yellow thingy by the table saw fence) does the trick in accomplishing accurate, strong joinery. This jig was discussed in an earlier blog.
Note the foot switch at the bottom shelf. It is a very valuable convenient, yet inexpensive feature to have.


No comments:
Post a Comment