A few weeks ago my wife and I decided we needed a round breakfast table in the kitchen area, replacing the rectangular one that is there currently (photo below). There is a purpose for why, which I will get into later.

I found a company in Austin TX - Mirror Lot (they have a website). They will custom-make the top to my specification: 48 inch dia. round table, 1-1/2 inch thick, from solid red oak ( I intended to use 1 inch thick red oak stair tread at the home center to make 2-inch thick workpieces after gluing them up for the base) .
The company sent me a drawing with specifications of what I wanted and a sample photo.

Almost three weeks later, after I ordered it, the table arrived. Two men had to carry it in (that's how heavy it is, I realized). I had it set up on the work table at the family room. It was well packaged; it took me a while to unpack it)

Now, I needed to build the base.
I found red oak at the local home center that is 1.0 inch thick, 12X48 inches, wide and long stair treads. These stair treads are laminated strips of red oak - perfectly flat and stable (well-seasoned and sanded).
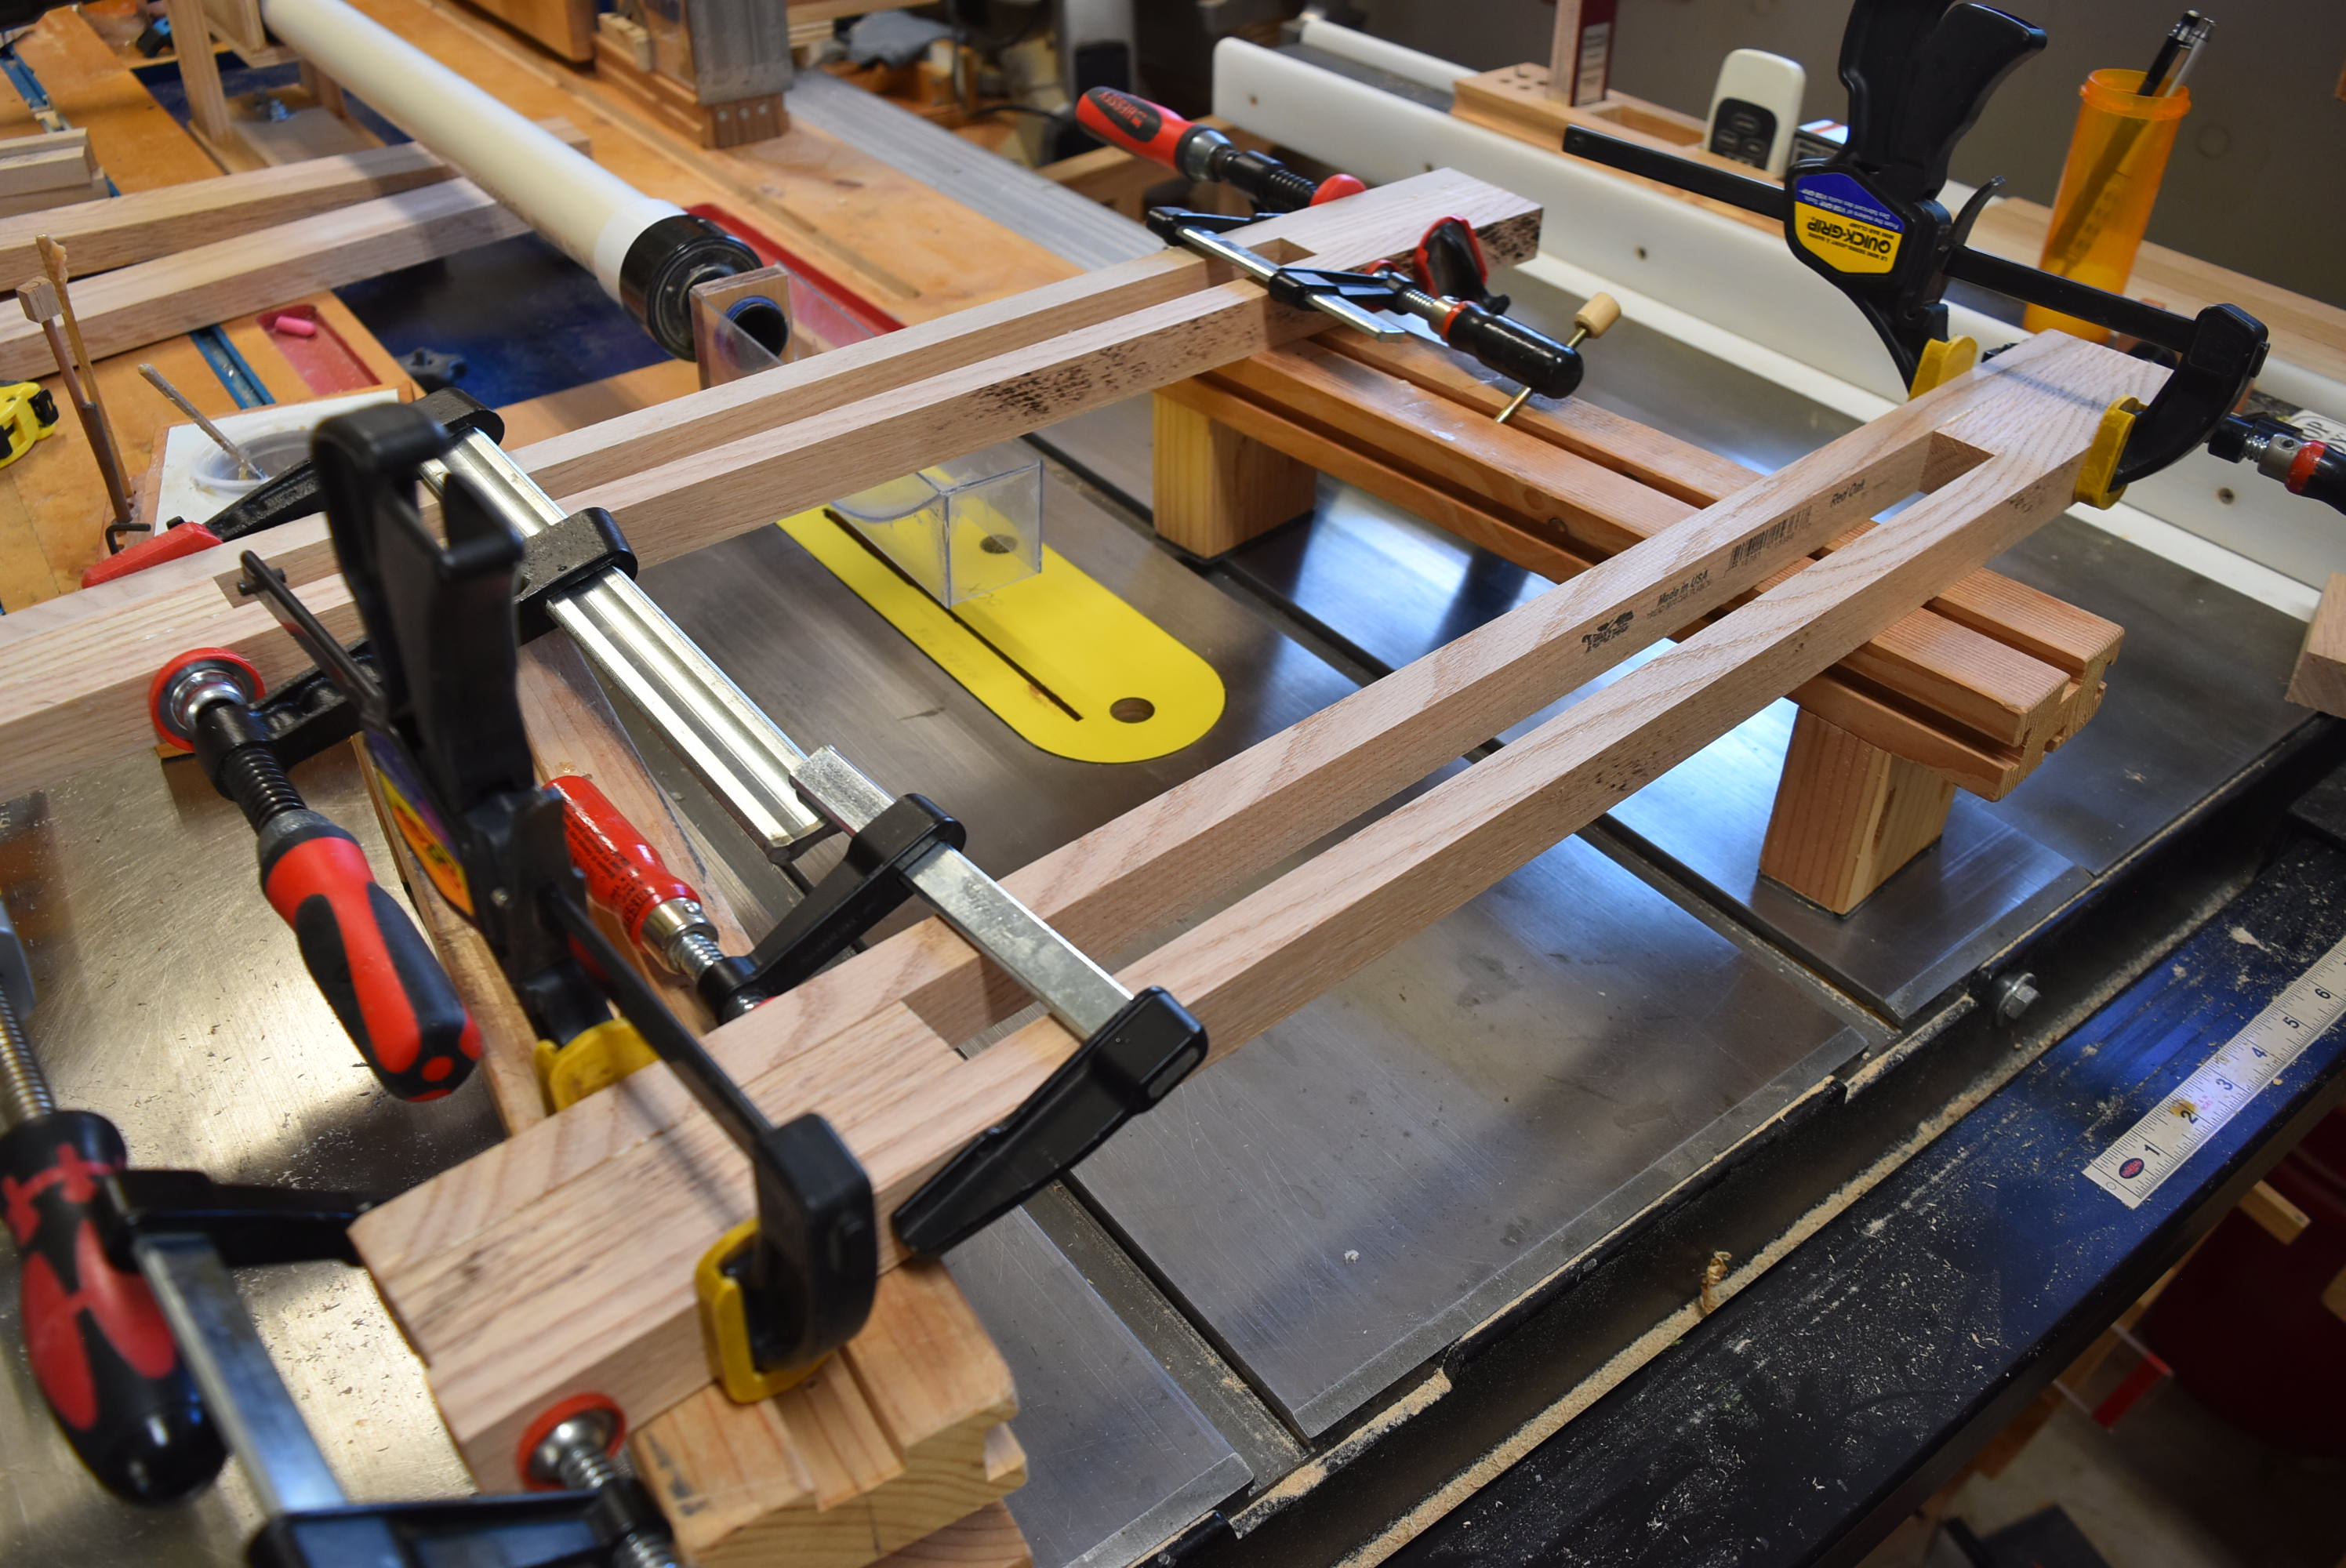
Below, cutting it to rough length at the table saw.

Ripping them to the desired width

Gluing them up makes for a 2.0 inch thick workpiece.

Flattening the edges at the jointer

Now, cutting them to the exact length (two vertical posts)

More glue ups of the other pieces.

Below are the lower half of the two leg bases which will be glued to another flat piece to make a 2.0 inch thick foot.

Flattening the surfaces before the glue up, using a cabinet scraper and card scraper.


And hand planes


I made a little marking "jig" to insure proper placement of the holes for the bolts and threaded inserts.


There are at lest a couple of different ways that I know to join pieces in "knockdown" furniture. Bolt and threaded inserts are what I used here. The other method - cross bolt and barrel is the other. The latter is far stronger but more holes are left visible outside of the joints. The former will only show the bolt head (can be recessed and easily concealed).

Dry fitting before final shaping of the arms and legs
.jpg)
Easing the edges with a block plane

Shaping the ends of the arms


Each end of the foot was contoured at the router table

Staining and applying polyurethane finish.

Staining and finishing the underside of the table

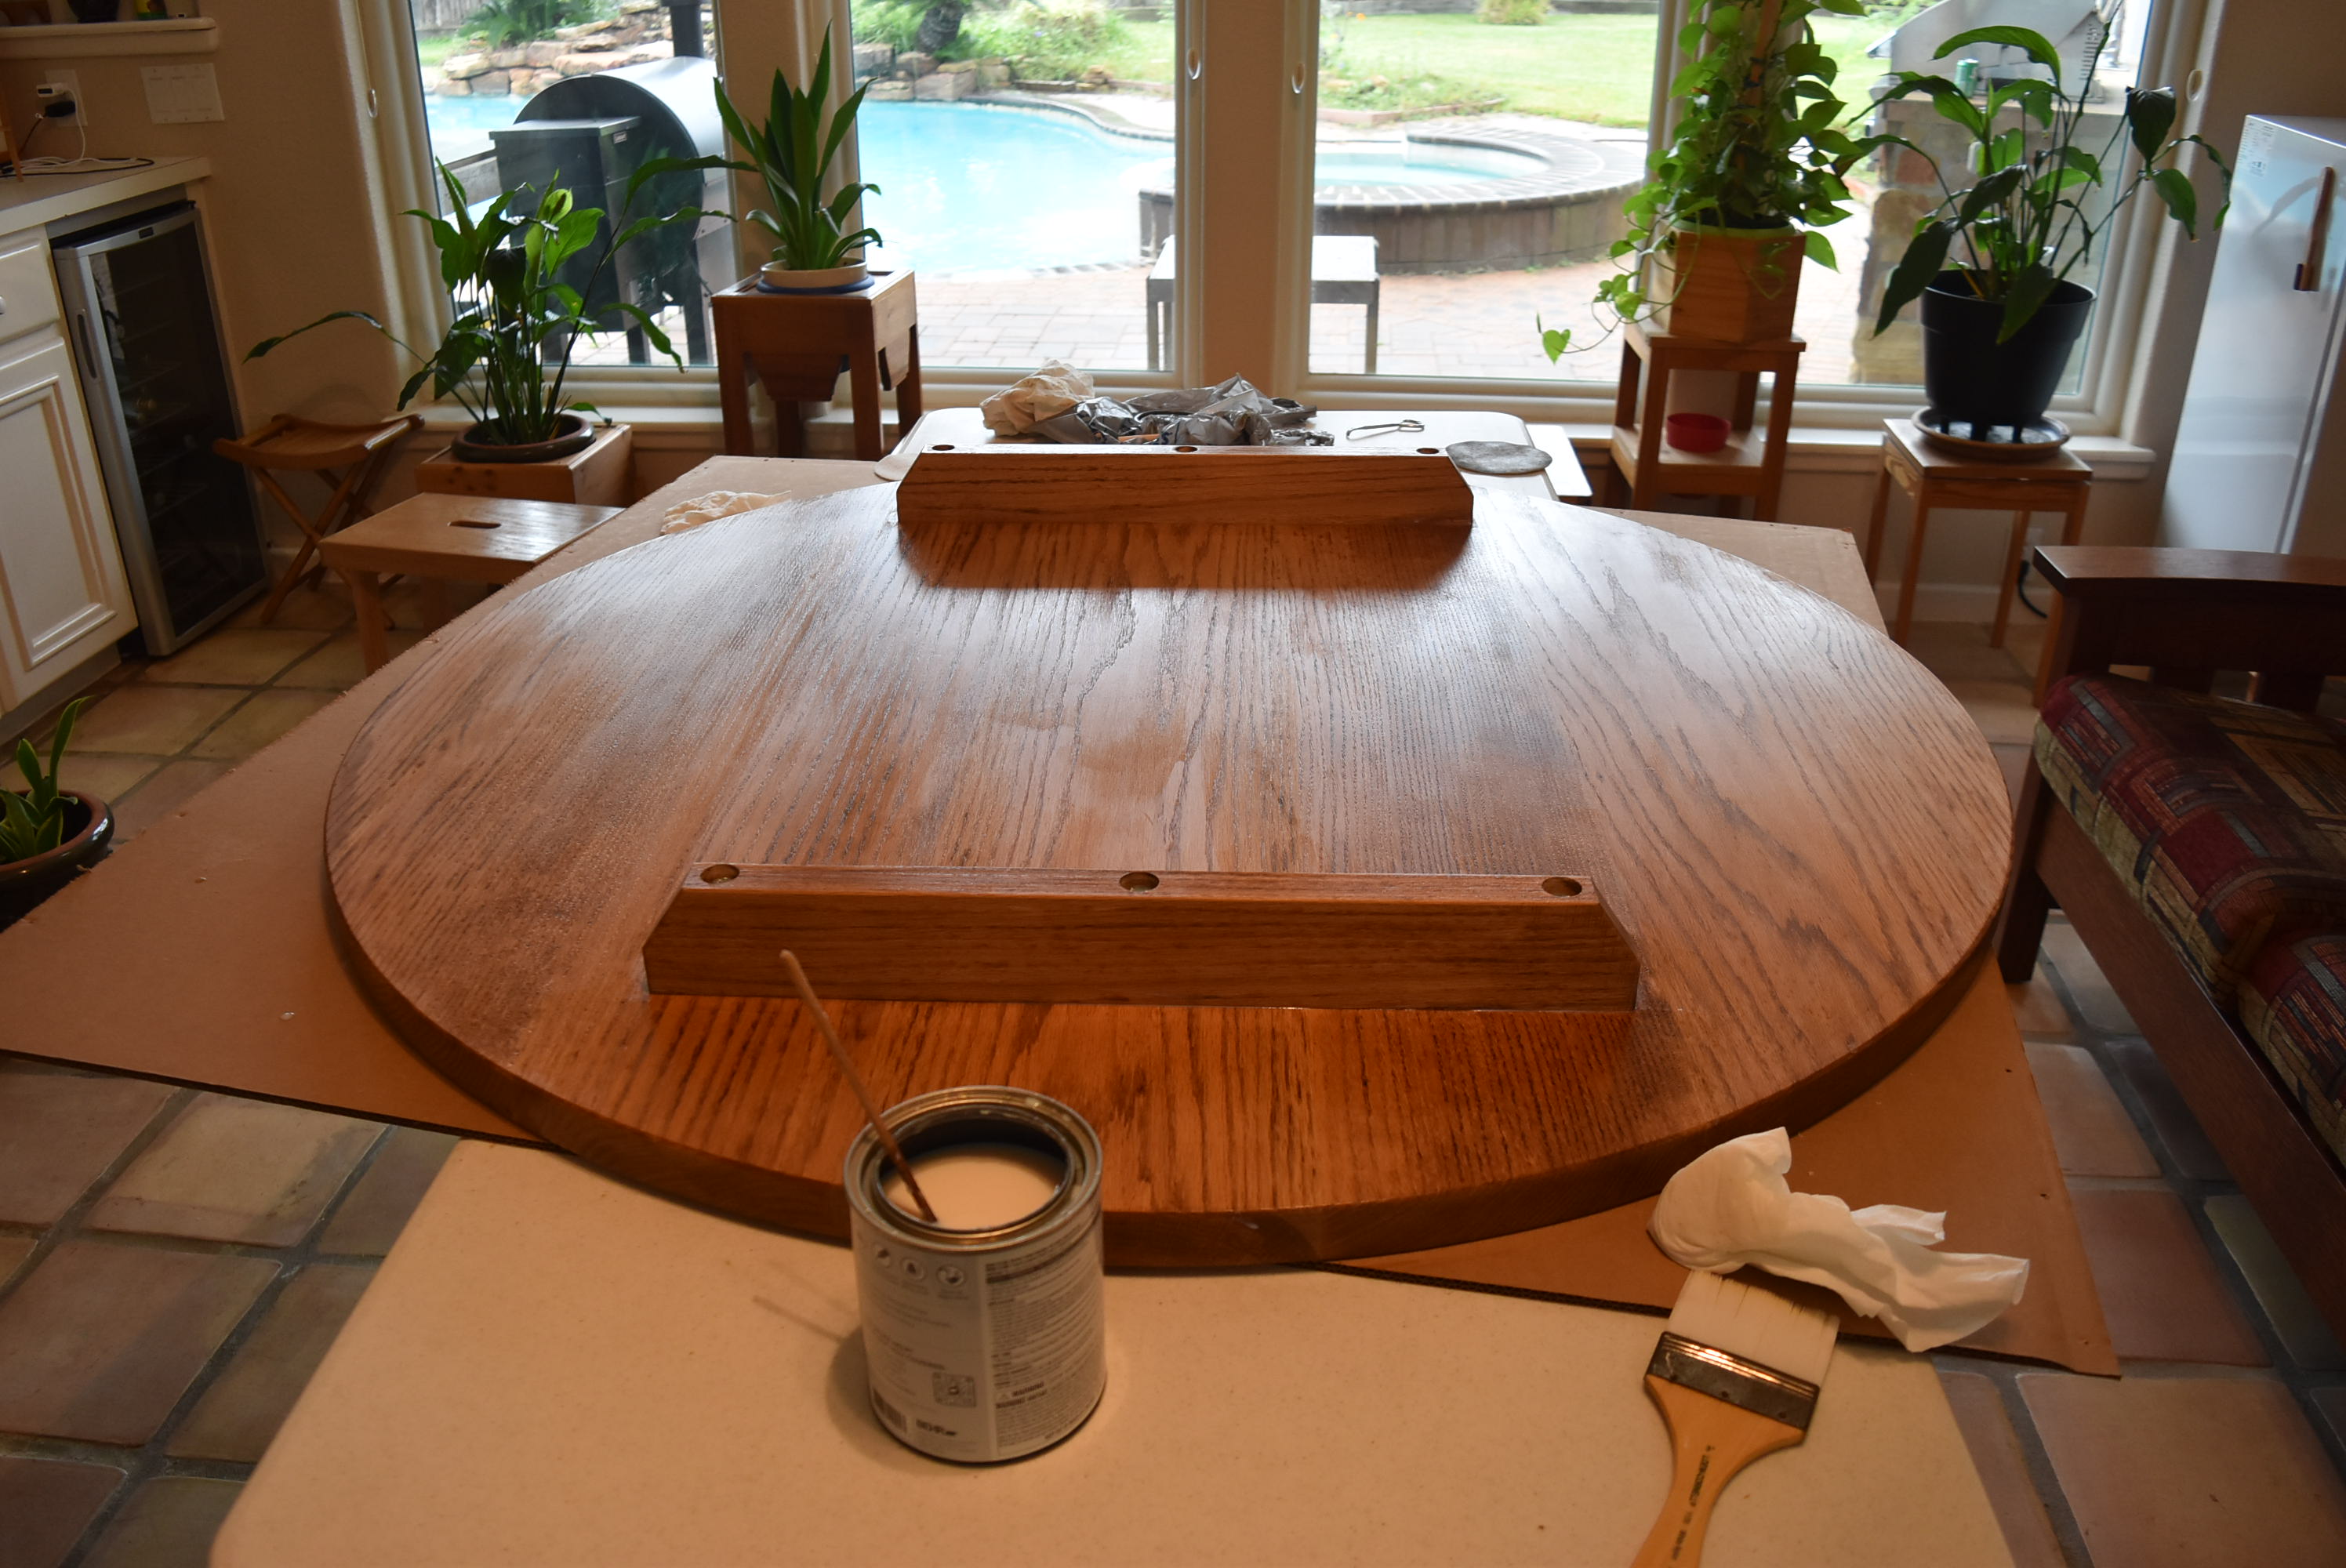
Assembling the individual pieces to the table's underside


At this point my biggest challenge was how to flip the table to its upright position and lowering it to the floor, a 30.0 inch drop. I wanted to make sure the base is well anchored to the table's underside, in case I mishandle it.
I fashioned a bunch of clips from a good quality 1/2 inch plywood from scrap cabinet drawers (saved from discarded old furniture). This was probably overkill but I had to make sure it will survive the flip-over, since I will be doing it by myself.

Screws secured the arms but I knew they were not sufficient, although good enough to hold them in place.
I had routed long slots, as shown, earlier on the router table before the pieces were assembled. Each clip was fastened with two screws each; an opposite clip on the other side made this contraption more robust.


So many thoughts were running through my head about how to set the table upright and down to the floor. By myself.😌The finished table is easily 140 pounds.
Well, I did figure one way to do it. It was easier than I had earlier imagined.
Using sofa seat cushions, I slowly eased the table from the work table to the sofa (doubling up the seats for height). The card board was part of the original packaging. I made sure, of course, that the table's center of gravity kept it from toppling over as I moved the work table away.

In real sow motion I eased the table over to the cushions on the floor.

Voila! It is upright.

Now, how about moving this and the other table? Below, available online and delivered the next day, are these contraptions that consisted of square platforms, each with four swiveling wheels. It came with a lifting lever, even gloves, and four square chocks.

And they worked!


My wife, who has Parkinson's, can now easily move around this table, which by the way is 17% smaller than the rectangular one. The other reason is for this round table to be the more appropriate card table, when we play cards occasionally when friends come over.

What happened to the rectangular table? It is now my work table! A more permanent place for my laptop and for drawing plans for any future projects.

It is also where I will do battle with one of the original AI warriors - the chess computer program - now my chief nemesis when all is quiet in the dead of night.

I promptly made a stand for my opponent. Set to No. 8 power level (out of 10), I manage to eke out a 20% winning record against it. I do better at the lower settings but I would only be kidding myself. I'm happy despite the low percentage win; besides, I'm just glad there is always a willing opponent who doesn't complain, make snide remarks or dole out judgments, and doesn't take breaks, for as long as it is adequately charged, of course. I must add that I used to play a lot in college but that was almost 60 years ago 😒. All the chess openings that I had memorized and the strategies learned are now all gone and faded into memory lanes I no longer have access to. Meanwhile, my opponent is equipped with faultless algorithms and unrelenting patience. But I am not complaining.
I simulate the moves from the screen to a regular-size chessboard nearby for an actual 3-D view of the pieces as the game progresses, which also allows for a realistic feel of the game, win or lose.

https://abreloth.blogspot.com/2023/11/for-all-intents-and.html
Remember, while age is indeed an empirical number, it can and should be also a state of mind. I didn't let my age discourage me from doing this project because if we let intent and purpose serve as inspiration, there is quite a lot we can still do (a message to all seniors out there). 😎


