Welcome to Woodworks Made Easy

Practice any art, however well or badly, not to get money and fame, but to find out what's inside you.
--- Kurt Vonnegut

Pictures are meant to be self explanatory, and for visual clarity you may
click on each photo to enlarge. For older projects see Blog Archive. I don't specialize on a particular genre so there is quite a variety of projects for a number of different interests.

Even if you are not a woodworker but you like some or all of the projects, have your local crafts person make them for you from the ideas and photos you see here. For a particular project just click the specific title on the Blog Archive list (right side column below).

For anyone willing to learn or begin to do woodworking for the first time, please read first from the Blog Archive, "How and Where to Begin a Woodworking Hobby.

And it is not for men only. Read my note on "Women in Woodworking" from Blog Archive, April 2010.


click on each photo to enlarge


Tuesday, September 26, 2017

8 Inch Knife Stand

This completes the 3-piece high carbon steel kitchen knives (blade kits by Hock Tools). The method of construction is the same as with the 5-inch chef's knife. Same hard wood - pink flame, popularly known as flame wood.


Finishing was done on all four separate pieces before final glue up

Believe it or not this is the final glue up. The fitting is perfectly snugged, there was no need for clamping action, except for a slight tap for a fully contact.

Photo below is what made this project particularly special. Note how the grain matched up perfectly. Considering that during the 45 degree miter cut and the gap created by the saw kerf, it  was pure luck that this was achieved.


From the photos below, my wife once again reminds me that the kitchen island is running out of room (I say there is still plenty but I'm not saying it loud). These are micro projects that did not get done overnight but I hope some of the grand children will want to hold on to these.


Sunday, September 24, 2017

Pen & Pencil Holder 2G

The first Pen & Pencil Holder I made (a couple of blogs down) was described by some friends as, for lack of a better word, "overkill". It would seem then that I doubled down with this second version. I understand that a coffee mug can easily be a pen and pencil holder. Or, for that matter, a coffee can will hold a lot more pens and pencils!

Well, hobbies, if they must be worthy of the time and effort, are not about convenience or what are easy to do. Sometimes it can be that the hobbyist will dare to engage in a project that has not been done before because he or she can. But, more importantly, no matter how simple a hobby is, how much patience it demands, how much creativity is involved, it is the feeding and the exercising of the mind through hands and eyes that are the reasons and the rewards. I found that the satisfaction I got from the simplest, perhaps the most rudimentary of projects I did when I first started, was just as fulfilling as the ones done recently. 

I would discourage anyone from doing something from someone's existing plan; in other words, don't copy what has already been done. I am talking about hobbyists, of course, and not of those engaged in commercial endeavors.  Half of the fun or challenge is when the mind tries to envision what the project is about, envisioning it in one's head, turning it over and over from every which view, long before it is on paper or the first saw cut.  Everything is first a mental calisthenics before the first saw dusts come flying.


Every woodworker must deal with scrap wood. If I don't throw them away then, no matter how long they've been in the scrap heap, I need to deal with them sooner or later.


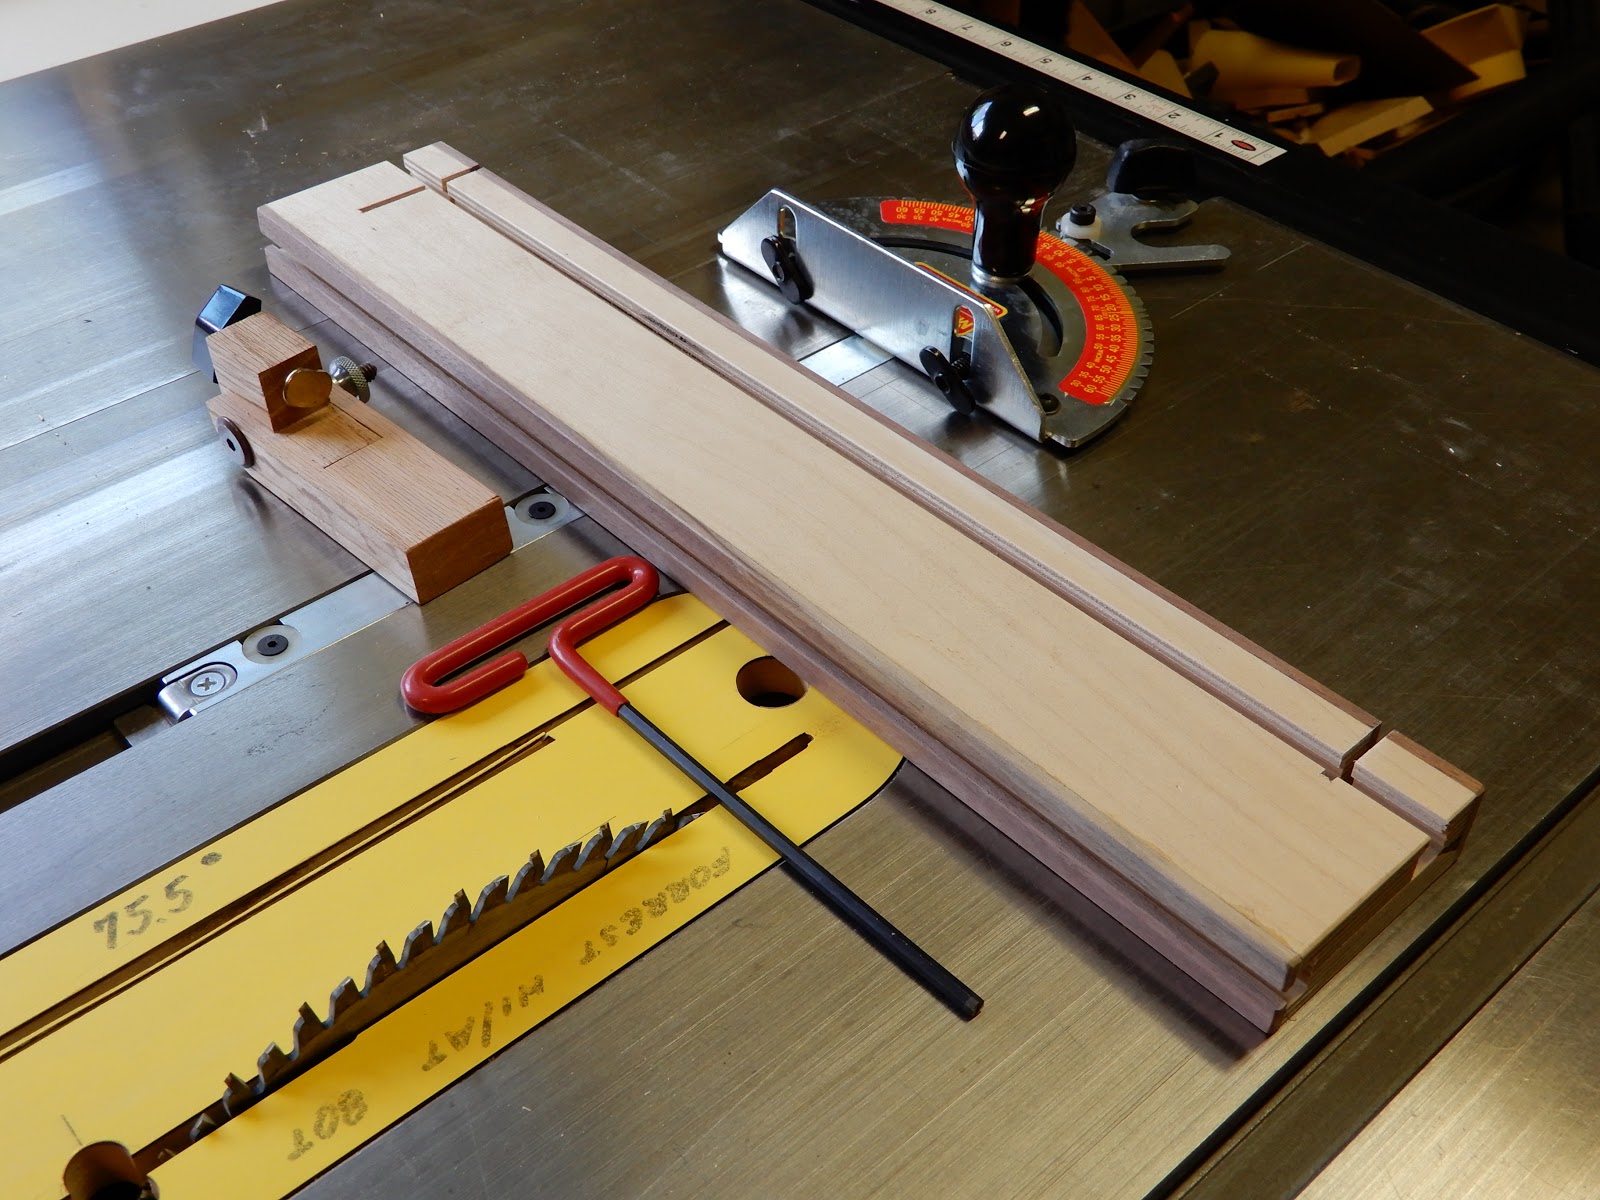
The imagined structure and shape had been revised a few times because the quest to minimize the amount of material and how they are put together with the simplest number of steps are the goal.  From the simple pieces in the photo directly below to the fourth picture further down are what I mean by imagining and re-imagining until it has been simplified.


Base of oak edged with walnut.

A quality double-sided tape temporarily secures the top part to the base for a drill through. In final assembly, the top part will be elevated and appear to float 1/4 inch from the base.


To allow for  the pencil points, smaller diameter secondary holes were drilled through.


Wednesday, September 20, 2017

8-inch Chef's Knife

This is the last of a series of three, unless Hock Tools make another model of their high carbon steel knife kits.  This is the 8 inch chef's knife. Two years ago (Oct. 2015) I did the 5 inch chef's and the paring knife. Hock Tools' main product line are edged tools for woodworking, i.e. hand plane and spoke shave knives, marking tools, etc. They sell the high carbon steel knives (these are forged in France by special arrangement) which are available as kits for hobbyist woodworkers to apply their creativity and choice of wood species in fashioning handles for the blades.  Two years ago I kept left over material for later, with the intention of buying the 8 inch blade.  Took a while because: (a) there were other projects; (b) the blades are not cheap. But these are among the best in the market and uniquely different from the more popular stainless steel blades. High carbon steel knives may not be for everybody. Unlike stainless steel, high carbon will rust! And it will stain as to develop a grayish patina over time. So, it must always be kept dry after each use.

However, high carbon high quality steel knives are the very best in many ways. It not only has the sharpest edge, it will maintain it longer, yet it is easy to sharpen and hone. There are folks, I am one of them, who actually love the patina that develops with high carbon steel - because before stainless steel, quality old world knives were solely made from high carbon steel that, when taken car of, easily become heirlooms for generations that follow.. 

 The kit comes with clear instructions and three pieces of 1/4 inch steel pins. The edge is very sharp and well honed already so first order of business is to fashion a cardboard sheath with masking tape to secure it to the blade. It will protect the blade while you work on the handle (also called 'scale') and more importantly, to protect your fingers.
 With a coping saw, or a scroll saw or band saw, cut outside the traced line to make sure there is enough "overhang" so the handle can be made flush with the blade handle during finishing.
 I used a good double sided tape to secure one of the scales to one side of the tang (handle). Using the holes on the tang as guide, drill three holes. Flip the handle over, tape the second scale, insert two pins temporarily and drill one hole, move one pin to it and drill the other hole and on to the third one.  This insures a perfect match during final glue up. 

 Set the knife aside after removing the scales. Insert all three pins and shape the forward edge (shown as the narrower part of the handle closest to the entire blade). You need to do this because you will not be able to shape this later without scratching or damaging the blade.
 Use a high quality 2-part epoxy to glue the two scales. Make sure to clean the tang and pins with alcohol to remove any oils or other contaminants. Lightly rub the metal surface and pins with 320 sand paper. Insert the pins one one scale first, apply epoxy and press one side of the tang. Apply epoxy on the remaining side of the tang. Position the other scale, using the pins as guides, and press down. Apply clamps.

 Let the glue dry overnight. 
 Aside from rasps and sand paper, a stationary belt sander will make quick work of removing protruding portions of the pins. Do this slowly until the pins are flush with the scale surface. 


Next order of business is to make a stand for the blade such as the ones for the two other knives. It is another project.