Welcome to Woodworks Made Easy

Practice any art, however well or badly, not to get money and fame, but to find out what's inside you.
--- Kurt Vonnegut

Pictures are meant to be self explanatory, and for visual clarity you may
click on each photo to enlarge. For older projects see Blog Archive. I don't specialize on a particular genre so there is quite a variety of projects for a number of different interests.

Even if you are not a woodworker but you like some or all of the projects, have your local crafts person make them for you from the ideas and photos you see here. For a particular project just click the specific title on the Blog Archive list (right side column below).

For anyone willing to learn or begin to do woodworking for the first time, please read first from the Blog Archive, "How and Where to Begin a Woodworking Hobby.

And it is not for men only. Read my note on "Women in Woodworking" from Blog Archive, April 2010.


click on each photo to enlarge


Saturday, March 31, 2018

Freezer Door Handle Replacement (an unlikely woodworking project)

Our refrigerator is well made and highly rated except that perhaps the manufacturer's engineering B-team designed the freezer door handle. A very long hard plastic handle, sufficiently rigid is set horizontally with two metal clips fastened by two screws to the metal door body. The handle is affixed by moving it right to left with the metal clips on each end sliding to the matching clips at the door face. Well, the poor design unraveled quickly early on with the handle detaching itself from the door. I would re-attach it but would only last for a while. Finally, I decided I would replace the handle and make it a woodworking project.

The handle outlived its usefulness


A sliding mechanism still makes sense, using channels at both ends of the handle to match to two rails fastened by metal screws to the door face. Next photos make the concept a lot more clear.


It will be a more robust sliding mechanism


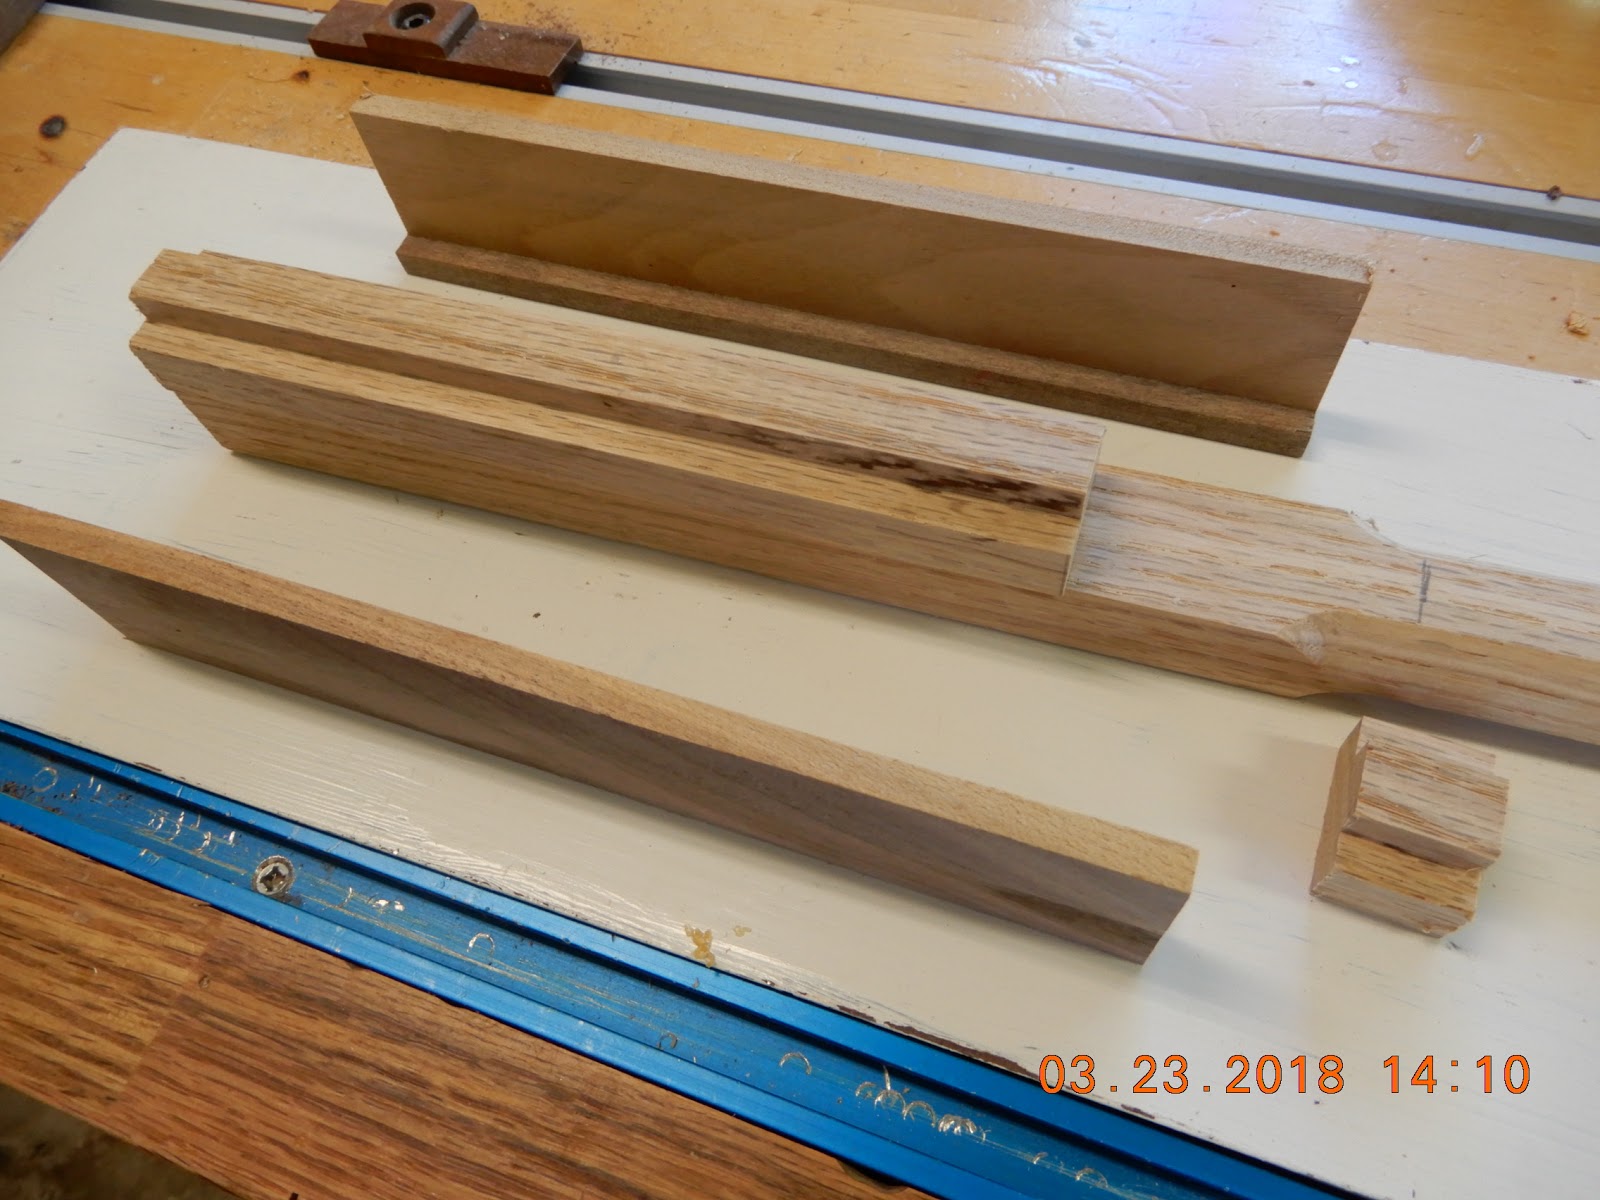
The sliding mechanism is taking shape.

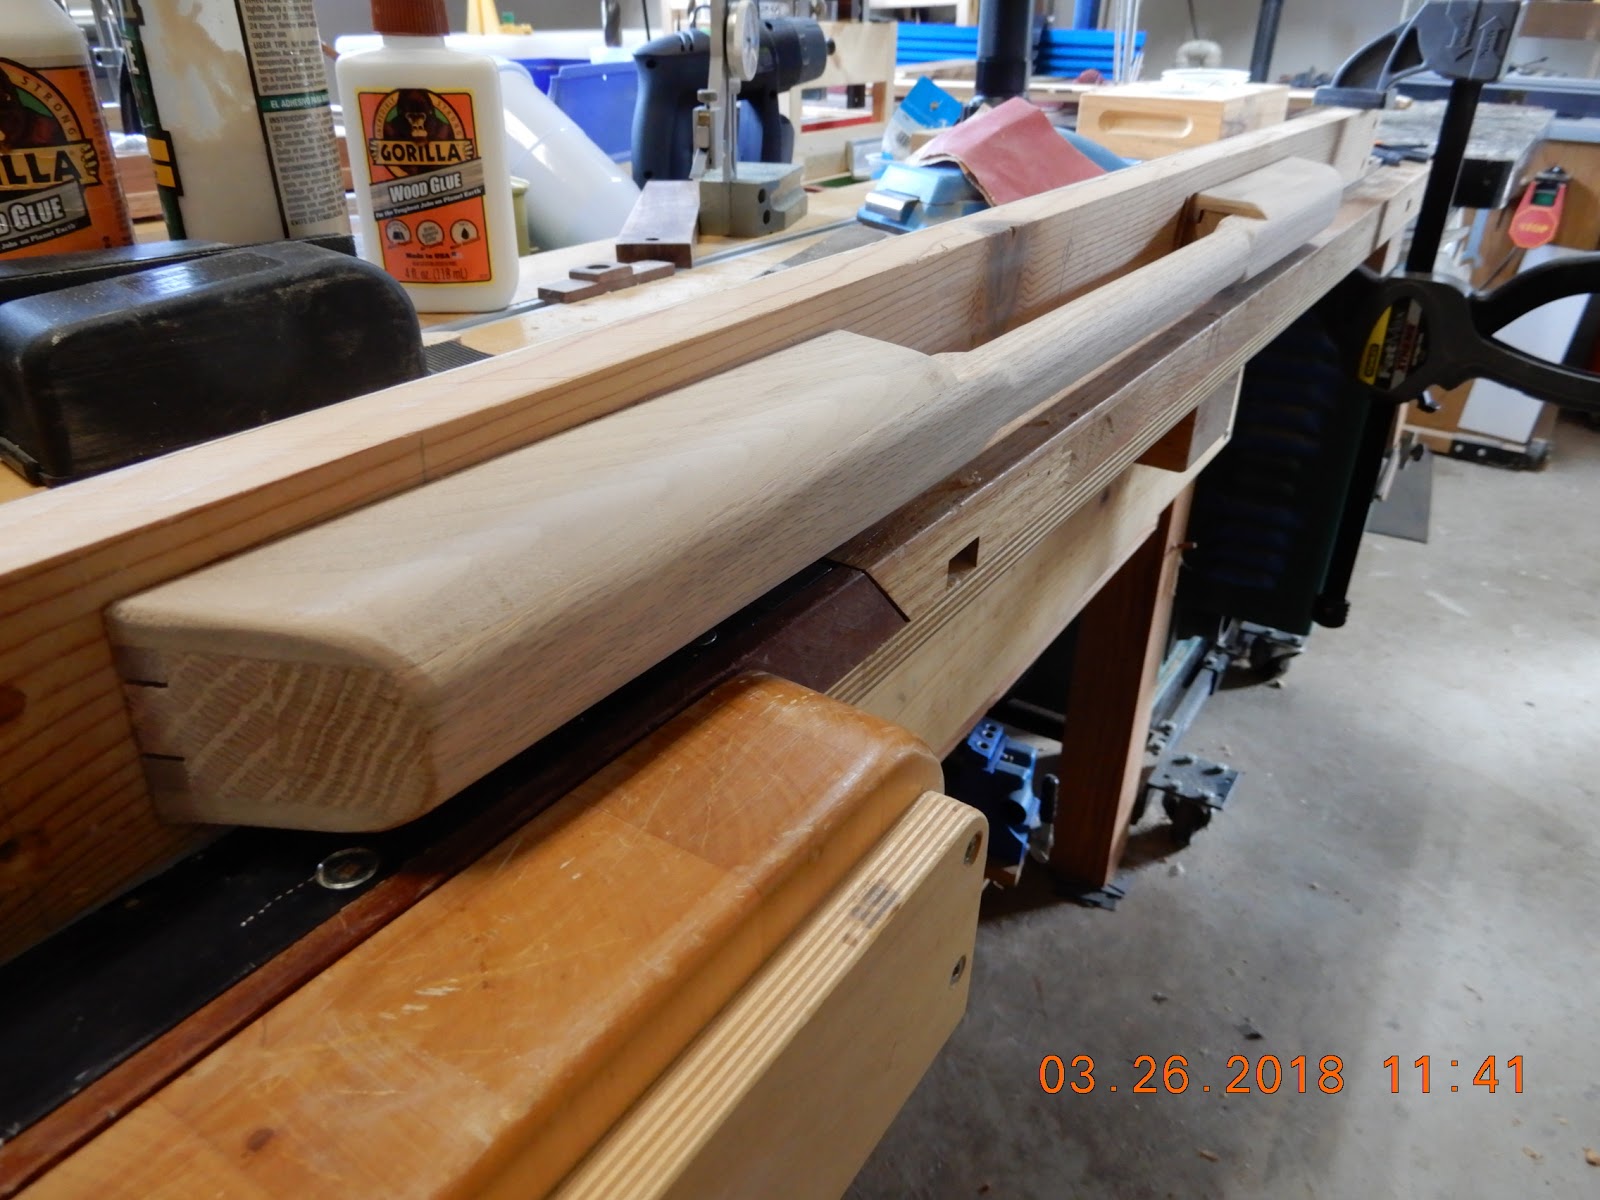
Left end channel of the handle sliding into the rail.

I attached the rail temporarily to a long scrap piece to test the fit of the sliding mechanism, adjusting several times with sand paper


Although friction will sufficiently keep the channel and rail system in place, short screws will make it more secure and since they will be at the bottom they will be hidden from view.


The handle has C-channels at both ends that will slide into the T-rails

The rails are fastened very securely with a total of four screws.

Note the handle partially sliding into the rail


I could have painted the handle white to match the refrigerator's color but I think the wood grain of the walnut and oak provides a little warmth as a conversation piece.


Tuesday, March 6, 2018

Lap Joinery

Lap joinery is one joinery technique that has its own place in woodworking. Where applicable it is a very effective and strong joint. It is also mostly unappreciated or even ignored by many woodworkers. Others may find it too involved when in fact it can be made with hardly having to make pencil marks.


Prepare stock to the desired width.

This is the only pencil mark needed and it can be done by hand, using your finger as edge guide. Make a center line. It does not have to be that accurate.
 A standard blade can be used but a stacked dado is recommended. Raise the blade just below the marked center line.

Make a first cut.
 Flip the work piece and make another cut. "Sneak" up by raising the blade a bit at a time, each time flipping the work piece.
 After a few steps described above, a sliver is left and a final cut will remove the sliver; achieving the perfect half of the joinery. Keep that blade height.
Position a scrap piece that is the exact width of the work pieces.

 The first cut marks the inside of the lap joint
 Make several cuts to complete the lap.
 Glue up is straight forward.  This is a clean joint that is not very difficult to do.