Welcome to Woodworks Made Easy

Practice any art, however well or badly, not to get money and fame, but to find out what's inside you.
--- Kurt Vonnegut

Pictures are meant to be self explanatory, and for visual clarity you may
click on each photo to enlarge. For older projects see Blog Archive. I don't specialize on a particular genre so there is quite a variety of projects for a number of different interests.

Even if you are not a woodworker but you like some or all of the projects, have your local crafts person make them for you from the ideas and photos you see here. For a particular project just click the specific title on the Blog Archive list (right side column below).

For anyone willing to learn or begin to do woodworking for the first time, please read first from the Blog Archive, "How and Where to Begin a Woodworking Hobby.

And it is not for men only. Read my note on "Women in Woodworking" from Blog Archive, April 2010.


click on each photo to enlarge


Wednesday, April 28, 2021

When in Doubt, Organisize

Wrong spelling  and one woodworker's corny attempt at humor aside, my woodworking hobby has one challenge other than completing projects - keeping my tools organized.  As good as I think some of my projects may have been, my wife is the first to tell me that keeping my tools organized is one never-ending quest with which I struggle just to make a passing grade. I can't argue with her on that.  It is an argument I can't win, not that I have any fantasy at all of winning that one.

So, the quest is to make it easy to return my tools to their proper places because: (1) that's the best way to find them later when you need them, again; (2) that's the best way to know where to put them back after each use.  Easier said than done, so over the years, as the reader shall see later at the bottom of this blog, I have had all kinds of projects toward that end.

Here is the thing. I find frequently used tools are not best kept in a tool box. Keeping these tools in plain sight is what I try to accomplish with this latest project.

Inside the house, not in the workshop, are frequently used tools that in the past were in a tool box.  I chose four that I have determined to frequently go to - other than kitchen tools or utensils, of course - and separated them from the less frequently used household ones. 

There is the multiple-bit-abled screw driver, of course. A pruning shear for the indoor plants. A heavy duty shear to open up those pesky clam shell plastic wrappers. And a box cutter to open up taped packages.


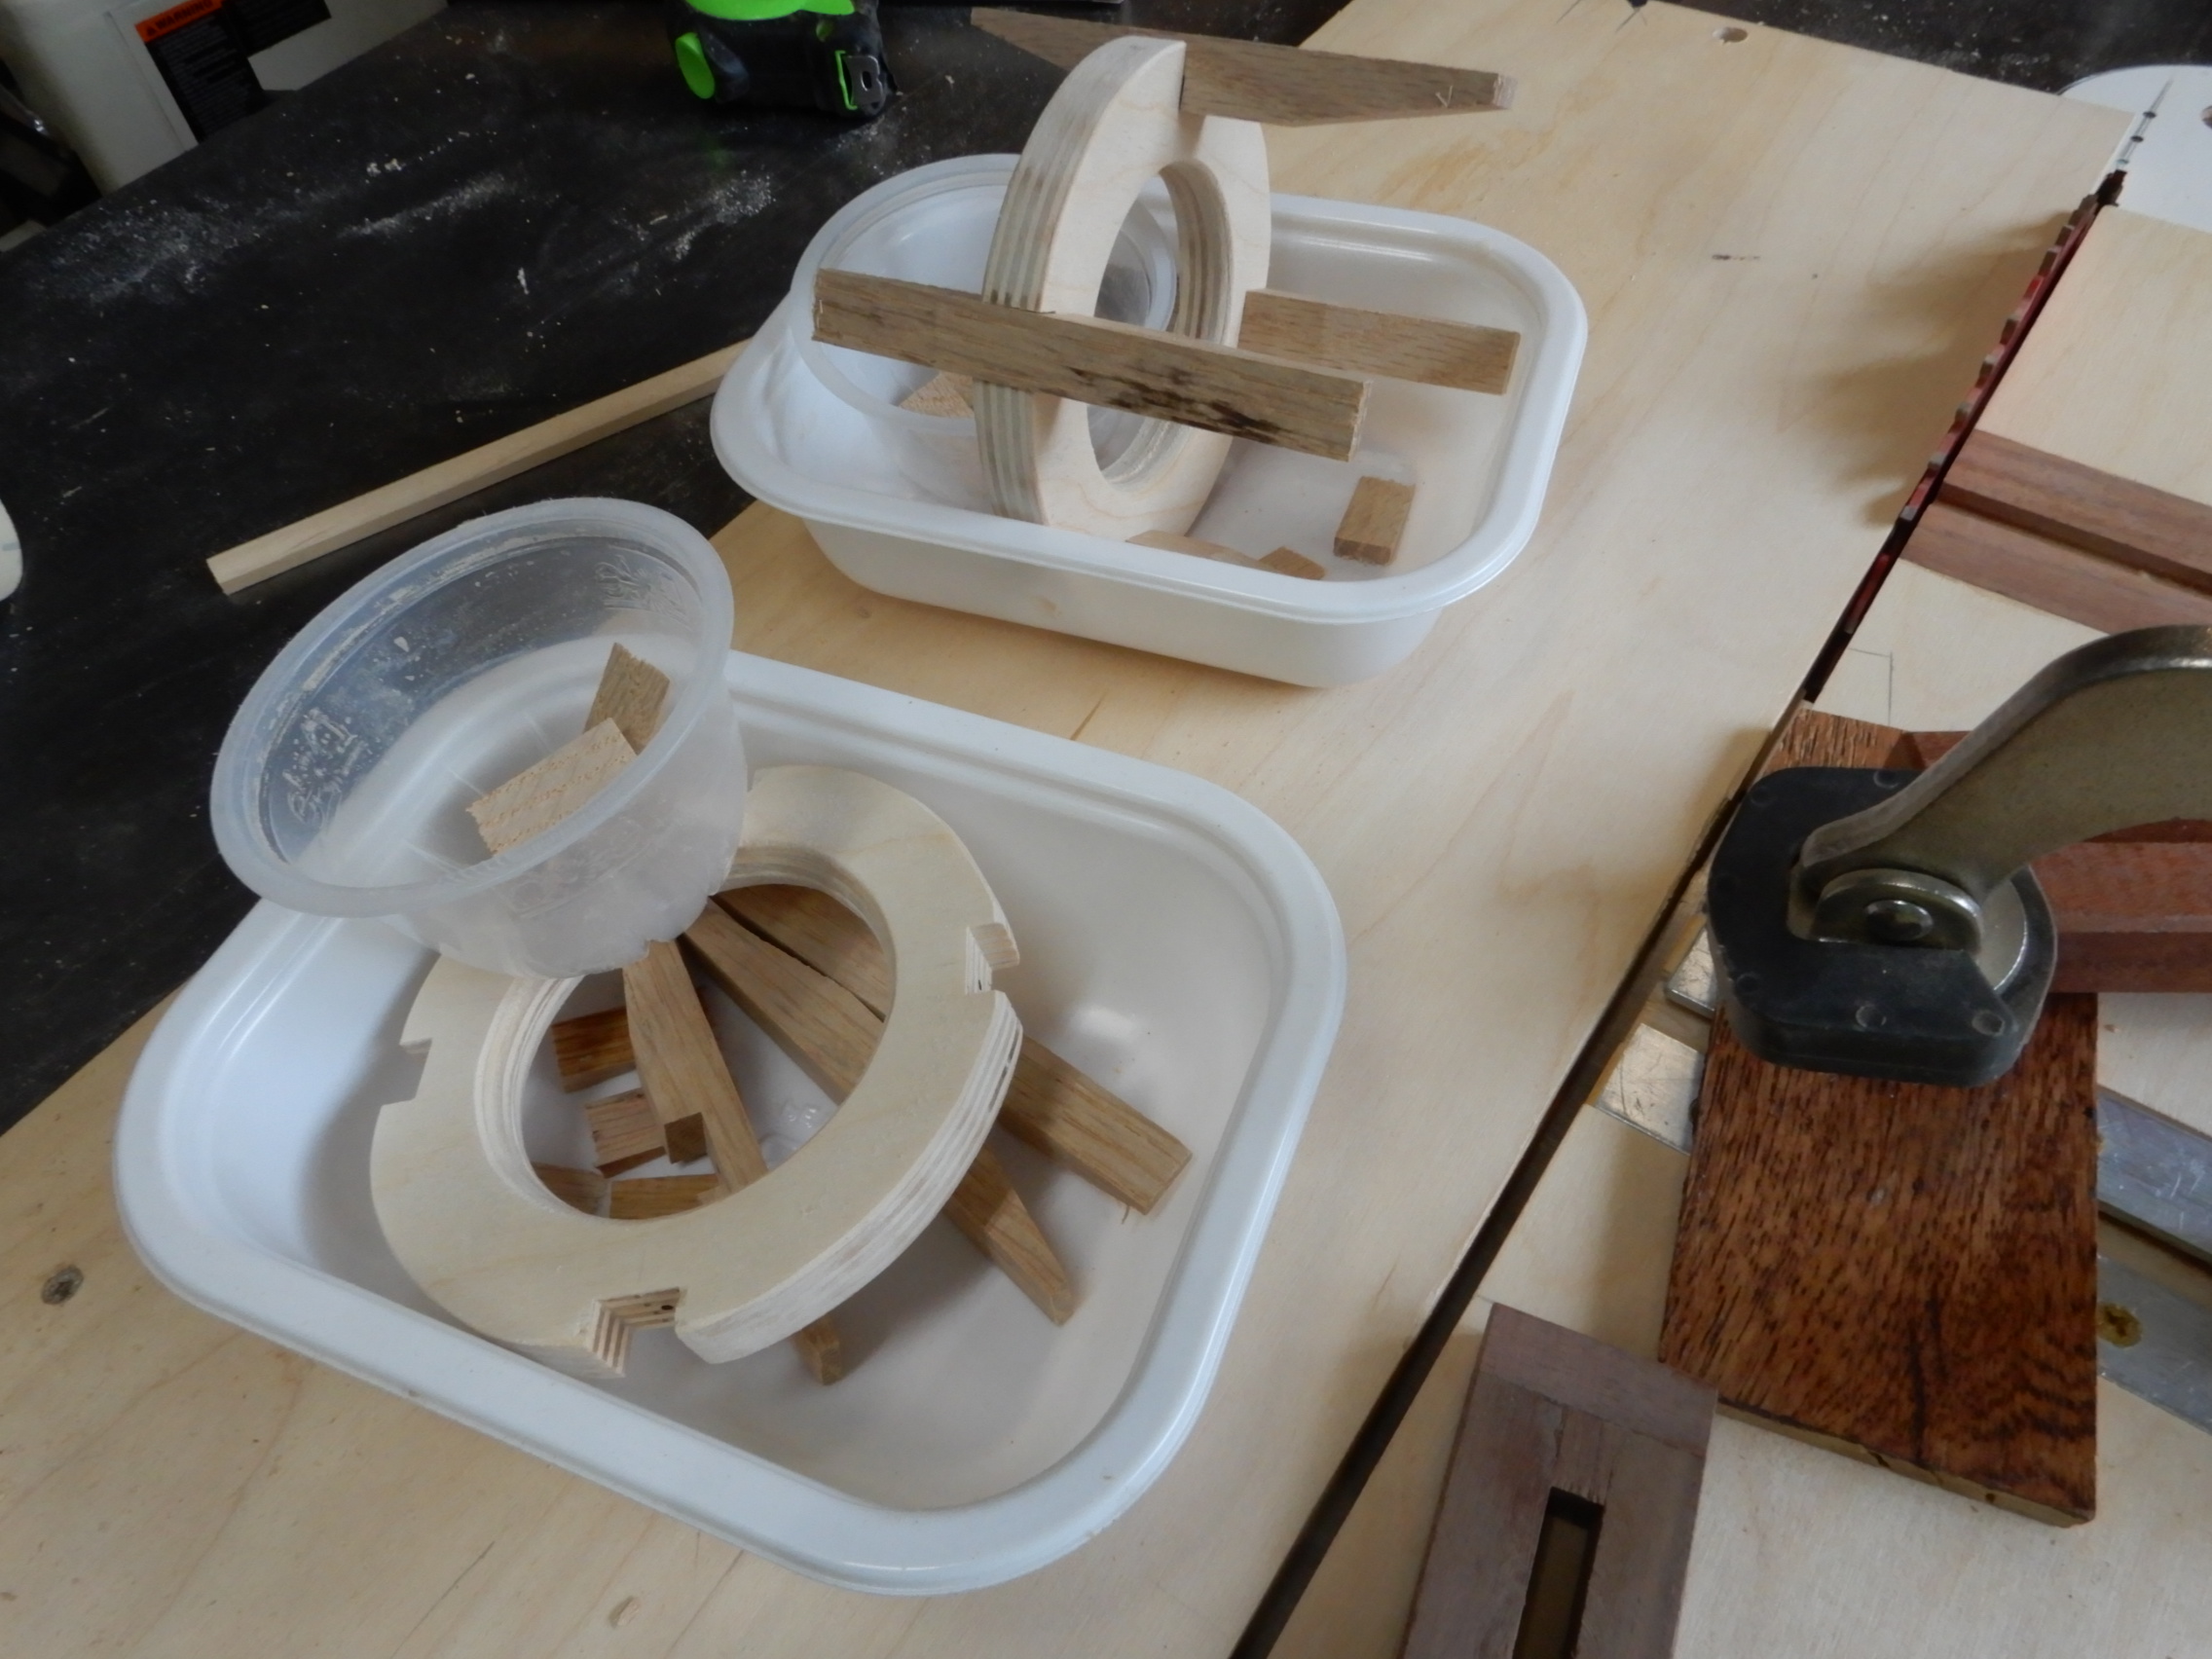
I glued together strips of the scrap wood for a wider board


Tried to configure best compartmentalization (a long word for any woodworker!) for the four tools


Flattening the now wider board with a hand [lane


Super glues are fast acting but if that is not fast enough, how about one second for the glue to set. Use an accelerator that when sprayed on the joint where you had just applied the super glue, the joint will set hard in one second flat.


Two rare earth magnets will hold in place the assortment of screw driver bits and the telescoping magnet-tipped pick-r-upper for picking up screws  or other ferrous materials, even other tools dropped on the floor


One strategic place to locate this in plain sight is the plant stand near the kitchen table. 


The screw driver is the one ubiquitous tool that is in almost every household. This one compact quick-connect-disconnect one will drive a variety of interchangeable bits.


Pocket knives are also good to have in plain sight/


Below: caddy for frequently used marking tools has magnets at its bottom to hold it in place but will easily slide to move it around the table saw top.


Work bench caddy for other tools


These are less than half of what needs organizing. I'm afraid I can't show the rest of the small workshop but it is work in progress.


Thursday, April 22, 2021

Project in Search of a Purpose

Two projects ago I mentioned a minor project that was kind of an after thought to the main topic. 

This is another version with a little more detail.  One can say though that this is one project that any kitchen can be without.  But on the other hand it is also one of those that can evoke, "well, now that I see it, it would be nice to have one". But it follows too that a lot of other objects around the house can be used to serve the same purpose as this one.


However, this is a woodworking blog, and it will be of interest to those simply looking for tips on how to do certain things that will apply to projects totally unrelated to this one but similarly constructed.

So, we have a ring with four equidistant legs.  For strength in the joints, slots or notches must be cut at both the ring and the leg for a nice tight fit.  

If you cut the ring first before the notches, the degree of difficulty is very high. So, cut the notches first when the ring/circle is still a square.  It makes sense, doesn't it. Make all the pencil marks on a square whose width shall be the outside diameter of the ring, represented by the outside circle.


Cut the outside circle.


Drill out the inner circle to create the ring.


From scrap hard wood, rip a few pieces that will be the legs


Cut the notches on the legs


A perfect fit


Cut the desired taper


Since I made two of them, I had to make sure I didn't interchange the parts, so it is best to keep them segregated until final assembly.


The last project looked like the two photos below


They are simply pot cover stands! And, obviously, one will find many other stuff around the house - coffee mugs, saucers, a piece of brick, even a book, etc. - that will do for a stand but, hey, this is a wood working blog. However, anything to elevate a  dripping hot pot cover away from the kitchen counter top will work.

To woodworkers, I am just suggesting another way to produce sawdust and voila - a project with a purpose, or more.