Welcome to Woodworks Made Easy

Practice any art, however well or badly, not to get money and fame, but to find out what's inside you.
--- Kurt Vonnegut

Pictures are meant to be self explanatory, and for visual clarity you may
click on each photo to enlarge. For older projects see Blog Archive. I don't specialize on a particular genre so there is quite a variety of projects for a number of different interests.

Even if you are not a woodworker but you like some or all of the projects, have your local crafts person make them for you from the ideas and photos you see here. For a particular project just click the specific title on the Blog Archive list (right side column below).

For anyone willing to learn or begin to do woodworking for the first time, please read first from the Blog Archive, "How and Where to Begin a Woodworking Hobby.

And it is not for men only. Read my note on "Women in Woodworking" from Blog Archive, April 2010.


click on each photo to enlarge


Thursday, February 9, 2023

The Other Method of Hanging an Orchid Indoor

As always, with most hobbyists, we learn immediately after finishing a project, another method of doing something.  Whether it is one or two more steps or one completely different way, we find that there is a better way, or at the very least, just merely a different way.  That's what makes hobbies interesting, if not only less boring.  And it can go either way in terms of complexity.  One may simplify a method, or make it more complicated.  And then I tried another use for baking soda - in the glue up process.  Baking soda, like vinegar, continues to be one household item that is always looking for another way to be useful.

First, for the "ears" I found some left over polycarbonate.  Its white color matches with the ceramic container.  As with the previous project I drilled three equidistant holes around the rim and fastened the "ears" like so, below. 


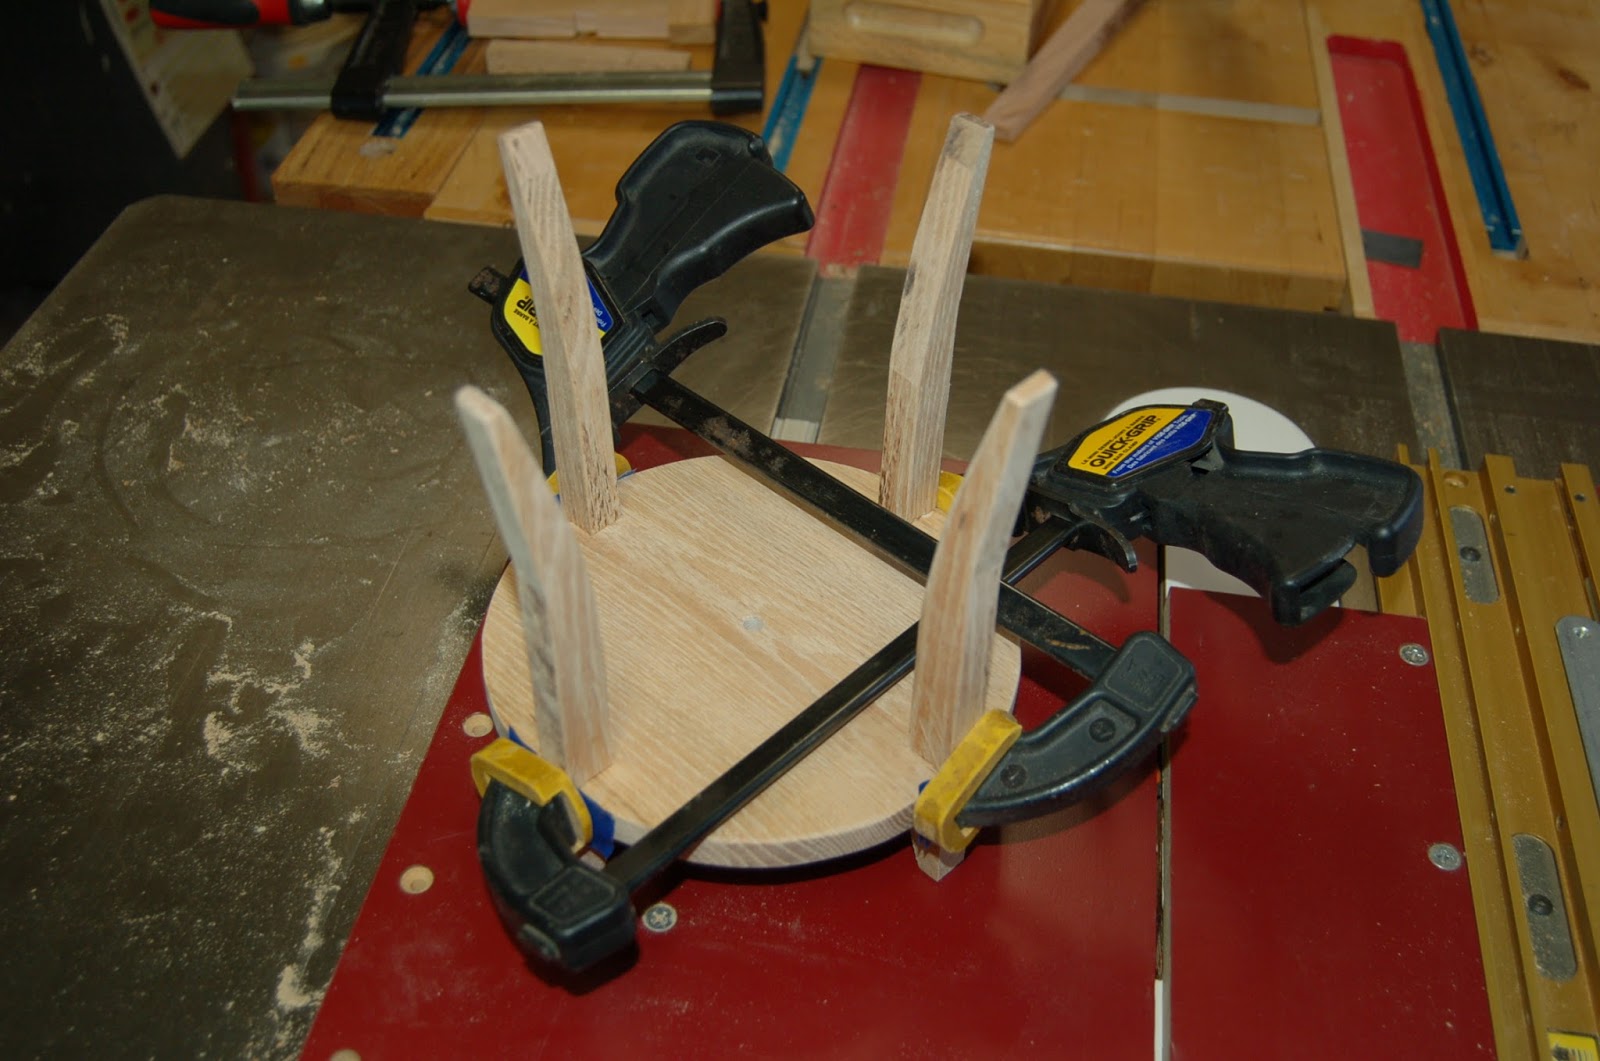
I used the baking soda powder as filler between the gap before smearing  drops of the CA glue (crazy glue) at the joints.  I sprayed an accelerator to instantly harden the glued joints.

Another simplified step in the process was to merely drill holes at both ends of the clear 1/4 inch polycarbonate rod.  Two ordinary key rings completed both ends for hooks to connect to.


Tiny holes drilled on each of the three "ears" provide a way to thread the strings that are secured with tiny rings that act as stoppers.  The two following photos best explain how they work.


The second orchid to the right (first project) had already lost its bloom. But there is hope it will continue to grow.  The sellers of orchids finally let out the secret to watering.  These orchids came with a watering cup.  The grower recommends two of these once a week. It is actually the equivalent to the volume of water in one standard kitchen measuring cup.

 
Hobby Lobby and online retailers, including Wal-Mart, sell CA and accelerators.  BSI - the brand I've been using - sell both as a pack. And don't forget the humble baking soda, if you need it as a filler.  I've red that Styrofoam - crushed or shredded to fine particles work just as well.


Saturday, February 4, 2023

Tea Kettle Stand

I only occasionally drink tea. And when I did it was always from out of tea bags.

It had been cold, rainy during the last days of January. I was going through the cupboards and saw several special tea given to us by friends from Taiwan and Vietnam not too long ago that we've not gotten around to try. So, I rummage through the lower cabinets to find a tea kettle. A gift from long ago that just sat there in the dark corner.

Cold to do anything outside, hardwood scraps lying around, pieces of stuff waiting to be re-purposed, I went to work.

Cut and glued two thin pieces of oak. Two small wooden cones left over from another project.


Made a circle out of a square


From an earlier project five years ago that was waiting to be re-purposed

A planter stand it used to be will have another use.

Cutting the tips of the cones to precise heights was a challenge that took a while to figure out. Aha! I drilled two 3/8 inch holes into a scrap board. Using a level ensured that the two cones will be cut precisely.

With CA glue and accelerator I fastened the two cones, then cut with a flushing saw. 

Below shows the method to the madness.  A spacer circle ensures the desired height for the two conjoined cones.

More detailed method to the madness

The mini round table is what will support the tea kettle ..

.. which makes it look like the outstretched four arms are supporting it.


I cannot help but to call a tea strainer a steeping tool; a weak attempt at a sort of word play on the stepping stool. Corny humor aside, this stainless contraption will strain tea effectively.


Keeping the tea kettle in full view by the counter top will help to make me a regular tea consumer. However, I may not develop the taste to add milk to it, as those from across the pond and in all its past colonies will have us believe is the greatest thing for tea.  I think that idea was lost on that fateful morning on December 16, 1773 along with all the 342 crates of tea that went into the bottom of the Boston harbor.  Just teasing, my British friends 😇 I believe milk-free tea is only true in the U.S. and a few other non-conformist countries.