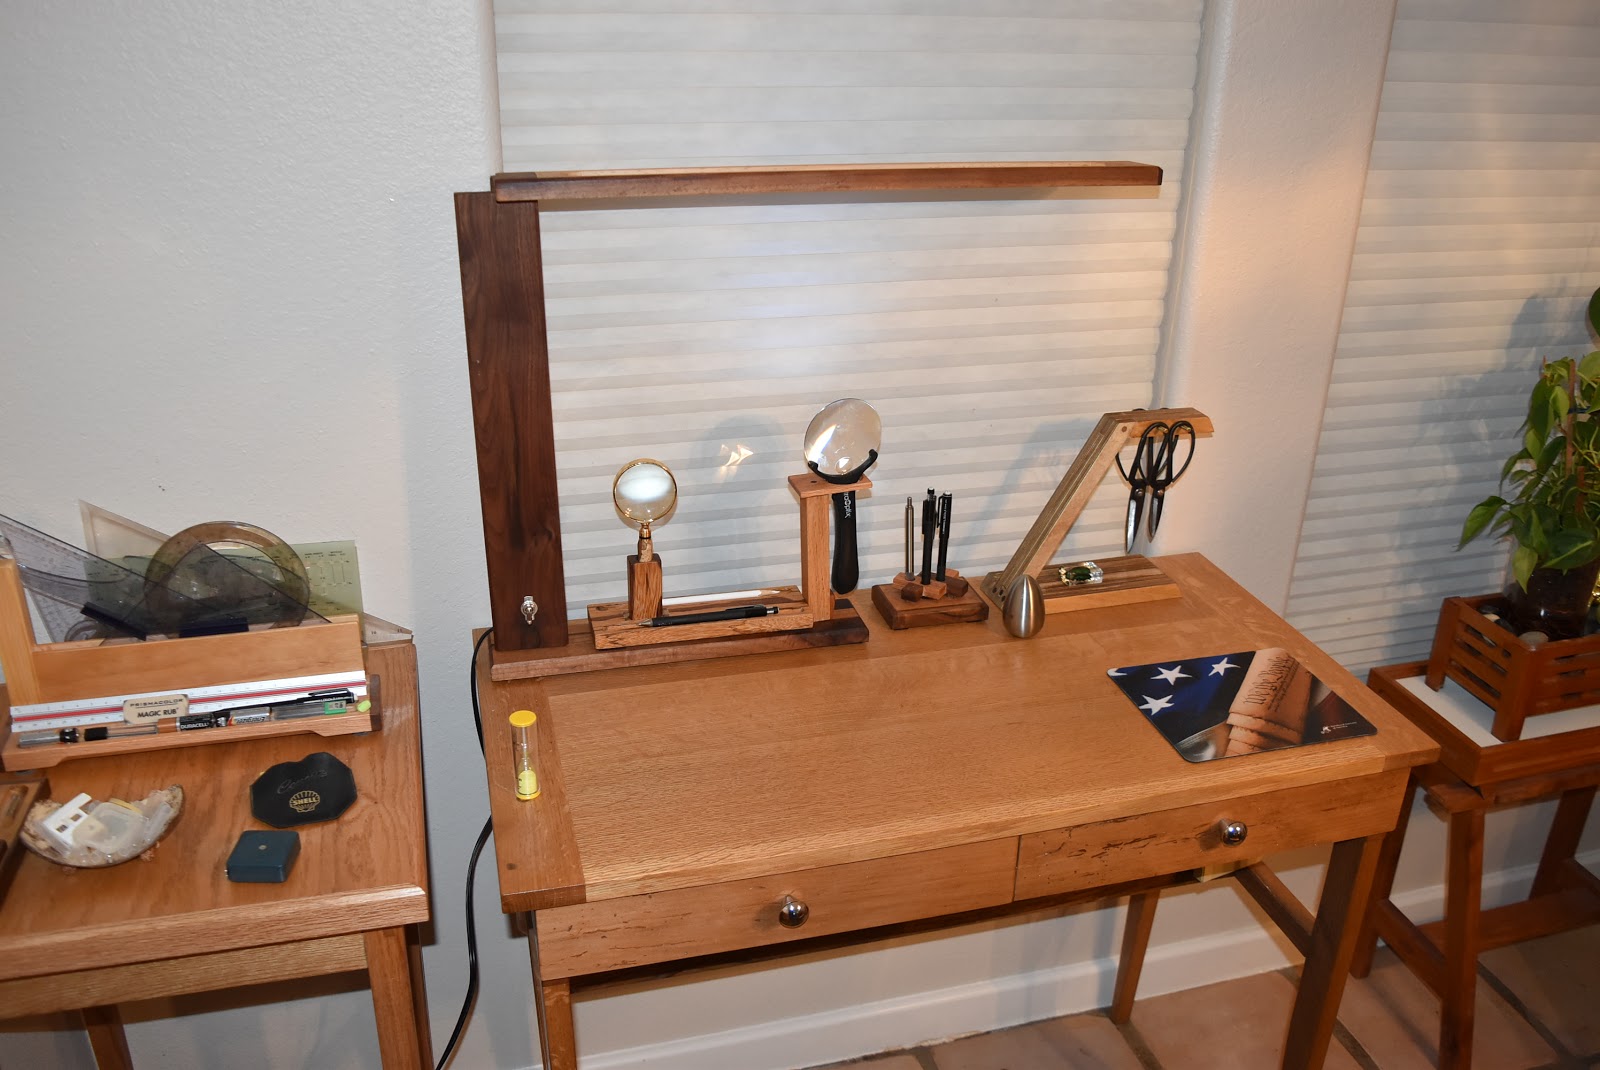
I mentioned from the previous blog that the next subject would be the scissor hanger shown below. As always I have in mind the non-woodworker reader who may perhaps find points of general interest in the blog. Actually, the bottom half of this blog are just stories I thought worth sharing.

First, what's with these scissors? Why spend the time to show case them with a woodworking project?
Many years ago I ordered a set of four scissors from a woodworking supplier/importer based in Canada. They were cheap. $14 for the whole set with no sales tax and a free shipping special made them irresistible. They looked cheap too, from the photo, and appeared to be crudely made and roughly finished to be commercially enticing. But all four averaged under $4 each; but it could still have been a waste of good money if they were totally useless and could easily have been another affirmation that "you get what you pay for".


First of all, it was money well spent. They came already sharp and each pair performed flawlessly. Believe it or not, one test for a good pair is when it will cut soft tissue paper smoothly and precisely and as cleanly as they would regular paper or cardboard or rubber or leather or rope and, of course, if one must, the errant credit card. (Sampled in the photo above was an already used up gift card).
These were advertised as hand forged and they clearly looked it. Supposedly that's how they've always been made for three centuries in the country of origin. Now, imagine this. Or, how I imagine it anyway. Imagine someone fashioning these in his backyard using a furnace the size of a wok. It could be a cottage industry in the whole neighborhood. The hammer marks on the rivets over brass washers are evident, including indentations on the handles. I understand that hardened steel is used only on the cutting edges while softer iron is used on the handles and back frame. Although that is not such a bad thing. Japanese swords, chisels, hand plane blades are made the same way. But not that these scissors were made in Japan.
It's possible I am just deluding myself into believing the cottage industry part or some blacksmith putting out work pieces from his backyard in a home-made furnace. It could after all be a well disguised commercial production made to look home made. Be that as it may, it was little money well served.
I think they are still available and the price might now be close to $20 for the set, plus shipping. By the way, I haven't re-sharpened any of them yet. I won't for as long as they continue to cut. The two large ones are in my workshop while the smaller ones are on my desk.
Speaking of hand forged tools, I have additional featured tools towards the end that could also be of general interest. Meanwhile, let's get to the woodworking part of the hanger.
Whether some blacksmith made these in his backyard or mass produced on a factory floor, I am paying homage to all the blacksmiths around the world who provide us the cutting implements we find in our kitchens and workshops that make our lives easier, if not altogether better.
Dedicated to the unknown blacksmith I fashioned a cantilever hanger made from 1/2 inch Baltic plywood. Baltic plywood is made from 10 laminated layers free of any void. By the way, plywood is not to be underestimated. A cabinet grade is flat and its thickness is qualitatively consistent throughout. A quick sketch made sure the scissors will hang freely.

Let's first get into the mechanics of this particular cantilever configuration. Rest your one elbow on a table, incline your forearm forward, with your palm facing down and stretched parallel to the table, cobra like. In between your two fingers hang a small bunch of grapes. Gravity is not to be trifled with. Its force will first act on your fingers, which then transmit it to your wrist, then it lets your elbow know. The wrist joint and your elbow and the table are the two joinery sections that have to be managed with this hanger configuration. By the way, how long can you hold up the grapes? With that in mind, you expect the hanger with two scissors to sit still, right? It will, but you must do your part to strengthen its wrist and keep the elbow steady on the table.

Let's first get into the mechanics of this particular cantilever configuration. Rest your one elbow on a table, incline your forearm forward, with your palm facing down and stretched parallel to the table, cobra like. In between your two fingers hang a small bunch of grapes. Gravity is not to be trifled with. Its force will first act on your fingers, which then transmit it to your wrist, then it lets your elbow know. The wrist joint and your elbow and the table are the two joinery sections that have to be managed with this hanger configuration. By the way, how long can you hold up the grapes? With that in mind, you expect the hanger with two scissors to sit still, right? It will, but you must do your part to strengthen its wrist and keep the elbow steady on the table.

I set the saw blade to 60 deg. That's the only setting needed for all the joinery cuts. Of course, any angle will do according to one's preference. But you will only have to set the blade angle to that and not any other.

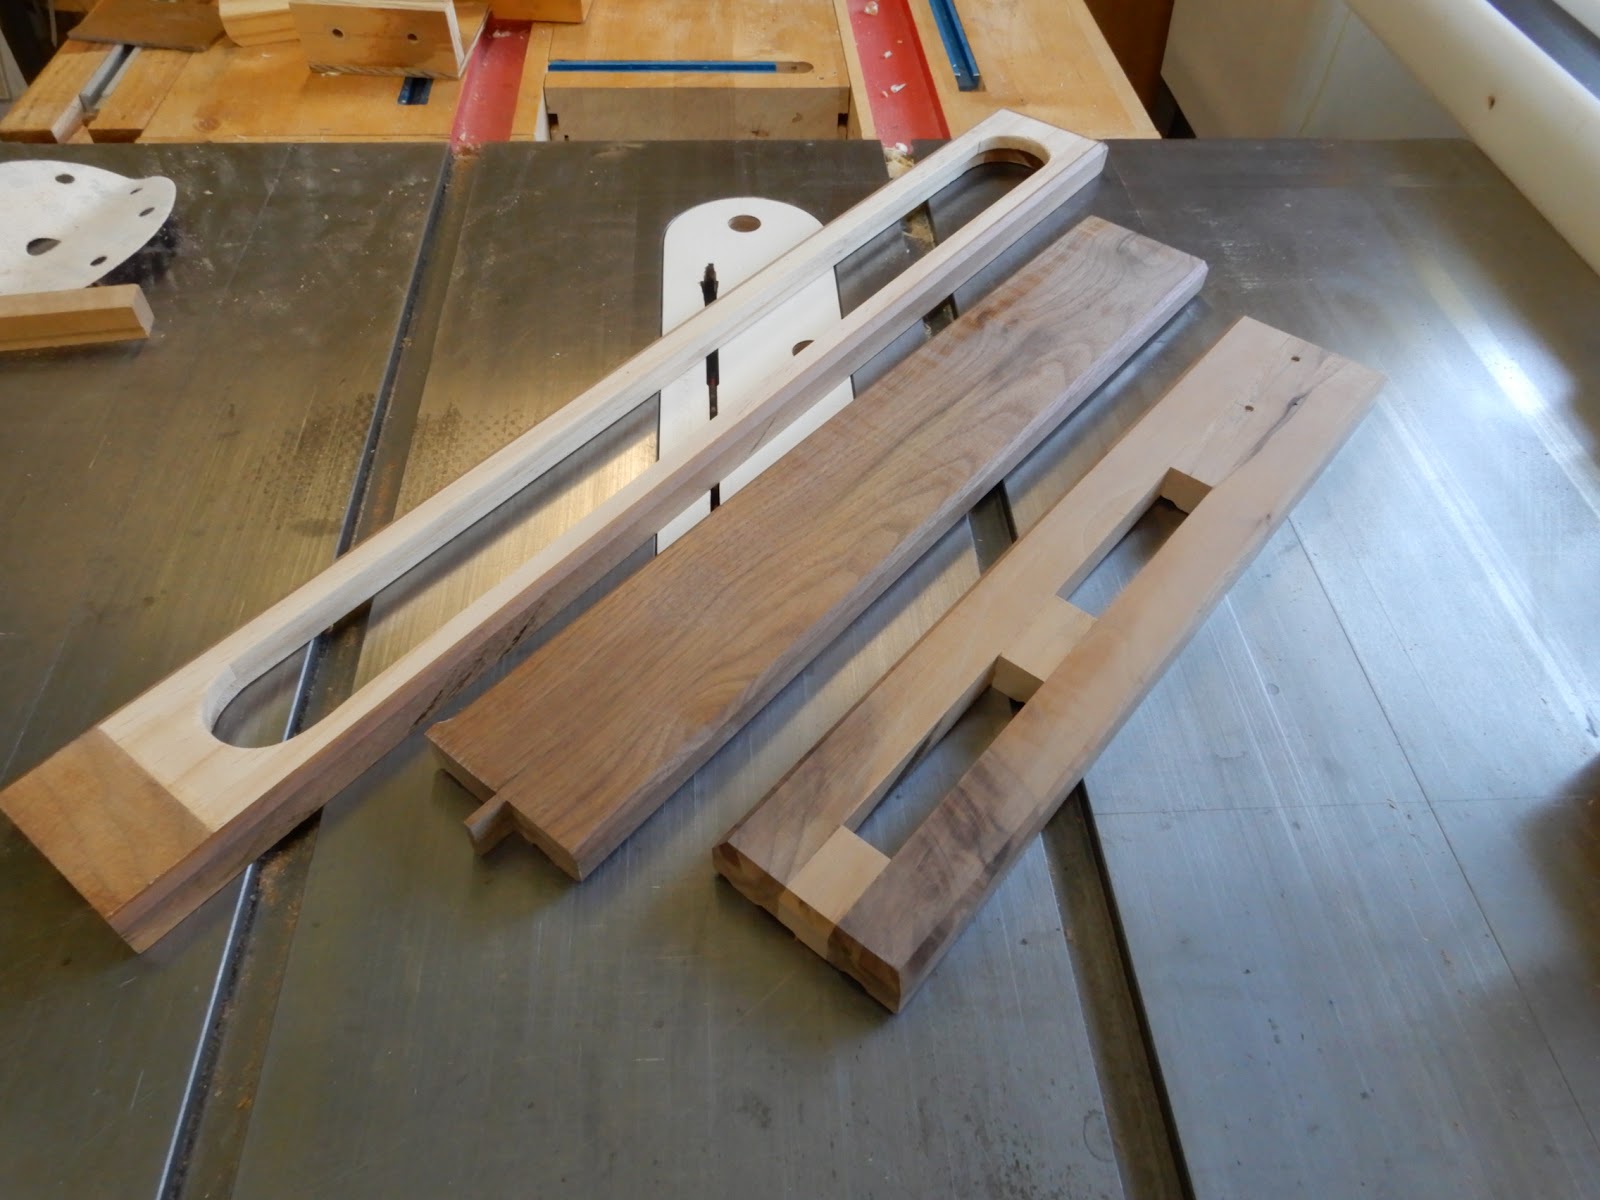
What I've come with here is a tongue and groove joinery where I neither had to cut the tongue nor the groove. The 1/2 inch plywood provides the perfect 1/2 inch groove and a matching 1/2 inch tongue when three pieces are laminated as shown below. What juts out is the tongue and what is recessed is the groove.

Three laminated pieces for the post and cantilever arm. Six pieces were laminated for the base, which allows for a wider footprint for stability.

Cutting the laminated pieces to length ...


For good measure after assembly I used 1/4 inch hardwood dowels at both joint locations. And brass pins on each side of the cantilever were inserted via drilled holes matching the brass diameter,


Continuing my homage to the blacksmiths, there are more stories to tell. Many years ago I ordered from a catalog (long before the internet) what was described as a small ax, hand forged in Sweden. Next two photos. Again, I imagined some blacksmith named Bjorn hammering away on an anvil next to a furnace to fashion the ax.


For many years after that it just sat unused. When we moved to our current home I put it out for sale along with many other things to get rid of before moving. Nobody wanted it so I kept it. Thank goodness I did.
In 2008 Hurricane Ike paid a visit. We lost two big trees in the backyard. We had no electricity for ten days. No clean up crew was available for that week, I didn't own a chain saw and there was none to be purchased when the home centers opened.
The ax! As you can tell from the next photos, I used it to cut tree limbs up to five inches in diameter. That helped a lot until the clean up crew came to take care of the heavy trunks.


I owed Bjorn from Sweden - my imaginary blacksmith - a profound debt of gratitude. That ax held its edge to this day, with a just bit of honing every now and then. Just two days ago I used it on a few stakes for a couple of saplings.

Since then I developed great respect for the blacksmith (specifically bladesmiths, as some people would call them).
Years earlier on two separate occasions and years apart, I purchased a couple of "blades". The top photo below was from a small antique store just outside Dallas. Its handle was from the horn of a water buffalo (Philippine Carabao) and from the inscription (close up, next photo), a blacksmith with initials "EM" likely made made it from a leaf suspension spring - scavenged part from a military jeep after the war in the Philippines. Date was 1945.
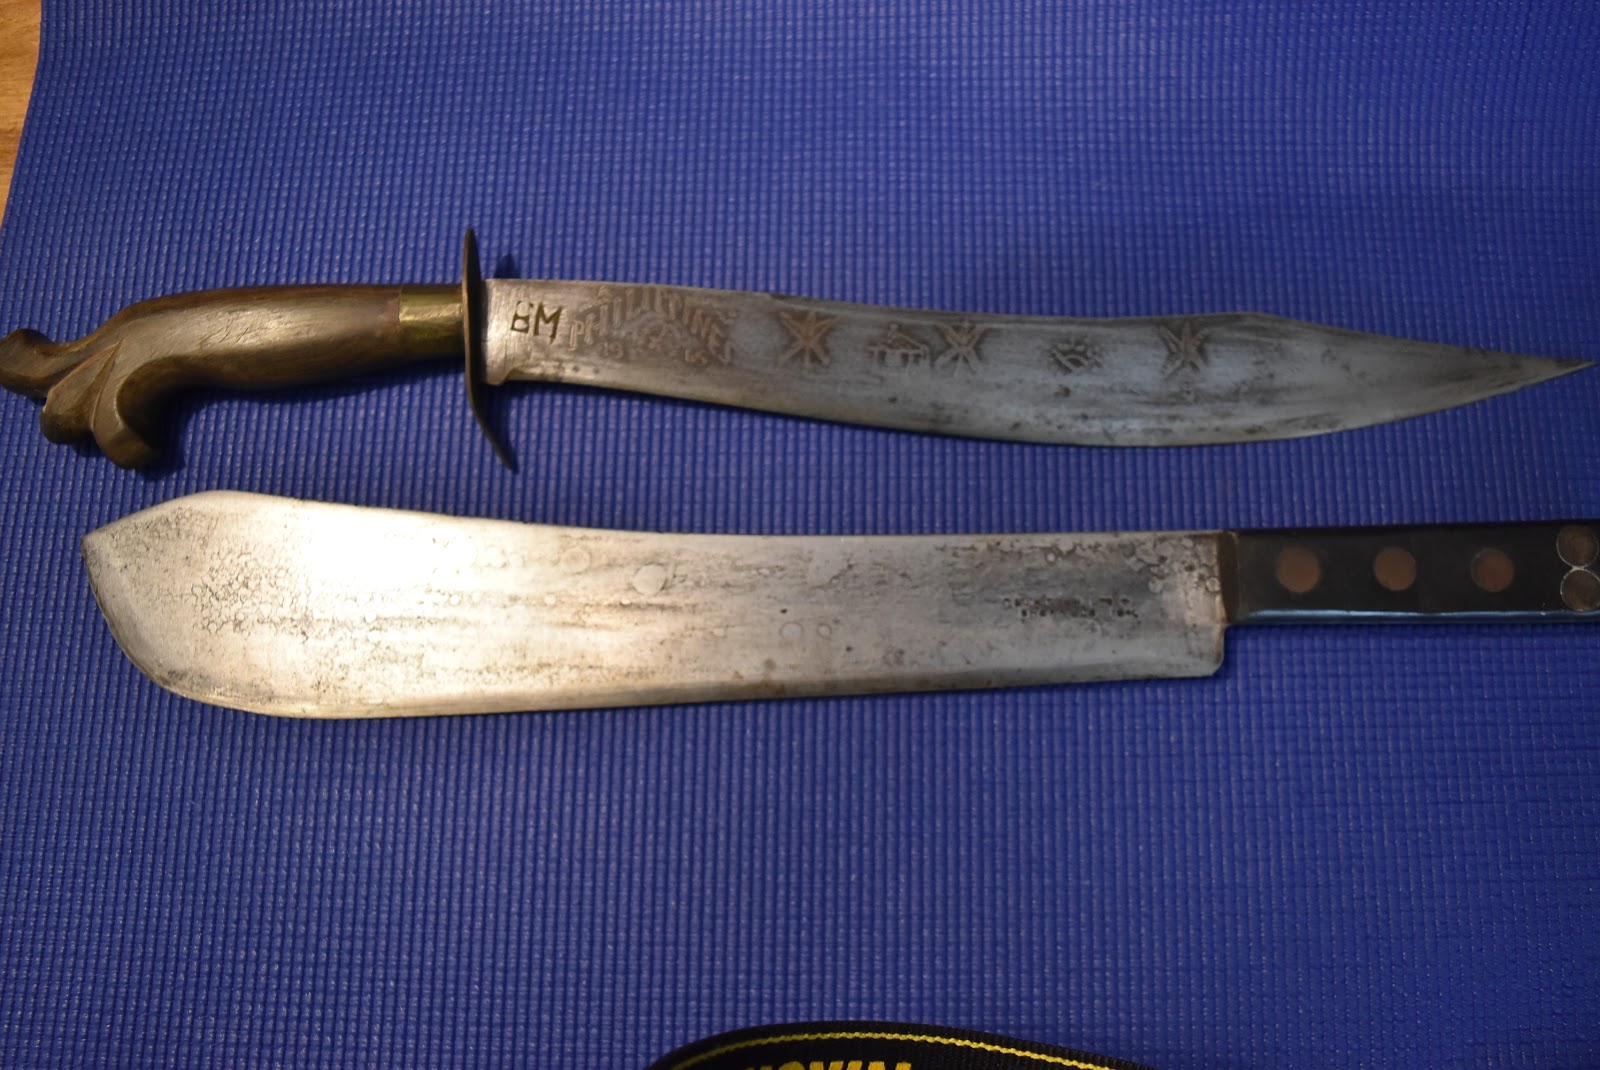

The second blade was purchased at a flea market outside of San Jose, CA. That one was factory made by S and J Kitchin LTD based in Sheffield, England with a stamped date 1940. I imagined this blade saw service in the jungles of Malaya or Borneo in the hands of a British commando in WW II. I really don't know but that sounds like a good story and the date fits.

I made a wooden sheath for that British blade. Check out the wedge with a finger hole to secure it. Even King Arthur would have difficulty pulling the blade out of it without first removing the wedge/lock. The least I can do for this blade.

When you find a moment think of all the blacksmiths throughout history whose contribution to civilization started on the day they begun fashioning iron cutting tools to clear land, cut meat and vegetation for food and to build shelters that were at the root of human progress.
Today, as individuals driven mostly by their passion and love for their craft, the blacksmith deserves a simple homage. They're still out there on the farm lands of Asia, in the valleys and mountain tops of Europe, the foothills of Tennessee and the flat lands of Montana, pounding hot irons to submission, forging them for that one purpose - a very sharp edge.