Welcome to Woodworks Made Easy

Practice any art, however well or badly, not to get money and fame, but to find out what's inside you.
--- Kurt Vonnegut

Pictures are meant to be self explanatory, and for visual clarity you may
click on each photo to enlarge. For older projects see Blog Archive. I don't specialize on a particular genre so there is quite a variety of projects for a number of different interests.

Even if you are not a woodworker but you like some or all of the projects, have your local crafts person make them for you from the ideas and photos you see here. For a particular project just click the specific title on the Blog Archive list (right side column below).

For anyone willing to learn or begin to do woodworking for the first time, please read first from the Blog Archive, "How and Where to Begin a Woodworking Hobby.

And it is not for men only. Read my note on "Women in Woodworking" from Blog Archive, April 2010.


click on each photo to enlarge


Thursday, July 27, 2017

Kitchen LED Lighting

Light has a way of defining, even changing, how we perceive our surroundings whether we're indoors or out.  Theater productions take advantage of direct and indirect lighting on stage to manipulate our senses as scenes change along with the story. In a small way, very small way indeed, we can do the same at home. LED lights, cheaper than spot or halogen lights, are a very economical way to do it in terms of initial and operating costs.  And now the availability of RF (radio frequency) remote  controls make it even more convenient. 

Below, for example, with just the LED indirect lights above the kitchen cabinets turned on and the main lights off, late dawn is simulated. I particularly like dawn just moments before the sun peeks out over the horizon, when colors have not come out yet. The light in this case extends that experience.


The project begins with a kit: 16 ft strip LED lights, power adapter and remote.  Each kit is about $15.  I used two of them for this project.


Safety is paramount whether you're a pro or DIY'er when working over tall areas of the house, i.e. walls and over cabinets.  Stable ladders are great but a platform, as shown below, is far safer to work on.


Discussed in previous blog on LED lighting for the library/study, the process is the same.


The next three photos below show the different light effects:  (a) Off; (b) LED indirect lighting; and (c) the main ceiling lights turned on.


This will not be a woodworking blog if I don't throw in a little wood work with it.  There are two remotes which, at the consumer's option, could have been combined into one controller for the two sets of lights.  I opted to use them separately.  Not surprisingly, I had to make a cradle or caddy for the two remotes (as one would for TV and cable remotes).


Going to the scrap heap and the challenge to use the least amount of material I fashioned one out of a piece of oak and thin strips of walnut.


The main ceiling lights comprise of six-48 inch-fluorescent lights that are getting harder and harder to replace (as years go by, the tall ladder and the 14 foot ceiling get more and more intimidating) that someday I may have to hire an electrician to do the chore.  The next project would be to replace those with LED lights as well.  I can see it now with a combination of direct and indirect LED.  But it will have to wait.


Sunday, July 2, 2017

Shelf Divider for Photo Albums

In today's digital world, book-bound photo albums are almost an anachronism.  Not quite yet but a new generation of photo-viewing families are already in kindergarten today. By the time they have their own children the photo album will reside solely in the cloud. Meanwhile my wife promises that she's done with the last of the album binders.  She had come around to storing photos into her desk top computer.  However, she still wanted to hold on to those bulky collections already in the library shelves.  

The challenge was to come up with a dividing system for the albums - one that will keep the binders upright and independently stand-alone so that removing one does not get the others to lean like multiple Towers of Pisa. 


Plastic dividers work but so much space is wasted
Compare the top two shelves to the bottom one that has the first divider system already in place.


The dividers are from 1/4 inch oak plywood.  The rail that will hold each of them is from 1/2 inch oak plywood ripped to 2-inch-wide planks.


For aesthetics, they were cut with a taper.  3/16 inch wide dadoes were cut to 1/4 inch deep, spaced 4 inches apart. Each section will hold snugly two albums.

Below, the 3/16 in. grooves (dadoes) were cut on the table saw using the indexing system (yellow with green knobs, discussed in prior blog).


The dividers were secured with glue and clamped until dry.


The completed system (below) insures the albums to remain perfectly upright even if one or several are removed.


Tuesday, June 6, 2017

More Micro Projects from Scrap Wood

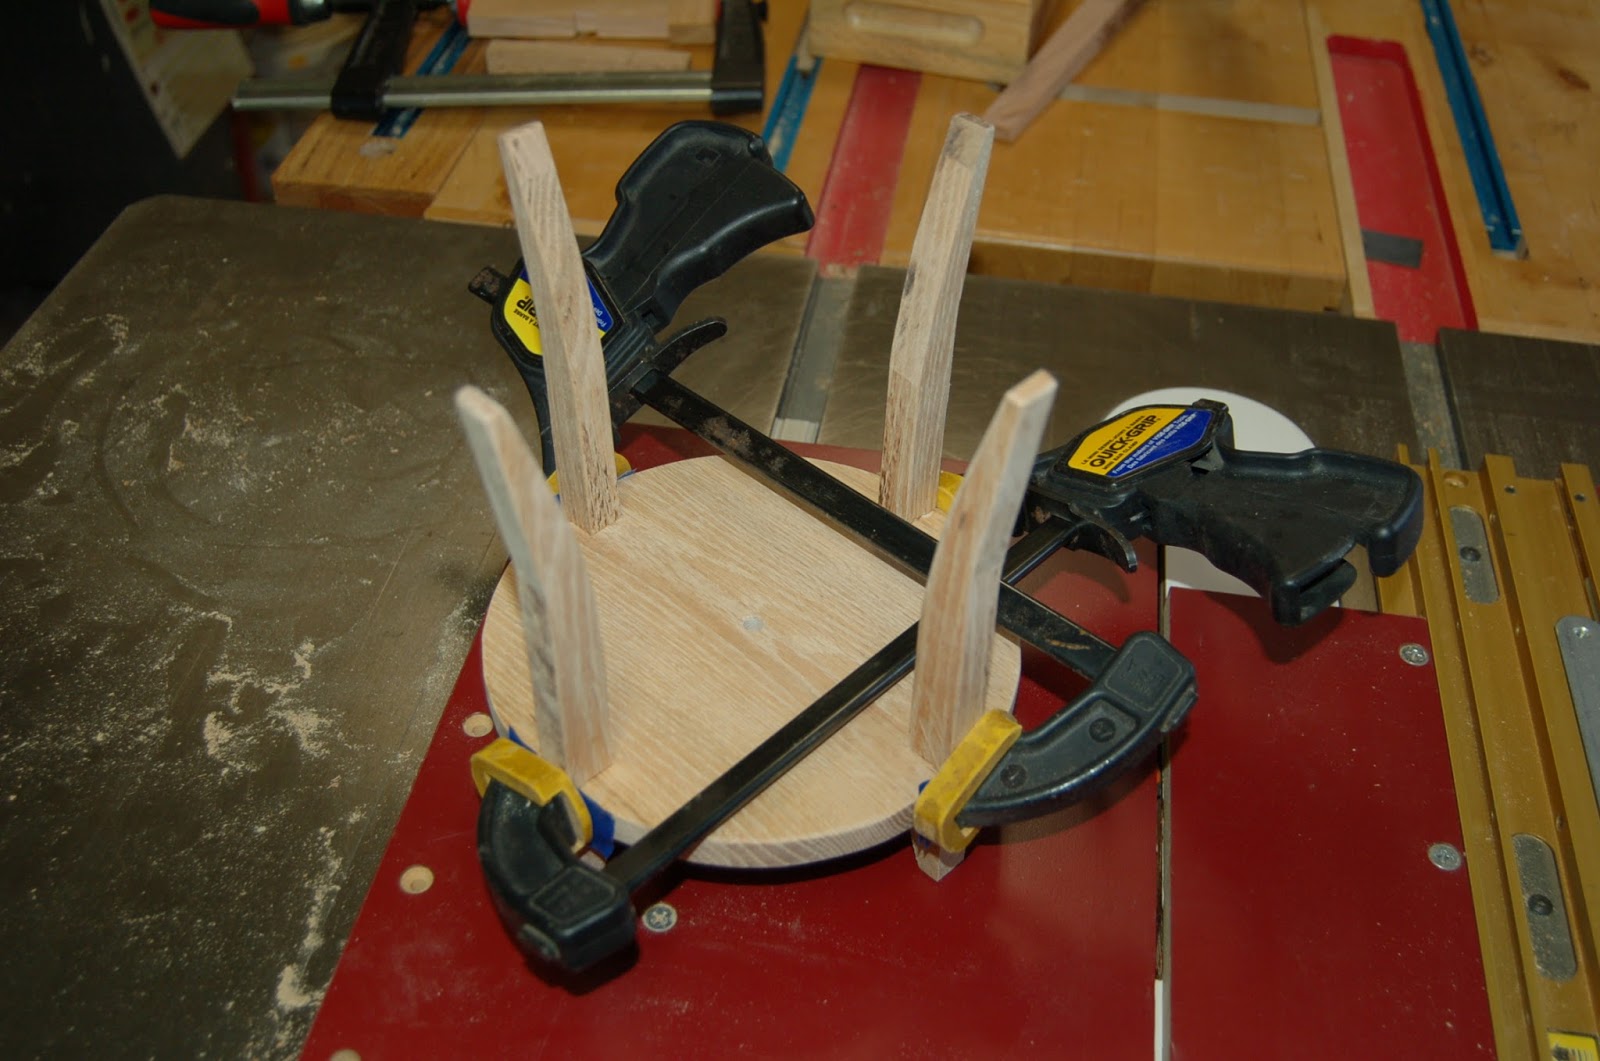
What is common with these micro projects, aside from being all small plant stands, is that they were all made using just the table saw, including the circular base and the curved legs. Those familiar with this blog, the photos should be self-explanatory.


I saw on a DIY show a craftsman used a polyurethane glue as a base finish.  Polyurethane glue works when it is applied on one piece and water (by wetting the opposing piece to be glued. He said it was by accident when he discovered this technique:  The glue is applied a drop at a time into the surface, rub it across the grain and wipe off excess and let dry.  After the surface dries (which is less than 30 minutes), use fine sand paper to smooth it and apply wax or other finish over it..


Thursday, May 25, 2017

The Burgess Edge System

I feature here a set of two paired router bits - must be purchased as a set actually - that I've had for at least a decade but not discussed a lot, perhaps in passing, in previous blogs because I figured there is little interest in it, if even familiar to most woodworkers. When I ordered it way back then I actually spoke with the inventor and maker of this set, Michael Burgess, who convinced me that it was, and indeed it is, the best way to edge-band 3/4 inch plywood. Plywood, 3/4 inch, is a very stable stock for wide large projects, such as cabinets and table tops. The one drawback is the exposed edge. There are a number of ways to cover the edge (i.e, veneer and edge-bands) but the most effective is to create a channel on the plywood edge and a matching moulding on a solid wood material, which is then glued and clamped to the main body. There are probably two or three other  edge "systems" commercially available but the Burgess is far superior, albeit costly.  But it is worth the expense.

Obviously, in the past I've always used this system to treat 3/4 inch plywood edges; however, for this project I used it using solid hardwood for the main piece and the edge-band.  I've done several, a dozen or more by now, cutting boards using different techniques. This time, I chose marble wood - a favorite - edge-banded with walnut.


It is always 2-part process and the router table is a must.

I usually treat the "end" part of the big work piece first, then the long sides.


I used polyurethane glue for its water-proof characteristic. (Apply the glue just one side and water-wet the mating piece, then clamp)


The glue up pieces were slightly over-sized, then cross-cut and ripped to final dimension. This is the best way to insure a flat and parallel edges.


The juice channels and finger holds along the edges were also done on the router table with bull nose bits.


Below are some the other cutting boards over the years.  This is the first time I used the Burgess Edge System.  It is worth to have this if you already have a router table with at least a 2-hp motor or bigger, even if only for 3/4 inch plywood applications.