Welcome to Woodworks Made Easy

Practice any art, however well or badly, not to get money and fame, but to find out what's inside you.
--- Kurt Vonnegut

Pictures are meant to be self explanatory, and for visual clarity you may
click on each photo to enlarge. For older projects see Blog Archive. I don't specialize on a particular genre so there is quite a variety of projects for a number of different interests.

Even if you are not a woodworker but you like some or all of the projects, have your local crafts person make them for you from the ideas and photos you see here. For a particular project just click the specific title on the Blog Archive list (right side column below).

For anyone willing to learn or begin to do woodworking for the first time, please read first from the Blog Archive, "How and Where to Begin a Woodworking Hobby.

And it is not for men only. Read my note on "Women in Woodworking" from Blog Archive, April 2010.


click on each photo to enlarge


Sunday, March 10, 2019

Attic Door Cover 6th Gen


I had covered the construction of this attic door cover in my previous blogs. This is the 6th generation version for my friend's new home. Attic door covers are even more relevant today. Although it is a small part in the energy saving scheme of things at home, it is a worthy item to add to the woodworker's repertoire. As always, a newer version has better construction technique, such as better joinery for a much sturdier frame. But as in the previous versions the idea is the same. The attic for most homes is a major source for "energy leakage". The standard cover that comes with the attic ladder  insufficiently covers the gap between the inside of the house and the attic. In the winter heat escapes through that gap from inside the house to the attic; in the summer, heat from the attic migrates to the inside of the house, making the air conditioning system work harder.

The first version for our home is shown here. The attic cover sits on the opening, insulated but separate from the ladder and cover (which I also insulated)


As in the past, I find it economical to buy wider board material and rip them to width (1-1/4 in). The frame will be made from these pieces.


For this version I am using half lap joinery to join the parts. A stack dado blade will make quick work of cutting the half-laps.


Before cutting the half dadoes it is best - trust me, this was from experience -  to patiently lay out the pieces before making the cuts, almost one at a time.  Patience here is the ultimate virtue.


Laying the parts out, dry fitting them, and exercising patience over and over will pay off.


Glue up must also be planned in specific sequences. Again, it must be planned because the parts had to come together in a particular order.


The wood working adage, "One can never have too much clamps" is always true. Better to have more than be short one clamp. Note: the Krenov saw horse is more invaluable than the standard work bench by allowing the clamps to be positioned a lot more freely.

As a side note the half lap is the perfect way to join shorter pieces of stock to make a longer one. Here, I actually made a mistake in cutting a long piece short and I no longer had the longer stock to make another one. 


Tip On Joining Plywood: Instead of buying one whole 4 X 8 ft sheet of 1/4 inch plywood, I purchased one 4 X 4 and one 2 X 4. Not only is it easier to take out of the home center and into the car, it is also a lot easier and safer to cut on the table saw. But there is a downside. To fit the different sides of the frame there was need to cut and join the pieces. Not a problem. A half lap joinery makes one strong joint, especially since the pieces will be glued and pin-nailed to the frame. Once put in, the finished "shell" will not "know" the difference.


The sturdy frame is now with 1/4 inch plywood shell.  I may have slightly over-engineered this one.  Come to think of it, I may have indeed over-engineered this one. 

This is what the cover will look like viewed from the attic side. It will sit on a gasket seal - isolating the attic from the interior of the home. This Generation 6 has more heft than the previous ones so it will have sufficient weight bearing down on the gasket.


Once the Styrofoam insulation is added to the inside it will look similar to the first version shown below.


Sunday, March 3, 2019

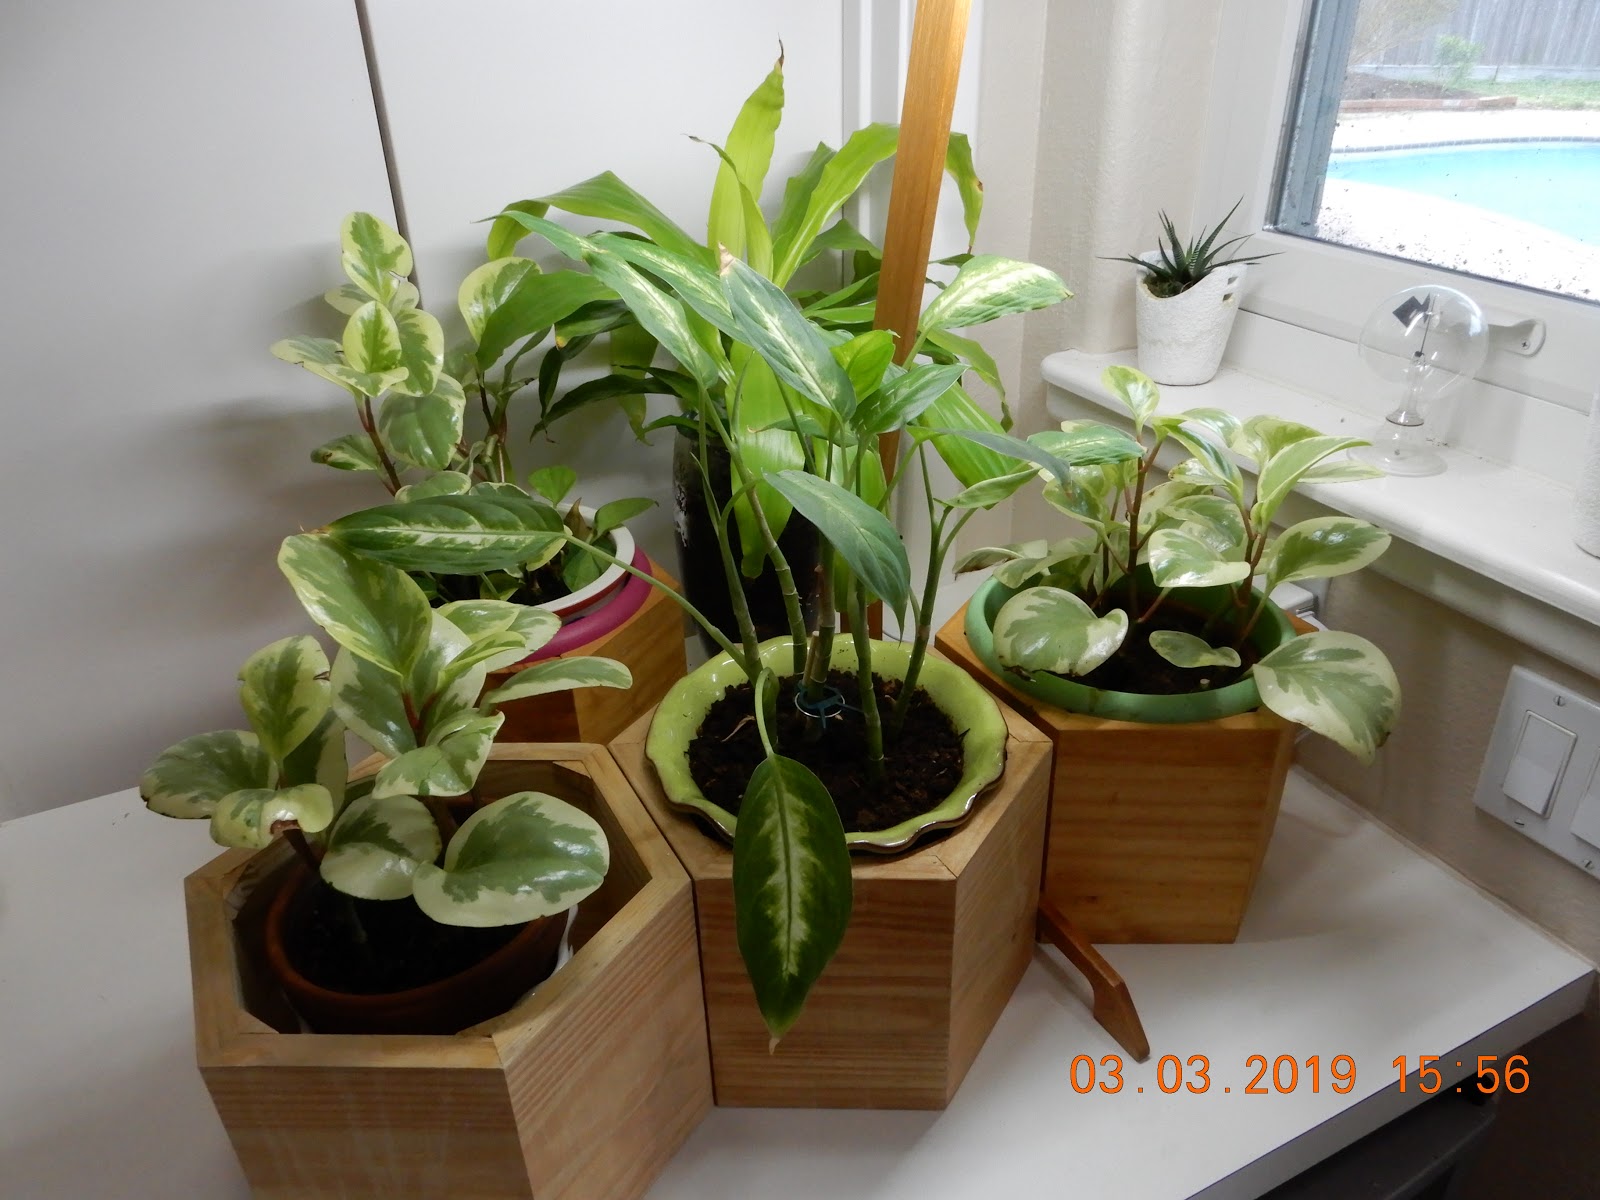
Minimalist Plant Stands

I keep repeating to anyone who would listen that woodworking is not as hard as anyone may think. In fact, no better time than now to be imagining doing it because of the advancement in technology, better tools and more reference materials than ever before, such as this blog, that encourages the reader to take the plunge if he or she hasn't already. 

It used to be that woodworking required a lot of craftsmanship skills to do a decent job. The things the average woodworker can do now was not as easily achievable as, say, 20 to 30 years ago. Now, imagine the skills needed in the 15th to 19th centuries ago. Today, as in this example, I used only one power tool - the table saw (you need a table saw even as a beginner anyhow), just three different saw blades, clamps, glue and some inexpensive indexing plastic-based gizmos to do it. One tool, patience and time to turn (first photo) these seemingly straight pieces of scrap material.


Into:


You will see towards the end the previous plant stands I did had several times the amount of material used, massively much more, than these latest versions. The challenge was to do this project with the least possible amount of material.


For the top rings I used 3/4 inch plywood with one side (visible externally once finished) laminated with solid oak. Why plywood, besides the fact that they were conveniently available from the scrap heap? Plywood is actually more stable when it comes to resisting warping sue to changes in humidity and temperature, and they're more economical too.


Glue up of the lamination to one edge of the plywood base


The hexagonal rings required cutting 60 degrees miter on each edge.

The table saw's adjustable miter fence made easy work of the 60 degree miter cuts.


For the legs soled oak boards were the right material


The two gizmos shown below makes quick accurate, unparalleled precision cuts of the joinery. These cuts a century ago would have taken hours of painstaking labor by a highly skilled craftsman. These commercially available tools ($30) will index the cuts as routinely as pushing the work pieces on the table saw top.


Band clamps make easy work of clamping the pieces until the glue sets.

The subtle taper on the legs were all done on the table saw.


This shop made jig, below, makes possible cutting on the table saw repeatable slots on each corner of the hexagon that will be fitted with 1/4 inch hardwood  (glued and clamped) for the needed additional strength of the joints.


Note the slot created at the corners


Dry fitting the parts. Note the walnut wedge inserted at the corners, excess sawed off later

Final sanding and notice the subtle taper on the legs. Impossible years ago these tapers were done at the table saw.


Over the years of building and learning, I've evolved construction techniques from using a lot of material to only using the bare minimum, without sacrificing strength, usefulness and a little bit of elegance.

A table can be a plant stand for several planters.
Below is the most massive plant stand. A neighbor gave me a leftover construction material which I used as the central anchor of several planters. That central piece is way too heavy to be carried by one person. I used a dolly to move it.


Older versions, while okay, did take a lot of materials to construct them,


21st Century Bench Hook


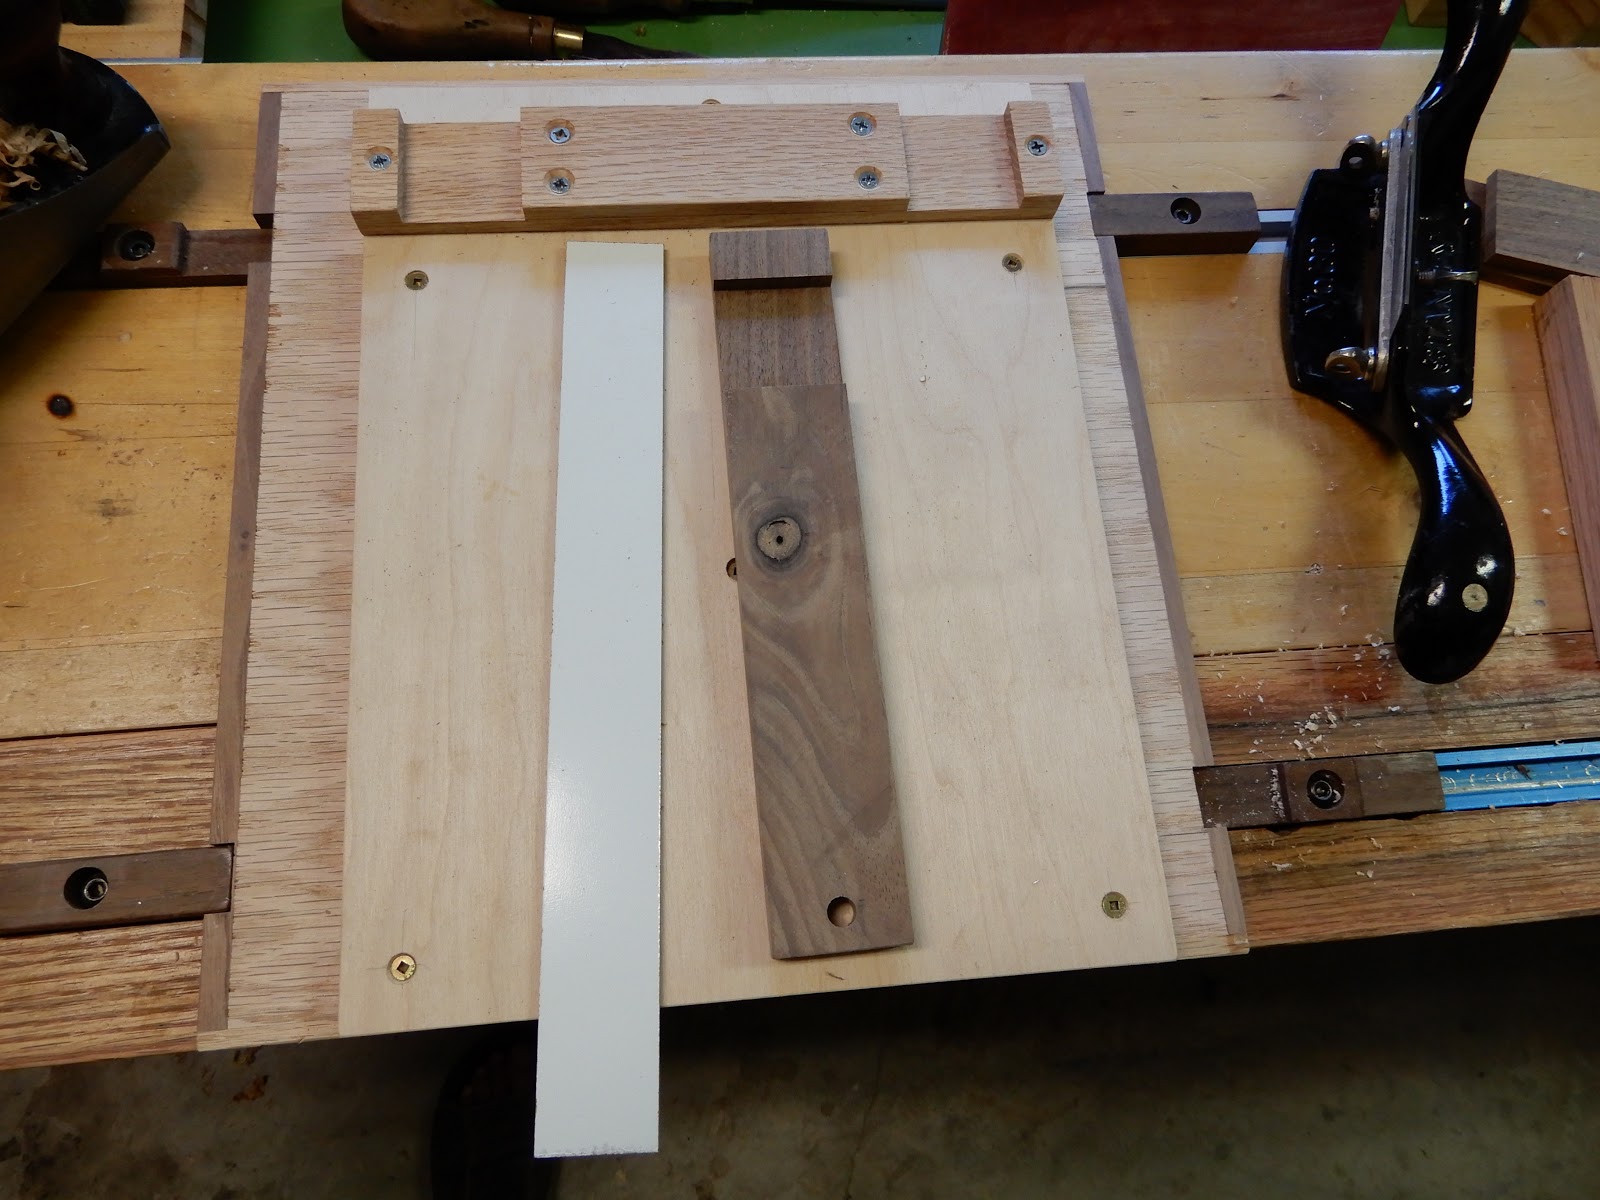
The bench hook as a woodworking accessory has been around for at least two centuries. It was about time I thought it needed to be updated and upgraded in its utility. The hook refers to a lip fastened to the underside of one end meant to "hook" it to the workbench top to keep it from sliding while it is used to hold on to small work pieces. In other words it is a removable small platform meant to protect the table top from saw and chisel marks. My version will not have the usual hook because it is meant to be rotated end for end depending on the use. The photos will explain.


One notable feature of this version is that it has a side stop in addition to the traditional end stop. This side stop can be secured to either the left or right of the bench or removed entirely as the work requires. So this stop keeps the work piece not just from slipping forward but from side movements as well. 


The notches shown in photo take the function of the hook. Next photos show how. More importantly, these notches allow for the bench hook to be secured end over end.


 This bench hook allows for the use of either the traditional Western or Japanese saws.


This new version allows for sanding all different shapes of work pieces to be supported securely. This has many uses for holding small pieces while using block planes, chisels or drills, etc,