Welcome to Woodworks Made Easy

Practice any art, however well or badly, not to get money and fame, but to find out what's inside you.
--- Kurt Vonnegut

Pictures are meant to be self explanatory, and for visual clarity you may
click on each photo to enlarge. For older projects see Blog Archive. I don't specialize on a particular genre so there is quite a variety of projects for a number of different interests.

Even if you are not a woodworker but you like some or all of the projects, have your local crafts person make them for you from the ideas and photos you see here. For a particular project just click the specific title on the Blog Archive list (right side column below).

For anyone willing to learn or begin to do woodworking for the first time, please read first from the Blog Archive, "How and Where to Begin a Woodworking Hobby.

And it is not for men only. Read my note on "Women in Woodworking" from Blog Archive, April 2010.


click on each photo to enlarge


Saturday, April 11, 2020

TV Back Lighting

In case you you haven't noticed today's flat screen TV, either LED, LCD, or a hybrid of both,  is very bright.  Indeed, you'll notice how bright your smart phone or tablet is when you open up either, in a darkened room or first waking up while the room is still dark.  You almost have to squint from the sudden surge of light energy hitting your eyes.

Back lighting or bias lighting (light behind the TV) is recommended for those who may suffer eye strain from watching LED or LCD TV.  It does make sense actually because normally we see most everything in nature as light reflected off objects we look at. Projected film like in theaters or home movies are all reflected images, and better viewed in a darkened room. As a result, commercially available back lights in all kinds of configuration are now sold and becoming more popular and are known to improve viewing, if not actually preventing eye strain for some people.

Strip LED lighting is the most practical one.  And easy to install.  Except in my case, where I actually made it the equivalent of a government project. Just teasing, but Covid 19 is providing copious amount of spare time. (Someday, if this blog somehow survives through the next generations, readers then will wonder what Covid 19 is. We hope so because it would mean that "it" is by then all behind us, or at least among our children's children.

I used to have a florescent lamp for back lighting.  And now, LED it is.  By the way, it is also a good night light when you're done with the room and retiring for the night after TV. 


This is a wood working blog but non-woodworkers might benefit from the ideas one may learn from it by doing their own back lighting in whatever way they desire.  As you will see there are are a thousand ways to do this.  My way is one of coping with Covid 19, self-quarantined to the work shop, with plenty of time.


Strip LED around the top

LED is very bright to look at directly so don't stare at it for too long.

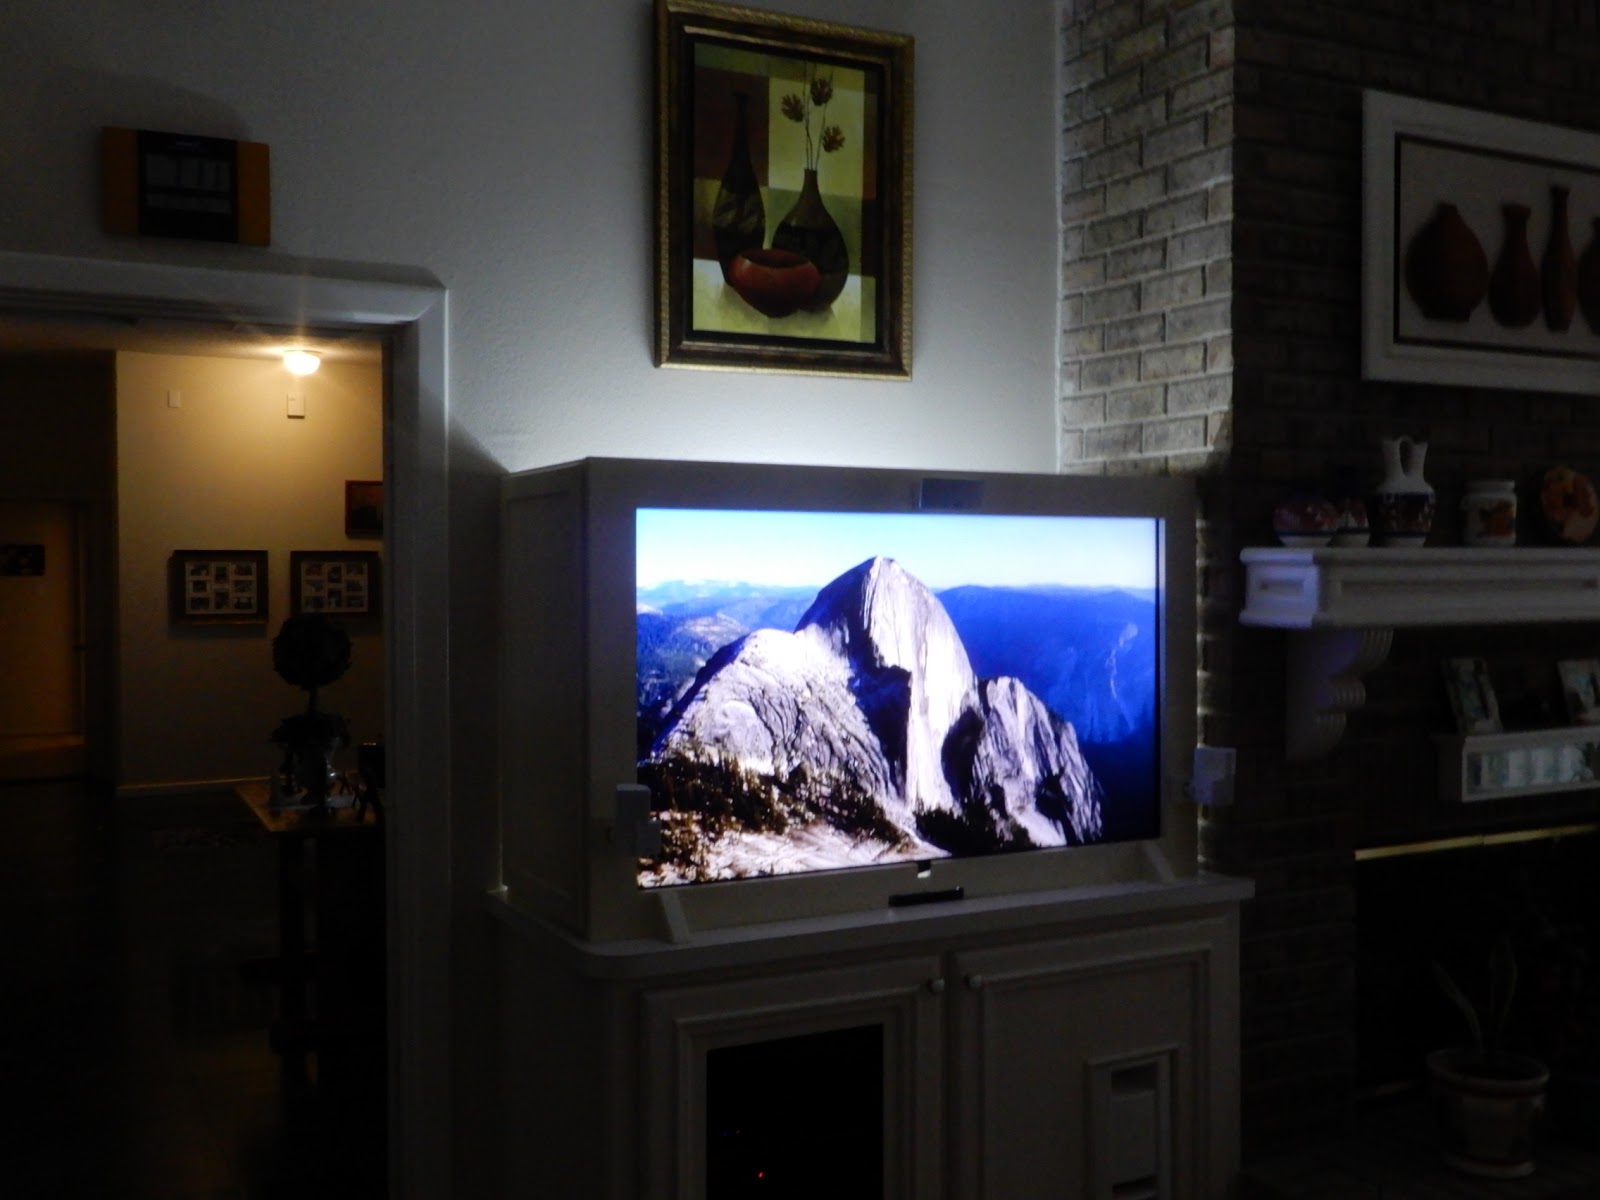
By configuring it this way, the back light is indeed one of indirect lighting, much softer around the TV set.


I think the benefit of back lighting is immediately noticeable to anyone who experiences it for the first time.


LED is very frugal with energy consumption so when paired with a timer it is a great night light but make sure it is configured as an indirect lighting.


Monday, April 6, 2020

Quick Duty Tool Box

As in most projects posted on this blog, more often than not I am making them for the first time.  I've had a handful that did not turn out right despite how well it looked in my imagination when first conceived in my head.  Even more challenging is cutting the individual pieces and assembling them in a particular order and expect the finished project to look like the one I imagined.  In today's modern design and assembly at the factory, computer aided designs and virtual imaging in 3-D closes the gap between imagination and reality long before something is made with the actual materials.  Not so in the hobbyist's workshop.  But that is what makes it rewarding.

Another toolbox may seem overdoing it but I realize there is always a need for something lighter.  Something like a stretcher that can be carried instead of the whole ambulance. Something I can grab with a handful of tools to bring inside for quick chores.


The other challenge is to put it all together with wood glue - no screws or nails.  But rare earth magnets play a role. The one divider can be moved along and kept in place by a magnet at its bottom to the metal plate.  One magnetic bowl to hold small parts and hardware functions the same way.  And so are plastic containers with rare earth magnets to hold them in place. 


There is always one more need for another tool box.


Saturday, April 4, 2020

Shop Made Grow Light Fixture

There is one spot in the house that does not get good natural light during the day but a good area to have a light at night.  The previous home owner from whom we bought the house had planned for that spot to have a water feature that didn't work. As you will see, it was going to be a project.  First, put in a grow light fixture over the rocks.  Second, I created a different water feature but there was still the issue of what to put on over the rocks.  Plants made sense but they must have light.  If turned on only at night it doubles as a night light.


As always my wife likes for wires to be well hidden.  The challenge was that the light fixture must be by the wall.  And the structure cannot be heavy.


1/4 inch plywood works well and some thin pine.


Wall anchor construction shows a short channel to receive the "hook"


The hook from previous photo is now permanently attached to the lamp holder


Wall channel is installed, then the wall anchor and the wire is later hidden by a removable channel cover.

Note the shop made tool carrier (also discussed in a separate blog)

The "hook" simply slips into the wall anchor channel


Video of the water feature at work.  The original plan by the previous owner was to let water flow from top of the rocks down into a rectangular well/water reservoir.  The porous rocks made that impossible because the surrounding marble floors got wet.  I created a "disappearing" water spout feature.


Saturday, February 1, 2020

The Platform Bed Redux

It was ages ago when I made the second version of a king size bed.  Recently, we bought a new bed, a "smart" adjustable one, also king size with all kinds of 'bells and whistles'.  Now, what to do with the old one (first photo below) was the question. The manufacturer/merchant would only pick up the old mattress and standard frame but not the one I built. 


I designed the old platform as four pieces of torsion boxes joined together by nuts and bolts as shown below. That made it easier to carry each component piece from the workshop to the bedroom, then assembled in place. It would have been impossible, otherwise, for one person to manage. 


First order of business was to reverse the process - disassemble the bed back to its component pieces.  A king size bed is exactly twice the dimension of a twin bed.  The idea then was to make one twin for the room where there is already a queen bed, which makes that room the perfect guest room when the grand kinds come to visit.

Below are two of the four pieces. All that was needed was to add border pieces to the two untrimmed sides on each component.


Below is the aforementioned queen platform bed


Two of the rails for the frame had to be trimmed to meet the twin dimension.


Though rarely, it does happen from time to time that despite the constant reminder "to measure twice and cut once", I made a mistake. I cut two of the trim pieces short.

Tip on what to do:

Cut a 45 deg miter on the long pieces and the short pieces, join together with glue, tape and let dry.  It worked. 


Unless I point it out the add-on trim piece is barely noticeable.

P. S. Meanwhile, we are enjoying the new "smart" bed.  The firmness is adjustable for either side. So, my wife sets her side to one level for her back support (reason we got this bed); I set mine to another. All settings, from recline (head and feet) to temperature, etc. are done either via blue tooth controls or via an app from the cell phone.  Each morning, we get separate read outs from our phone as to how many hours of sleep we each got, our heart rate, breaths per minute, how many times we got up through the night (guess who gets up more?), how much restful and restless sleep (in hours and minutes) we each got, how long it took to fall asleep, how much sleep we got versus the target amount (individually set).  Then we get our "sleep IQ" for each night.  Isn't that awesome?  For health reasons and for the fact that we all spend a third of our lives sleeping, this was worth the expense.