Yours Too, if you are so inclined. Small projects in between major ones.
While there are a few tips and tricks to woodworking here, I prefer this to be an essay about, or an homage to revitalizing old tools if you will, restoring them to be useful for another generation or longer. Two of them are over a hundred years old. If you look around you, perhaps in your attic or basement, there are many a number of these that can still be saved from the junk pit of rust, mildew and neglect. Salvaging them is more than just plain old nostalgia but merely for them to either remain useful or be restored according to how they were intended to be used. For anyone to engage in their renewal, these tools could be more rewarding than any modern gizmo that will, like clock work, often by design, become obsolete almost immediately as a year old periodical. If that. Worse is that at the moment the consumer opens the box, the newer model is already getting ready to ride the conveyor belt of the next generation - the "new __ G" to the nth power.
I prefer for this to be a photo essay for general readership. If only one or two of the readers find a hidden treasure from among the grand parents' or uncle's dusty tool box because of this, this essay will not have been for naught.
Six years ago, in October of that year to be exact, I posted, "Vintage Ice Cream Scoop Restoration". A friend of mine had asked me if I can restore his mom's favorite ice cream scoop. She would not hear of him getting her a new "modern" one. She liked this old one. She was ninety years old at that time. So, I restored it for her. It was a project. In that blog I described the step by step process in how I did it.
Many years ago another friend and former co-worker who retired years before I did would send me old tools he'd pick up from yard sales he'd often visit as a "hobby" of his while enjoying retirement in Florida. He'd buy them cheap, of course. Over the course of a few years he'd from time to time mail one or two items to me as a way of returning the favor for the few little items I made for him from some of my small projects. His favorite was the back scratcher I made for him.
This one below was a vintage flat-head screw driver which he purchased for a buck. I've used it to pry lids off paint cans or for some other chores where I would not want to use any of my "delicate" tools. A few days ago the handle cracked first and broke off entirely. Was I going to just throw it right away? That friend of mine passed away seven, eight years ago. I wanted to restore this one. This screw driver I realized is over a hundred years old. The manufacturer, still legibly visible on the steel blade, no longer exists. It has a uniquely pear shaped flat handle and a brass ferrule.

I was going to salvage the ferrule but replace the wood with one of the scrap woods I have - a salvaged oak board from an old barn that at that time before it was demolished in a Mississippi farm was also over a hundred years old. This piece of oak would come close to being described as "hard as granite". It dulled my saw blade a few years back when I worked large pieces of it for a table project.
I drilled a half inch hole through an end grain so I can insert a half inch dowel. Before inserting the dowel I cut a narrow notch which will receive the tang of the steel blade.
I glued the dowel to the board. I cut away as much excess material roughly with a hand saw the shape of the handle which would still be shaped like the old one, except it was going to be a bit longer.
I filed away with a wood rasp the rest of the excess wood to the desired shape of the handle.
I believe this tool will last another hundred years. I mean it can take the abuse, for sure.
Old rasps can be purchased from yard sales and flea markets, often at just a dollar a piece. I figured that these old files may have outlasted their utility against metallic materials, like iron or steel or brass and aluminum but they would still be very effective when used on wood. And I have also purchased rasps for wood dirt cheap at the flea market. To me it is not about saving money because clearly I have spent a goodly amount on a lot of my tools. For as long as old hand tools are there to be discovered, finding them had become a sport to many, myself included in that group, engaging in adult treasure hunt of some sort which can both be exhilarating and rewarding (though not necessarily from the view of money).
Rasps, used old ones, I've bought plenty enough. I've made handles for all of them except this last one showcased here.

This is not a typical method of fashioning a handle on a rasp or any other tool. I might be the only one doing this in either hemisphere of the world, in the manner of woodworking or geographically speaking.
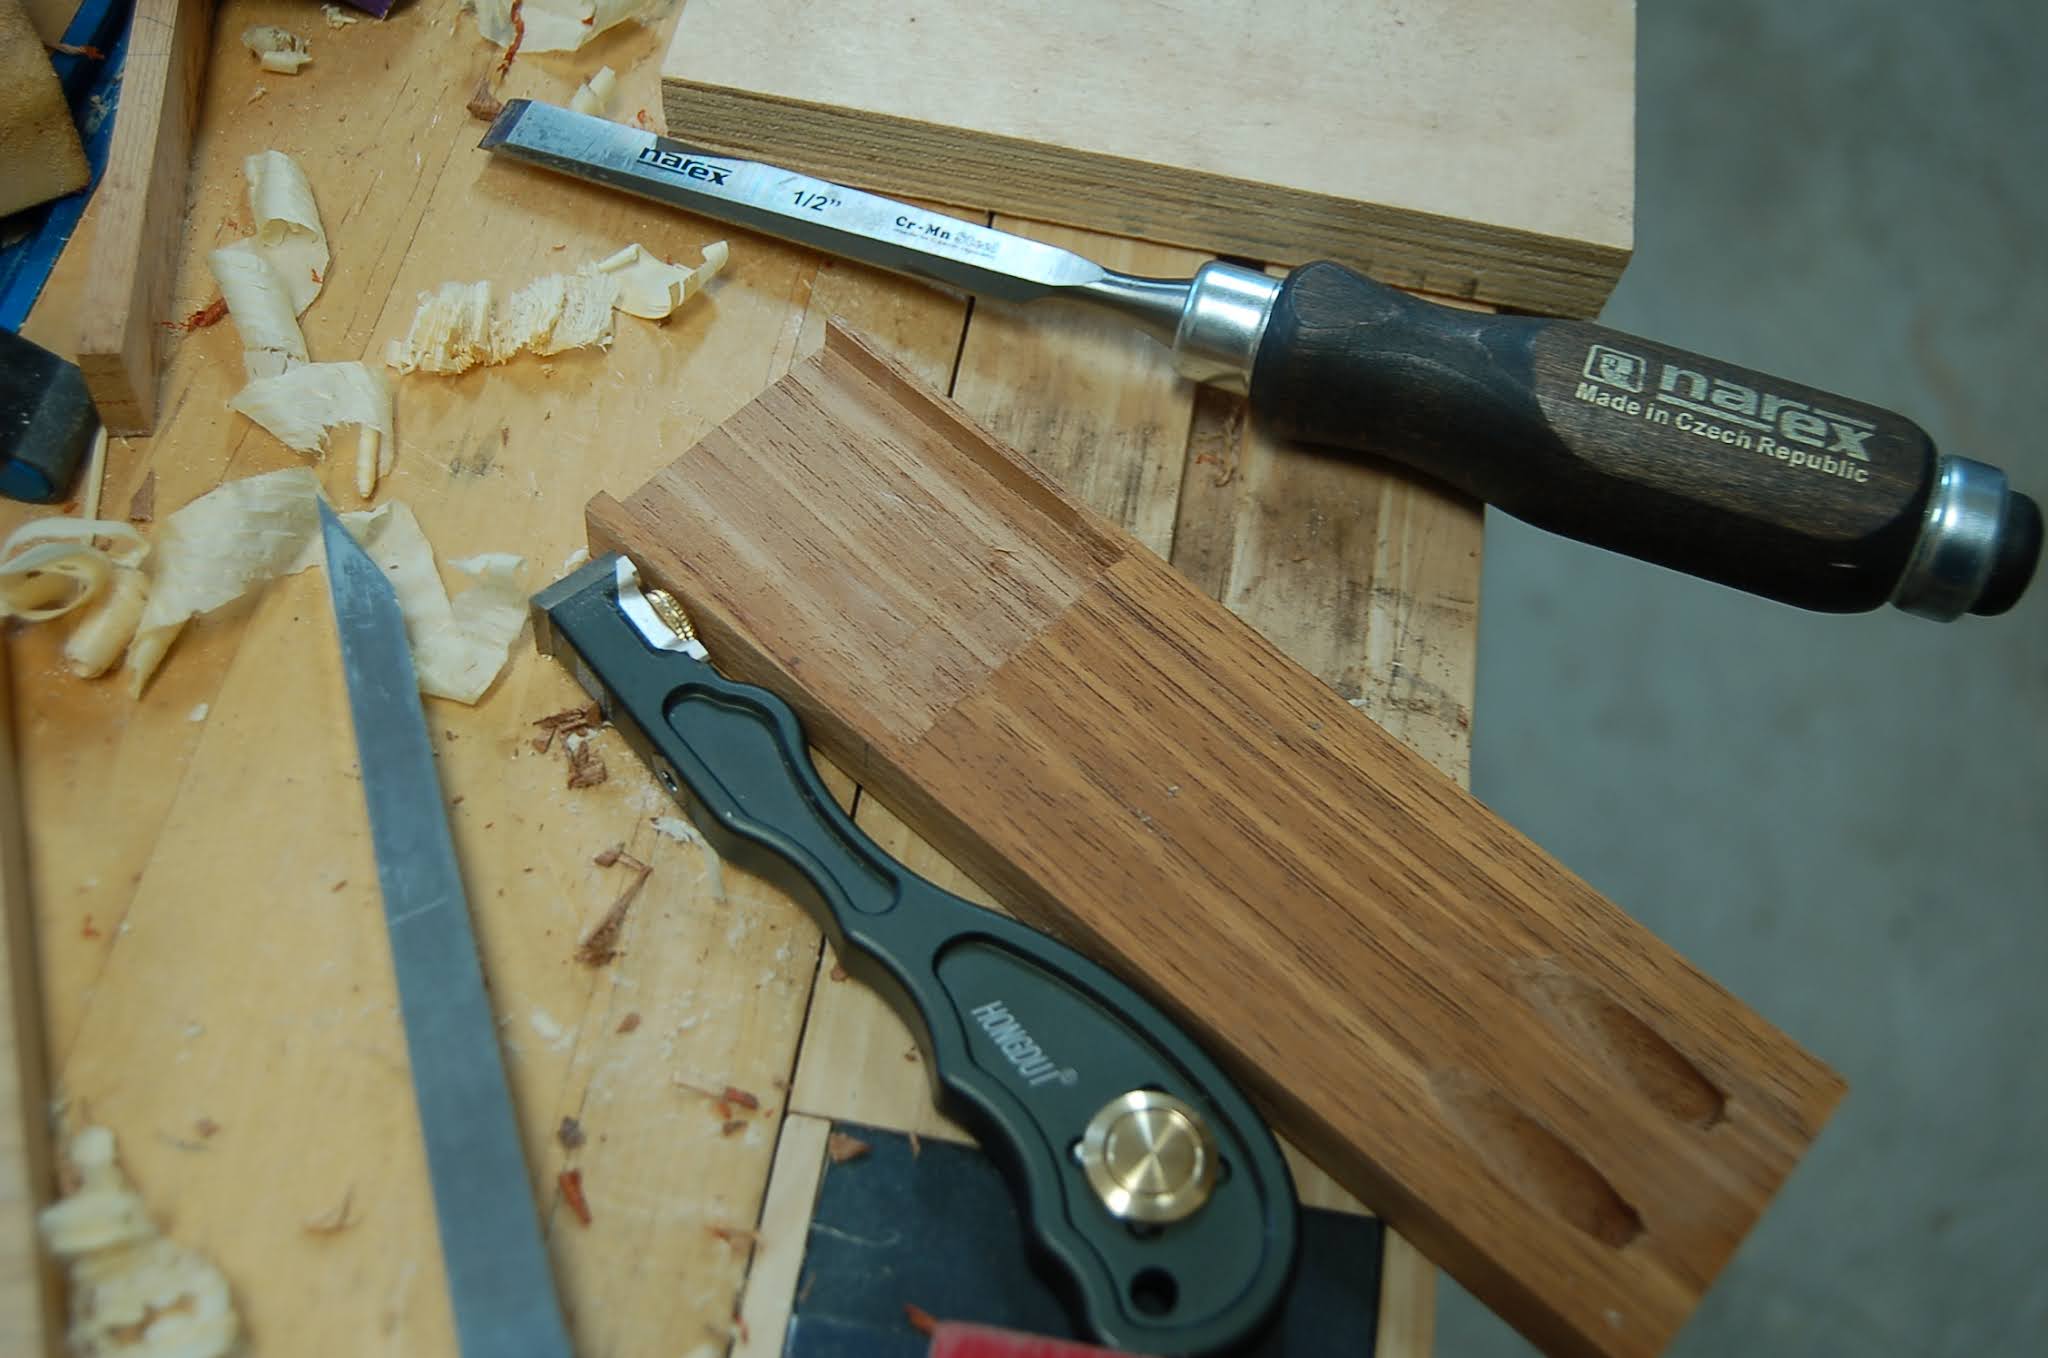
On a pair of identical flat boards I gouged out the profile of the tang of the tool. I started with narrow and shallow "canals" from each side. I chiseled away the final profile.

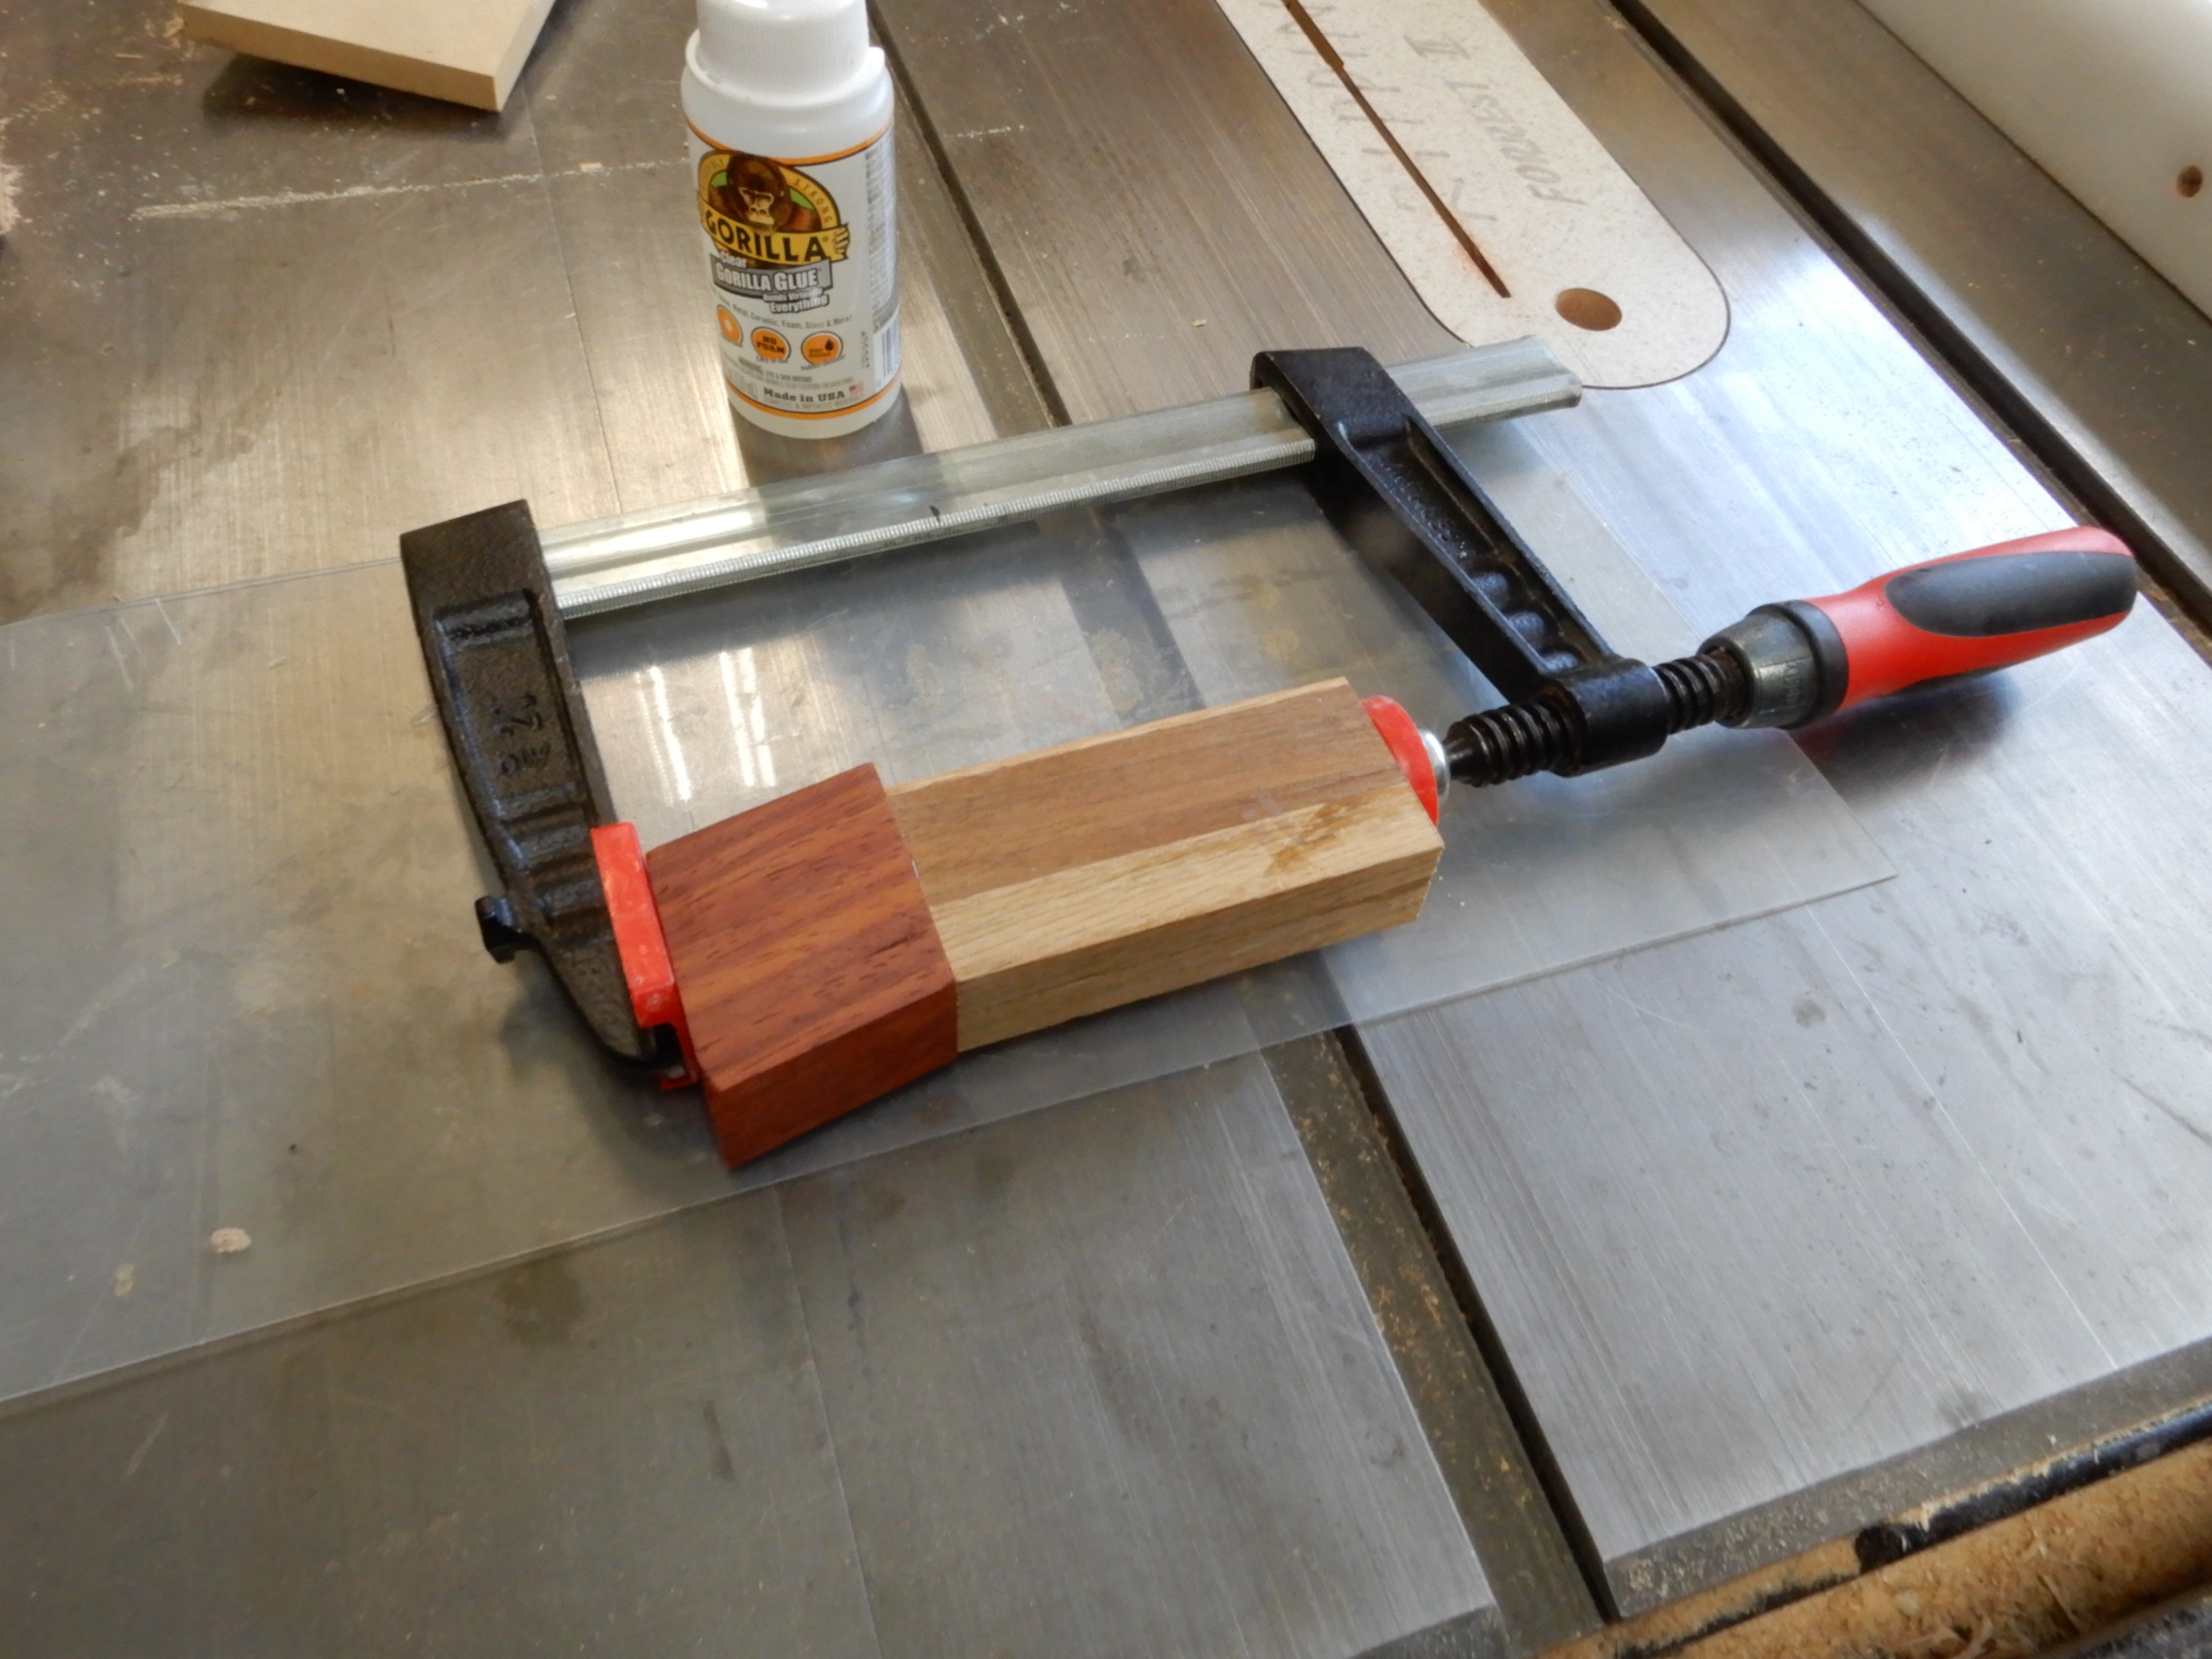
The two halves were glued together. I glued an end piece to the hilt of the handle to increase the length and cover the exposed groove with a different species of wood for accent.
A hand saw cut the rough outline of the handle. The final shape was filed and sanded through.
The gouged out channel was so effective that a couple of vertical taps on the hilt of the handle were enough to keep the rasp snugged and tight to it without glue.
Now I needed to organize these tools. The accumulated number of them over the years demanded I do something to organize them.
Well, if you are so inspired now, go on a treasure hunt down your basement or attic, the old barn, the flea market or yard sales, etc. in your spare time. Find and rescue those tools. They've served their purpose but they're not quite done yet. The least we can do is save them.