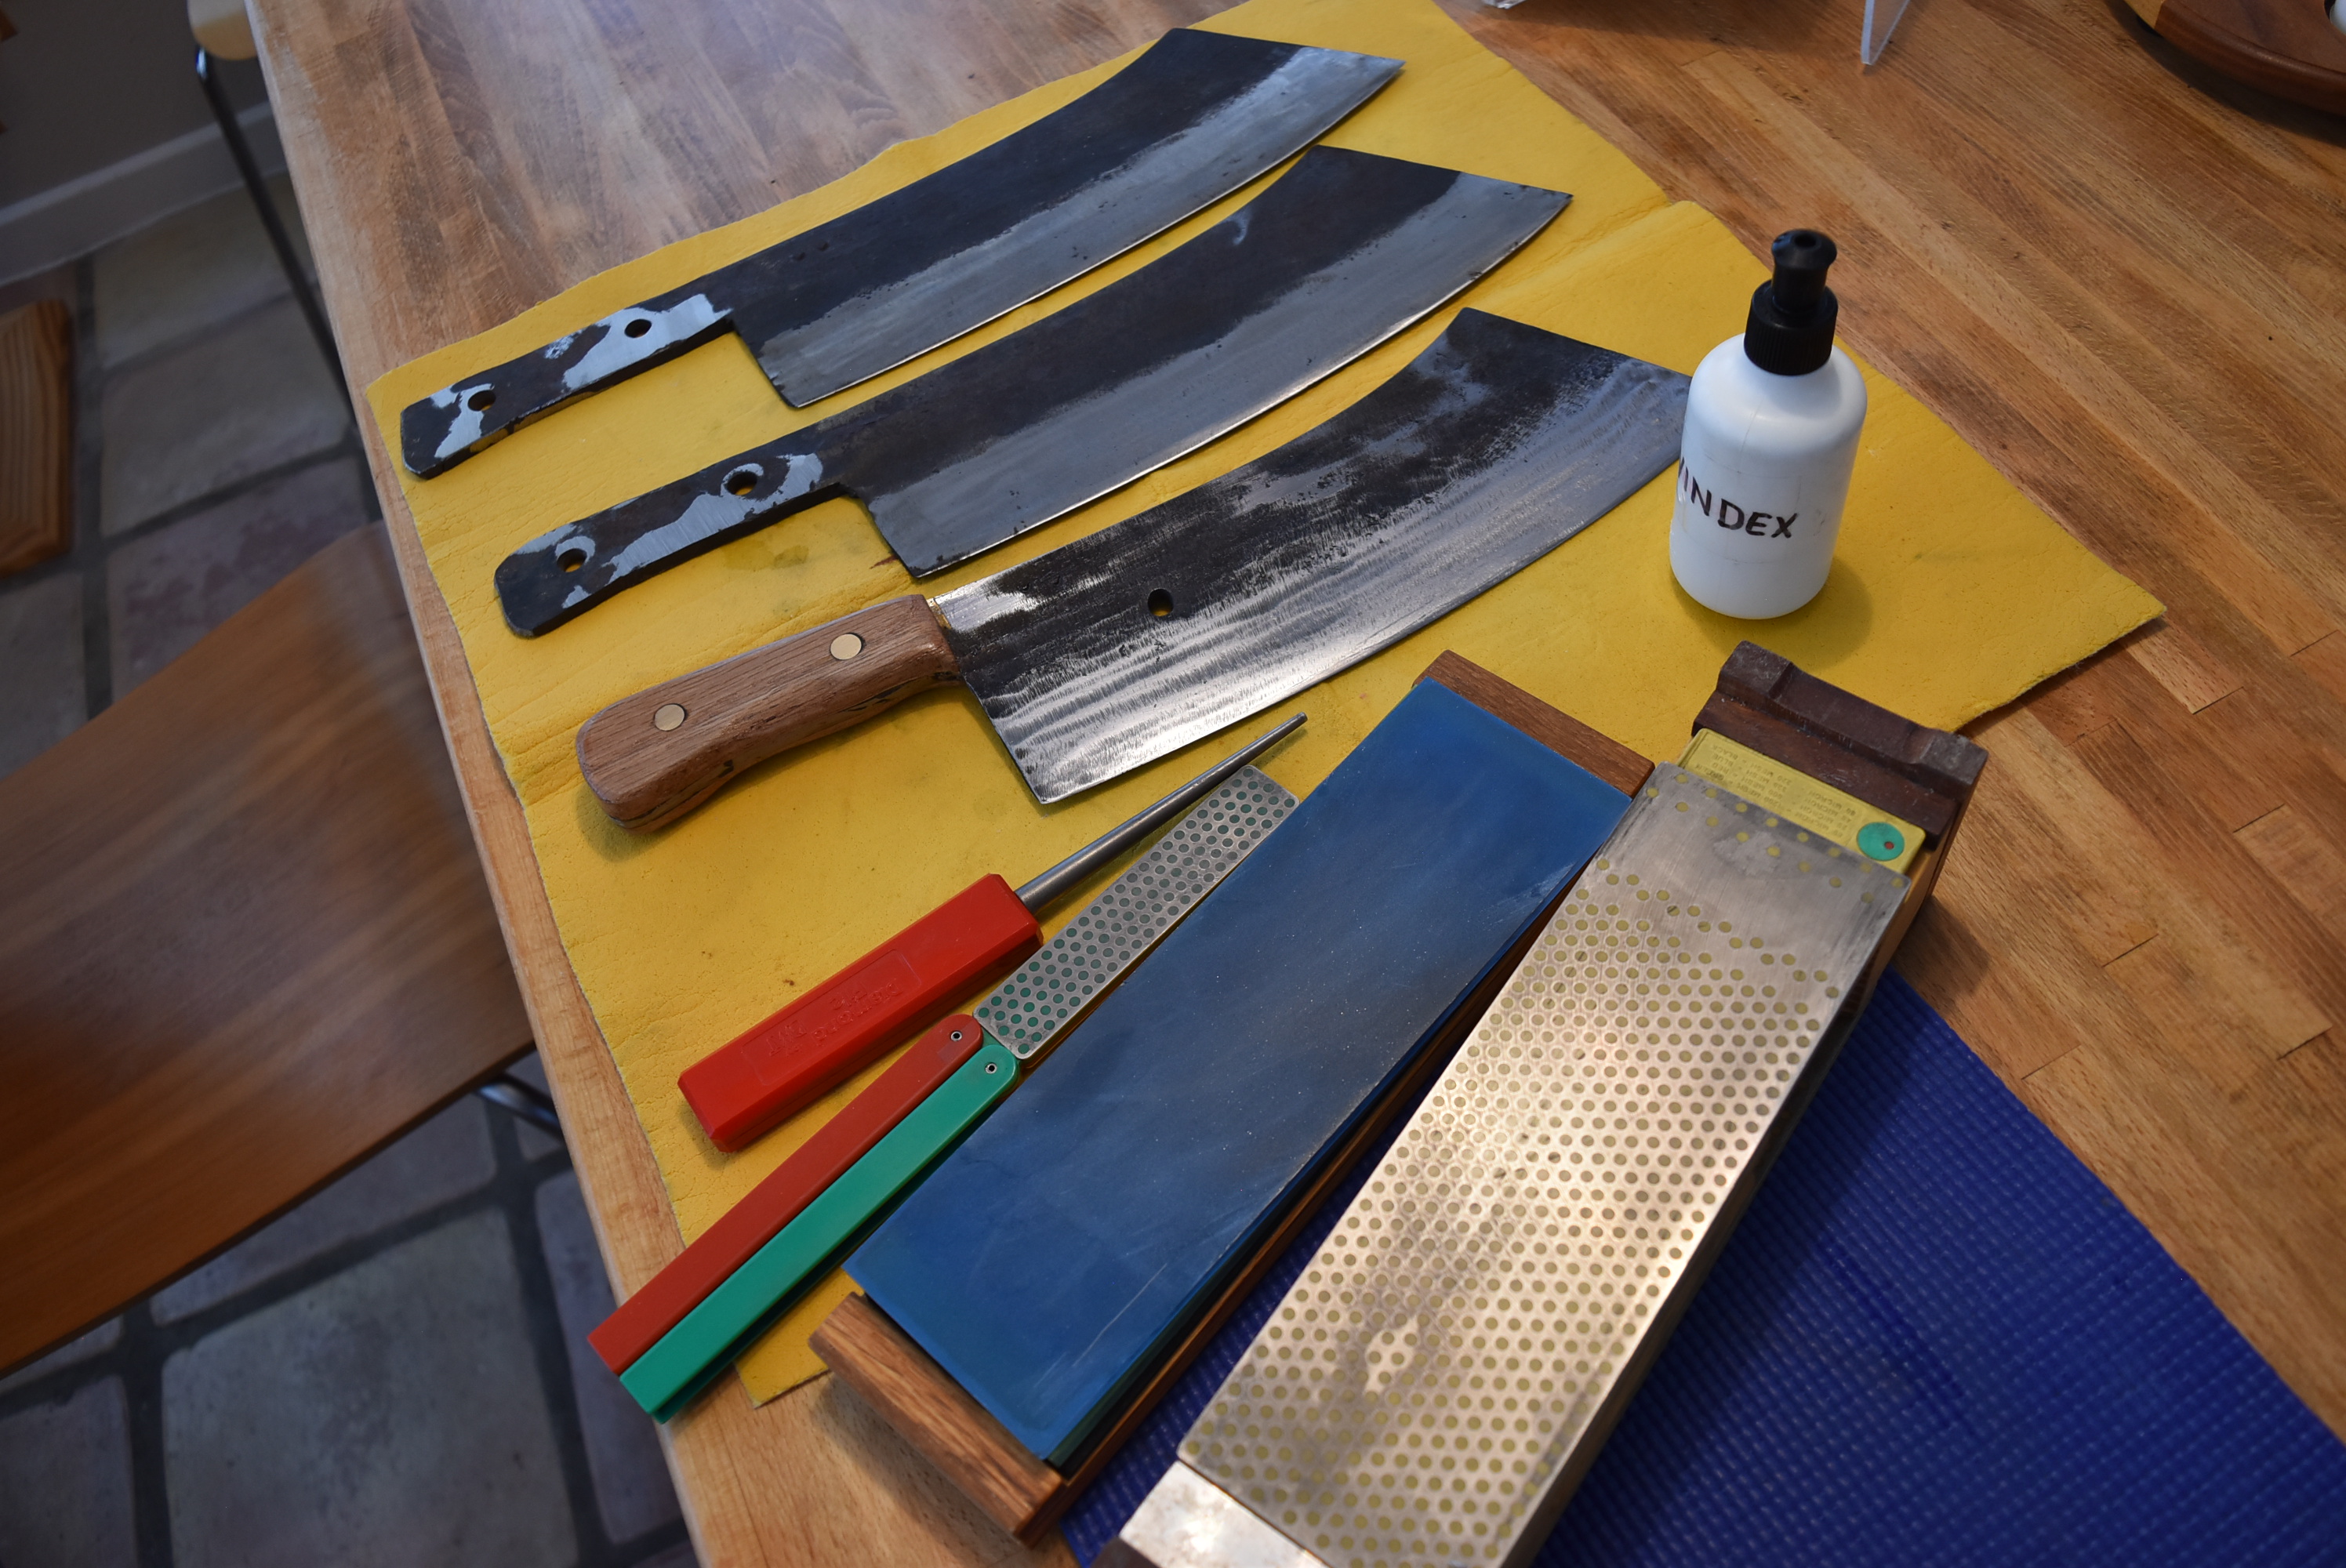
A friend, a high school classmate of mine, went back to visit the old country three months ago. He brought back these three "monster" high-carbon steel blades. These blades were fashioned from what used to be automotive suspension leaf springs by a local blacksmith on the island. For now they are ugly ducklings that I will try to turn into something a bit more pleasing to the eyes, though perhaps not to the same degree as the eye-catching cleavers advertised in home & garden magazines or fancy catalogues.
This friend is an avid hunter and he wanted something substantial to use after a successful deer hunt for the subsequent obligatory vivisection and subdivision of the whole carcass into Ziploc sizes for the freezer. He wanted one with heft and cleaving power a butcher will be proud of. So, the deal is that I will fashion the handles for these beasts, and I get to keep one and he will have two. A fair deal, considering he had these brought from half away across the world (in his check-in luggage, for those who might wonder). {More importantly, I want to recognize those craftsmen from everywhere around the world, in their makeshift workshop in their backyard, using home-made furnaces and brute physical strength in recycling and fashioning something out of salvaged, rusty high carbon steel}.

But first, a side note on why these are fashioned from leaf springs and how did such a practice originate, particularly as it was in the Pacific islands, although the idea of recycling and repurposing steel is a worldwide phenomenon, long before recycling was even part of the social conscience.
After the war, military equipment - partially destroyed, salvaged, junked, or abandoned - became an excellent source for high carbon steel to be repurposed. Drive shafts, pistons, ball bearings and spring coil and leaf springs were great sources of good quality steel. Post WWII, material shortages of cutting implements were partly solved through recycled steel.
Two decades ago I came across this 15-inch bolo at a flea market just outside of Dallas, TX. I had to have it, despite the hefty price for something at a flea market. The year 1945 was etched on it and the initials of the unknown craftsman, who also added some simple artwork of the "Philippines", coconut trees, a nipa hut, the sun rising between two mountain peaks. 1945 was the end of the Pacific war, one year before the Philippines earned its independence from the USA. I thought of the significance, so I bought it. I imagined the blade was made from a leaf spring salvaged from an army Jeep.


Back to these monster blades. The cutting edge is well defined but not quite properly honed. The hilt needed to be flattened for good adhesion with high strength 2-part epoxy. A bench belt sander did the job. Re-drilled the 3/8 inch holes for the pins. Tempered steel put up a good resistance to the drill bit but it is a good sign of the blade's hardness.
Cut to rough length the pins from a 3/8 inch brass rod.
The wooden part of the handle is called "scale". Drilled 3/8 in. holes through one scale, using the holes on the hilt as guide, then epoxied it to the hilt.
Then worked on the opposite scale by first using double sided tape to secure the second scale before drilling the two opposite holes.
24-hour clamping
Shaping the scales. The pieces were part of oak boards that came from a 100 year-old barn in Mississippi.
Marked the desired shape
Best to leave the back of the blade black and rough. A grinder could have cleaned it up but there is risk of thinning the blade. Besides, the way it looks maintains the beastly character of the cleaver.
After honing with diamond stones, it is sharp enough to make some fine slices although this is not what it is designed for. The thick blade is indeed for real tough work on venison and cutting through bones.
One down, two more to go!
Note: Proper maintenance of high carbon steel knives is to wipe it thoroughly dry after each use to prevent rust, which will develop quickly on any wet iron. Wiping cooking oil when storing blade is good practice.