Welcome to Woodworks Made Easy

Practice any art, however well or badly, not to get money and fame, but to find out what's inside you.
--- Kurt Vonnegut

Pictures are meant to be self explanatory, and for visual clarity you may
click on each photo to enlarge. For older projects see Blog Archive. I don't specialize on a particular genre so there is quite a variety of projects for a number of different interests.

Even if you are not a woodworker but you like some or all of the projects, have your local crafts person make them for you from the ideas and photos you see here. For a particular project just click the specific title on the Blog Archive list (right side column below).

For anyone willing to learn or begin to do woodworking for the first time, please read first from the Blog Archive, "How and Where to Begin a Woodworking Hobby.

And it is not for men only. Read my note on "Women in Woodworking" from Blog Archive, April 2010.


click on each photo to enlarge


Tuesday, June 6, 2017

More Micro Projects from Scrap Wood

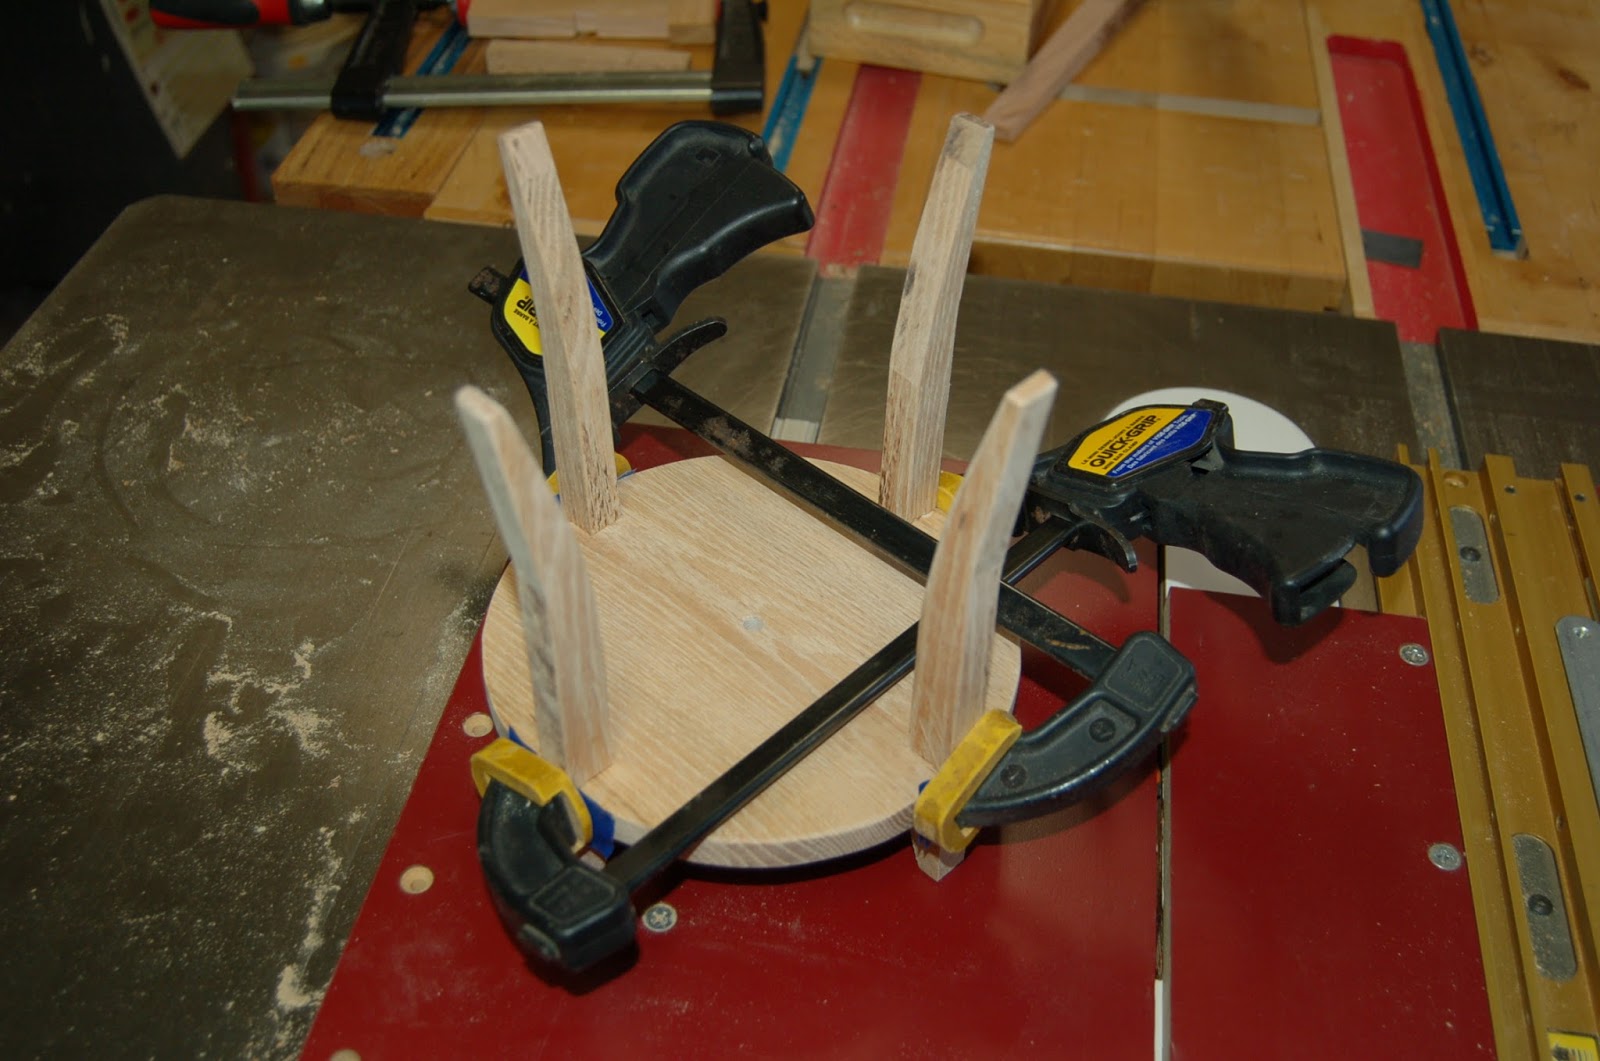
What is common with these micro projects, aside from being all small plant stands, is that they were all made using just the table saw, including the circular base and the curved legs. Those familiar with this blog, the photos should be self-explanatory.


I saw on a DIY show a craftsman used a polyurethane glue as a base finish.  Polyurethane glue works when it is applied on one piece and water (by wetting the opposing piece to be glued. He said it was by accident when he discovered this technique:  The glue is applied a drop at a time into the surface, rub it across the grain and wipe off excess and let dry.  After the surface dries (which is less than 30 minutes), use fine sand paper to smooth it and apply wax or other finish over it..


Thursday, May 25, 2017

The Burgess Edge System

I feature here a set of two paired router bits - must be purchased as a set actually - that I've had for at least a decade but not discussed a lot, perhaps in passing, in previous blogs because I figured there is little interest in it, if even familiar to most woodworkers. When I ordered it way back then I actually spoke with the inventor and maker of this set, Michael Burgess, who convinced me that it was, and indeed it is, the best way to edge-band 3/4 inch plywood. Plywood, 3/4 inch, is a very stable stock for wide large projects, such as cabinets and table tops. The one drawback is the exposed edge. There are a number of ways to cover the edge (i.e, veneer and edge-bands) but the most effective is to create a channel on the plywood edge and a matching moulding on a solid wood material, which is then glued and clamped to the main body. There are probably two or three other  edge "systems" commercially available but the Burgess is far superior, albeit costly.  But it is worth the expense.

Obviously, in the past I've always used this system to treat 3/4 inch plywood edges; however, for this project I used it using solid hardwood for the main piece and the edge-band.  I've done several, a dozen or more by now, cutting boards using different techniques. This time, I chose marble wood - a favorite - edge-banded with walnut.


It is always 2-part process and the router table is a must.

I usually treat the "end" part of the big work piece first, then the long sides.


I used polyurethane glue for its water-proof characteristic. (Apply the glue just one side and water-wet the mating piece, then clamp)


The glue up pieces were slightly over-sized, then cross-cut and ripped to final dimension. This is the best way to insure a flat and parallel edges.


The juice channels and finger holds along the edges were also done on the router table with bull nose bits.


Below are some the other cutting boards over the years.  This is the first time I used the Burgess Edge System.  It is worth to have this if you already have a router table with at least a 2-hp motor or bigger, even if only for 3/4 inch plywood applications.


Tuesday, April 25, 2017

Case of Two Mallets

The workshop and kitchen mallets shown below were done at the same time from similar scrap wood except for the white polyvinyl face. Most wood workers prefer using a solid piece of material for the mallet head. Laminating thinner pieces to make a mallet head has three advantages: narrow pieces are cheaper, more so when using scrap material; laminating makes a stronger and bigger piece free from cracking or warping; mortises can be achieved simply by creating a space in between the lamination during glue-up.  And mixing wood species allow for a more attractive two-tone appearance.


Many years ago I did make one mallet I call "the enforcer" (below) because it has the heft of Thor's hammer. I had used it considerably and it had its purpose but for light duty work I used commercial rubber mallet or brass hammers.  Since I wanted to make a kitchen mallet I thought I'd make a light duty wooden mallet as well.


It's time to use some of the left over scrap hardwoods (red cherry,white mahogany, white oak and walnut) lying around the workshop. 


Liberal amount of glue and several clamps make for good lamination of four narrow pieces.


Hand planing a small work piece is fun to do although the power planer would have been much quicker.


If the mallet head were a solid piece a mortise had to be cut to accommodate the handle. Lamination makes it a lot easier to create a mortise by simply allowing the desired amount of space between lamination as shown below.

To add mass to the mallet head I had used short pieces cut from a steel bolt.  Four were used in the big mallet I did years ago  but only two in the light duty mallets. The steel bolt pieces may not seem like much but the kinetic energy generated during the strike is substantial.


2-part epoxy and wooden dowels will secure the bolt pieces snugly.


Below are old cutting boards - a white hard plastic and end grained bamboo. The face of the kitchen mallet will have the white vinyl and the workshop mallet will have the bamboo face.


Tip: Below is the safest way to slice a thin wide piece of material.  I do not recommend running the piece along the saw fence with one's bare hand.


Another tip: - A small shop-made sled is the safest way to cut small pieces shown below.


Polyurethane glue is ideal for joining dissimilar materials and it is water proof.


Tip: (Photo below) A slight taper on the mortise so that it flares out slightly will insure a tight fit as the wedge is driven. Glue smeared to the inside of the mortise and on the wedge will secure the handle to the head.


The light duty workshop mallet will be ideal for striking chisels or wedges for joinery.


 The white plastic cutting board had held up well against sharp knives so striking the back of a cleaver  was no problem.  I prefer using a mallet for a well placed clean cut on fish, ribs, chicken and duck.