I used half inch Baltic plywood for the box, 1/8 inch plywood for the middle and bottom compartments; reclaimed mahogany for the lid, trim and handle.
 |
| This is actually leftover plywood from a previous project. |
 |
| A saw sled is a safe and accurate way to cut miter on a wide work piece |
 |
| A stop block (shown at the lower corner of the board insures repeatable cuts. |
 |
| Before glue up I cut grooves for the middle and bottom compartments |

 |
| Took three band clamps to tighten up the joints. |
 |
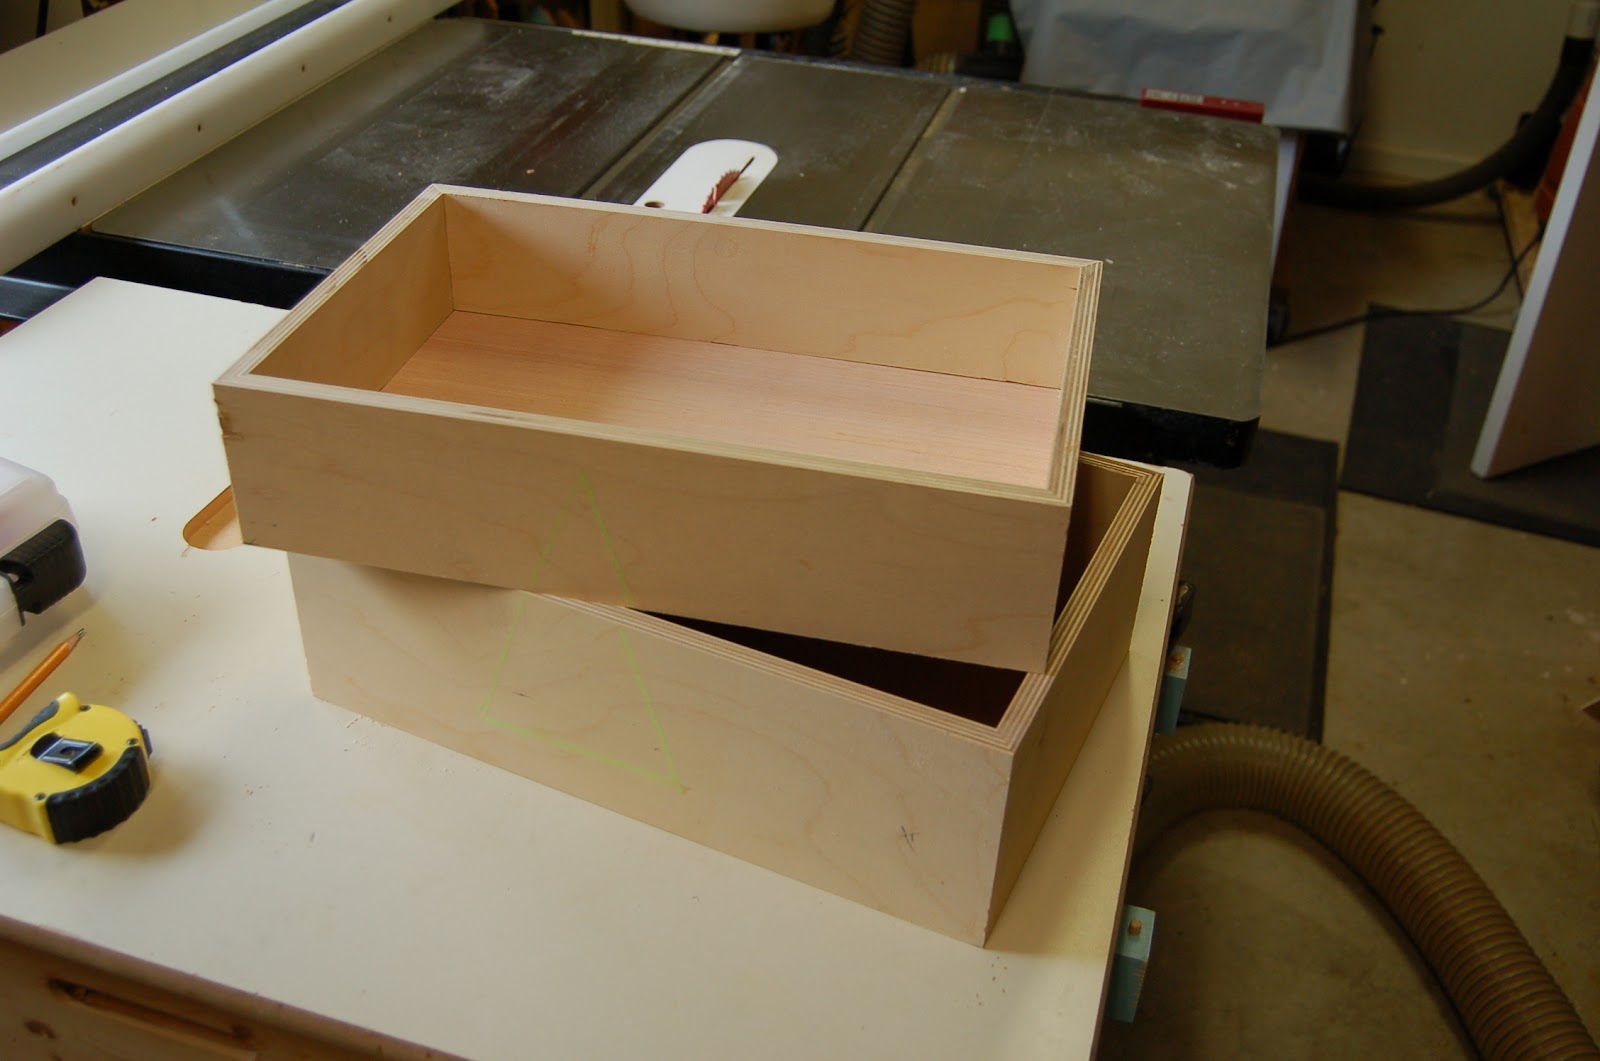
| Tip:For accurate and safe all-around cut of the box into two separate pieces, tape the cut portion as shown but use a double sided tape on the rectangular scrap flat wood secured by the blue tape, thus stabilizing the soon to be separated pieces. The two pieces will separate without binding the saw blade. |

 |
| The reclaimed mahogany needed to be planed (to remove the stained surfaces) and flattened. |
 |
| The lid required three pieces of the mahogany (glued edge-to-edge) |
 |
| Clean up and flatten the surface. |
 |
| The mitered corners were re-enforced with angular mahogany for added strength and stability. |


 |
| The corner trim at the bottom compartment protrudes about 1/8 inch higher while the trim on the top compartment is shorter by 1/8 inch. The top compartment would then seat properly and securely over the lower compartment, making for a seamless joint. |

 |
| The wedge "key" is usually tapered flat. I did a compound cut by making the taper with the saw blade tilted a little bit. This insures that the wedge will not pop out. |
 |
| I used red cedar to plug the screw holes. |


 |
| I laminated two pieces of mahogany for the handle. A laminated piece is a lot more rigid and stronger than one whole piece of the same dimension. |


 |
| The handles are meant to be removable. The handle pivots around the large pin (dowel) but the tool box will rotate when picked up; the second pin with the metal ring prevents by fixing the handle to its vertical position. It is removed to swing the handle to the side. |

 |
| The tool box will accommodate - not all at one time - but a few combinations of the tools shown above. This tool box is primarily to ferry certain tools from the work shop to inside the house for certain chores. |

No comments:
Post a Comment