Only a woodworker will call cooking utensils, "tools". I guess if one made the stand, one may invoke literary license and call it "tools". Be that as it may, still in the middle of a pandemic and always looking at the glass as half full, one appreciates the copious amount of time; hence, the tendency to be patient doing this project during the lockdown. There is a better, quicker and simpler way to do this but time and patience allowed for the higher degree of difficulty.
This and another drawer full of "tools" are why this project had to be done.

An easier and quicker way is to use wider boards. Ripping strips of two different wood species - mahogany and premium yellow pine - and laminating them alternately together is the hard way.
Card scrapers to smooth the jointed strips are not too commonly used as opposed to power sanders but they are quiet and there is something to be said about the hand/eye coordination of the chore and the sound of it.
Solid board of yellow pine for the top, trimmed with mahogany.
Nothing like a hand plane and the control of pulling (as opposed to pushing) a Japanese wooden one across the work piece.
Gluing up the mahogany trim around the yellow pine
Completed top before drilling four holes.
A horizontal drill makes for aligning the four holes to line up along the same plane by merely sliding the board for the drill bit to hit the marked spot.
Cutting the four posts
1/4 inch grooves (dado) for joinery were cut on the router table (not shown). Two long sides, two short ones, the top and four posts before assembly and glue up.
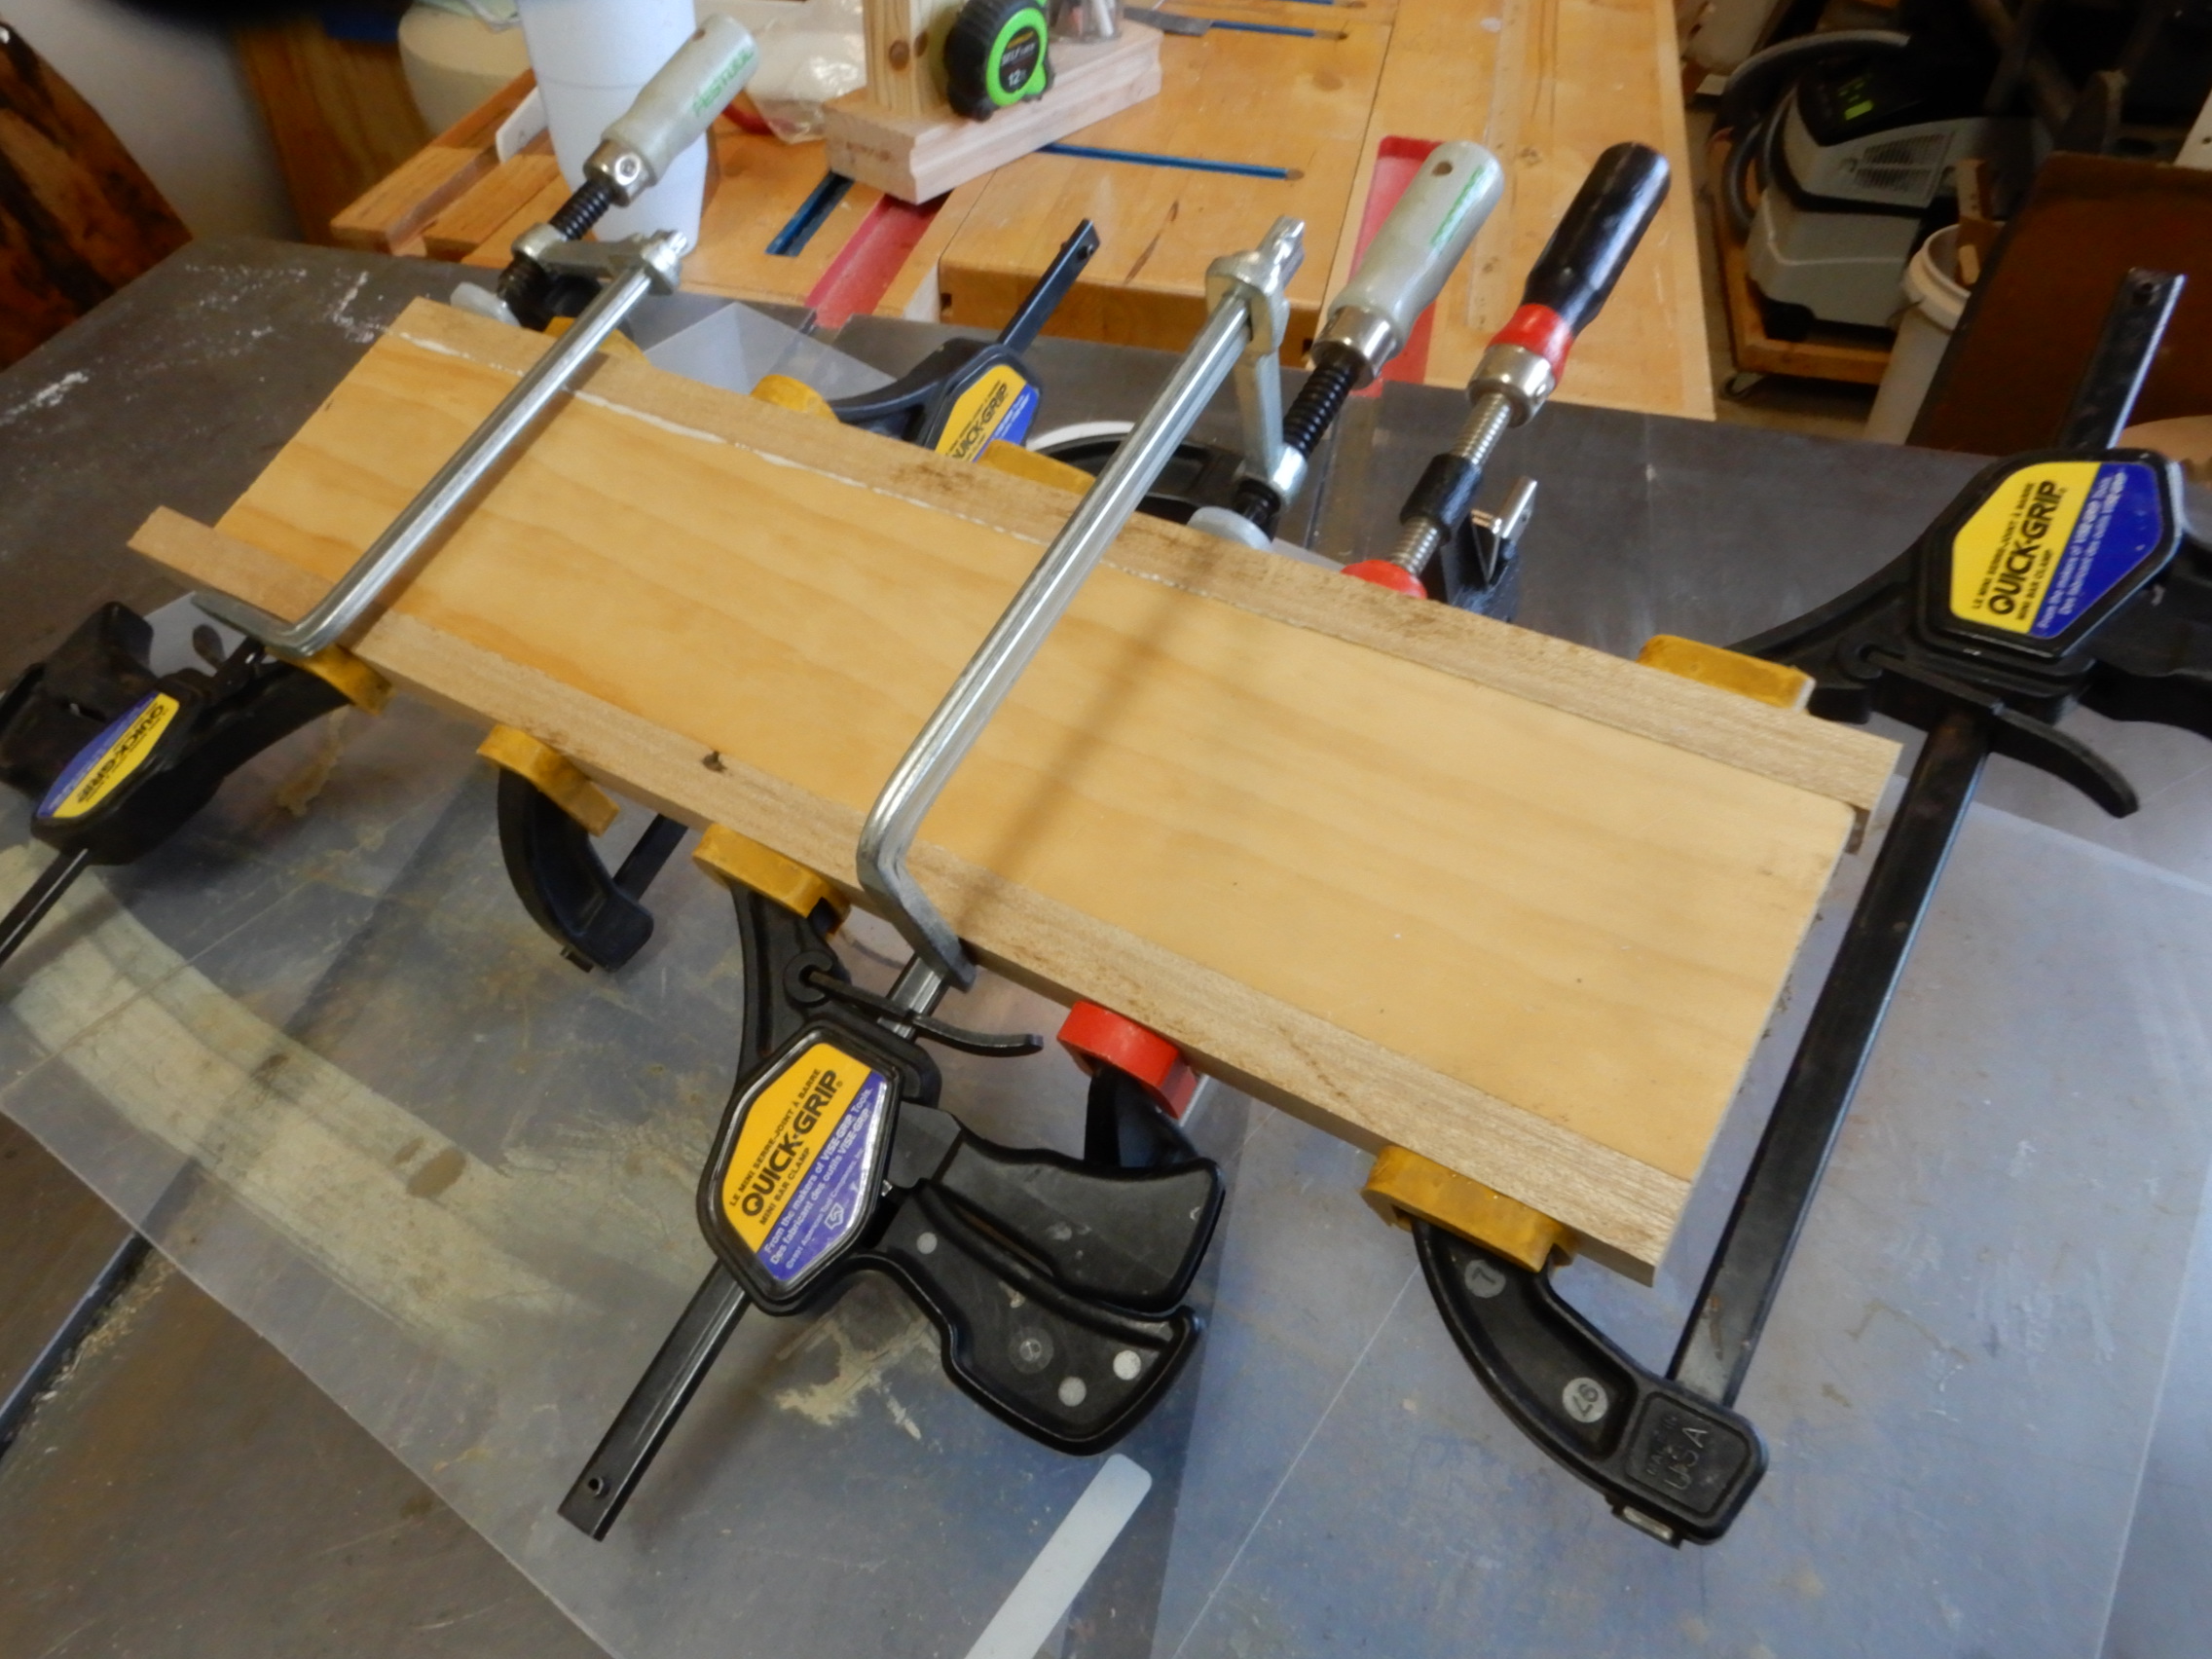
Glue up was a little tricky because all the pieces had to be clamped together in one operation.
Power sander did all the finishing
Tung oil
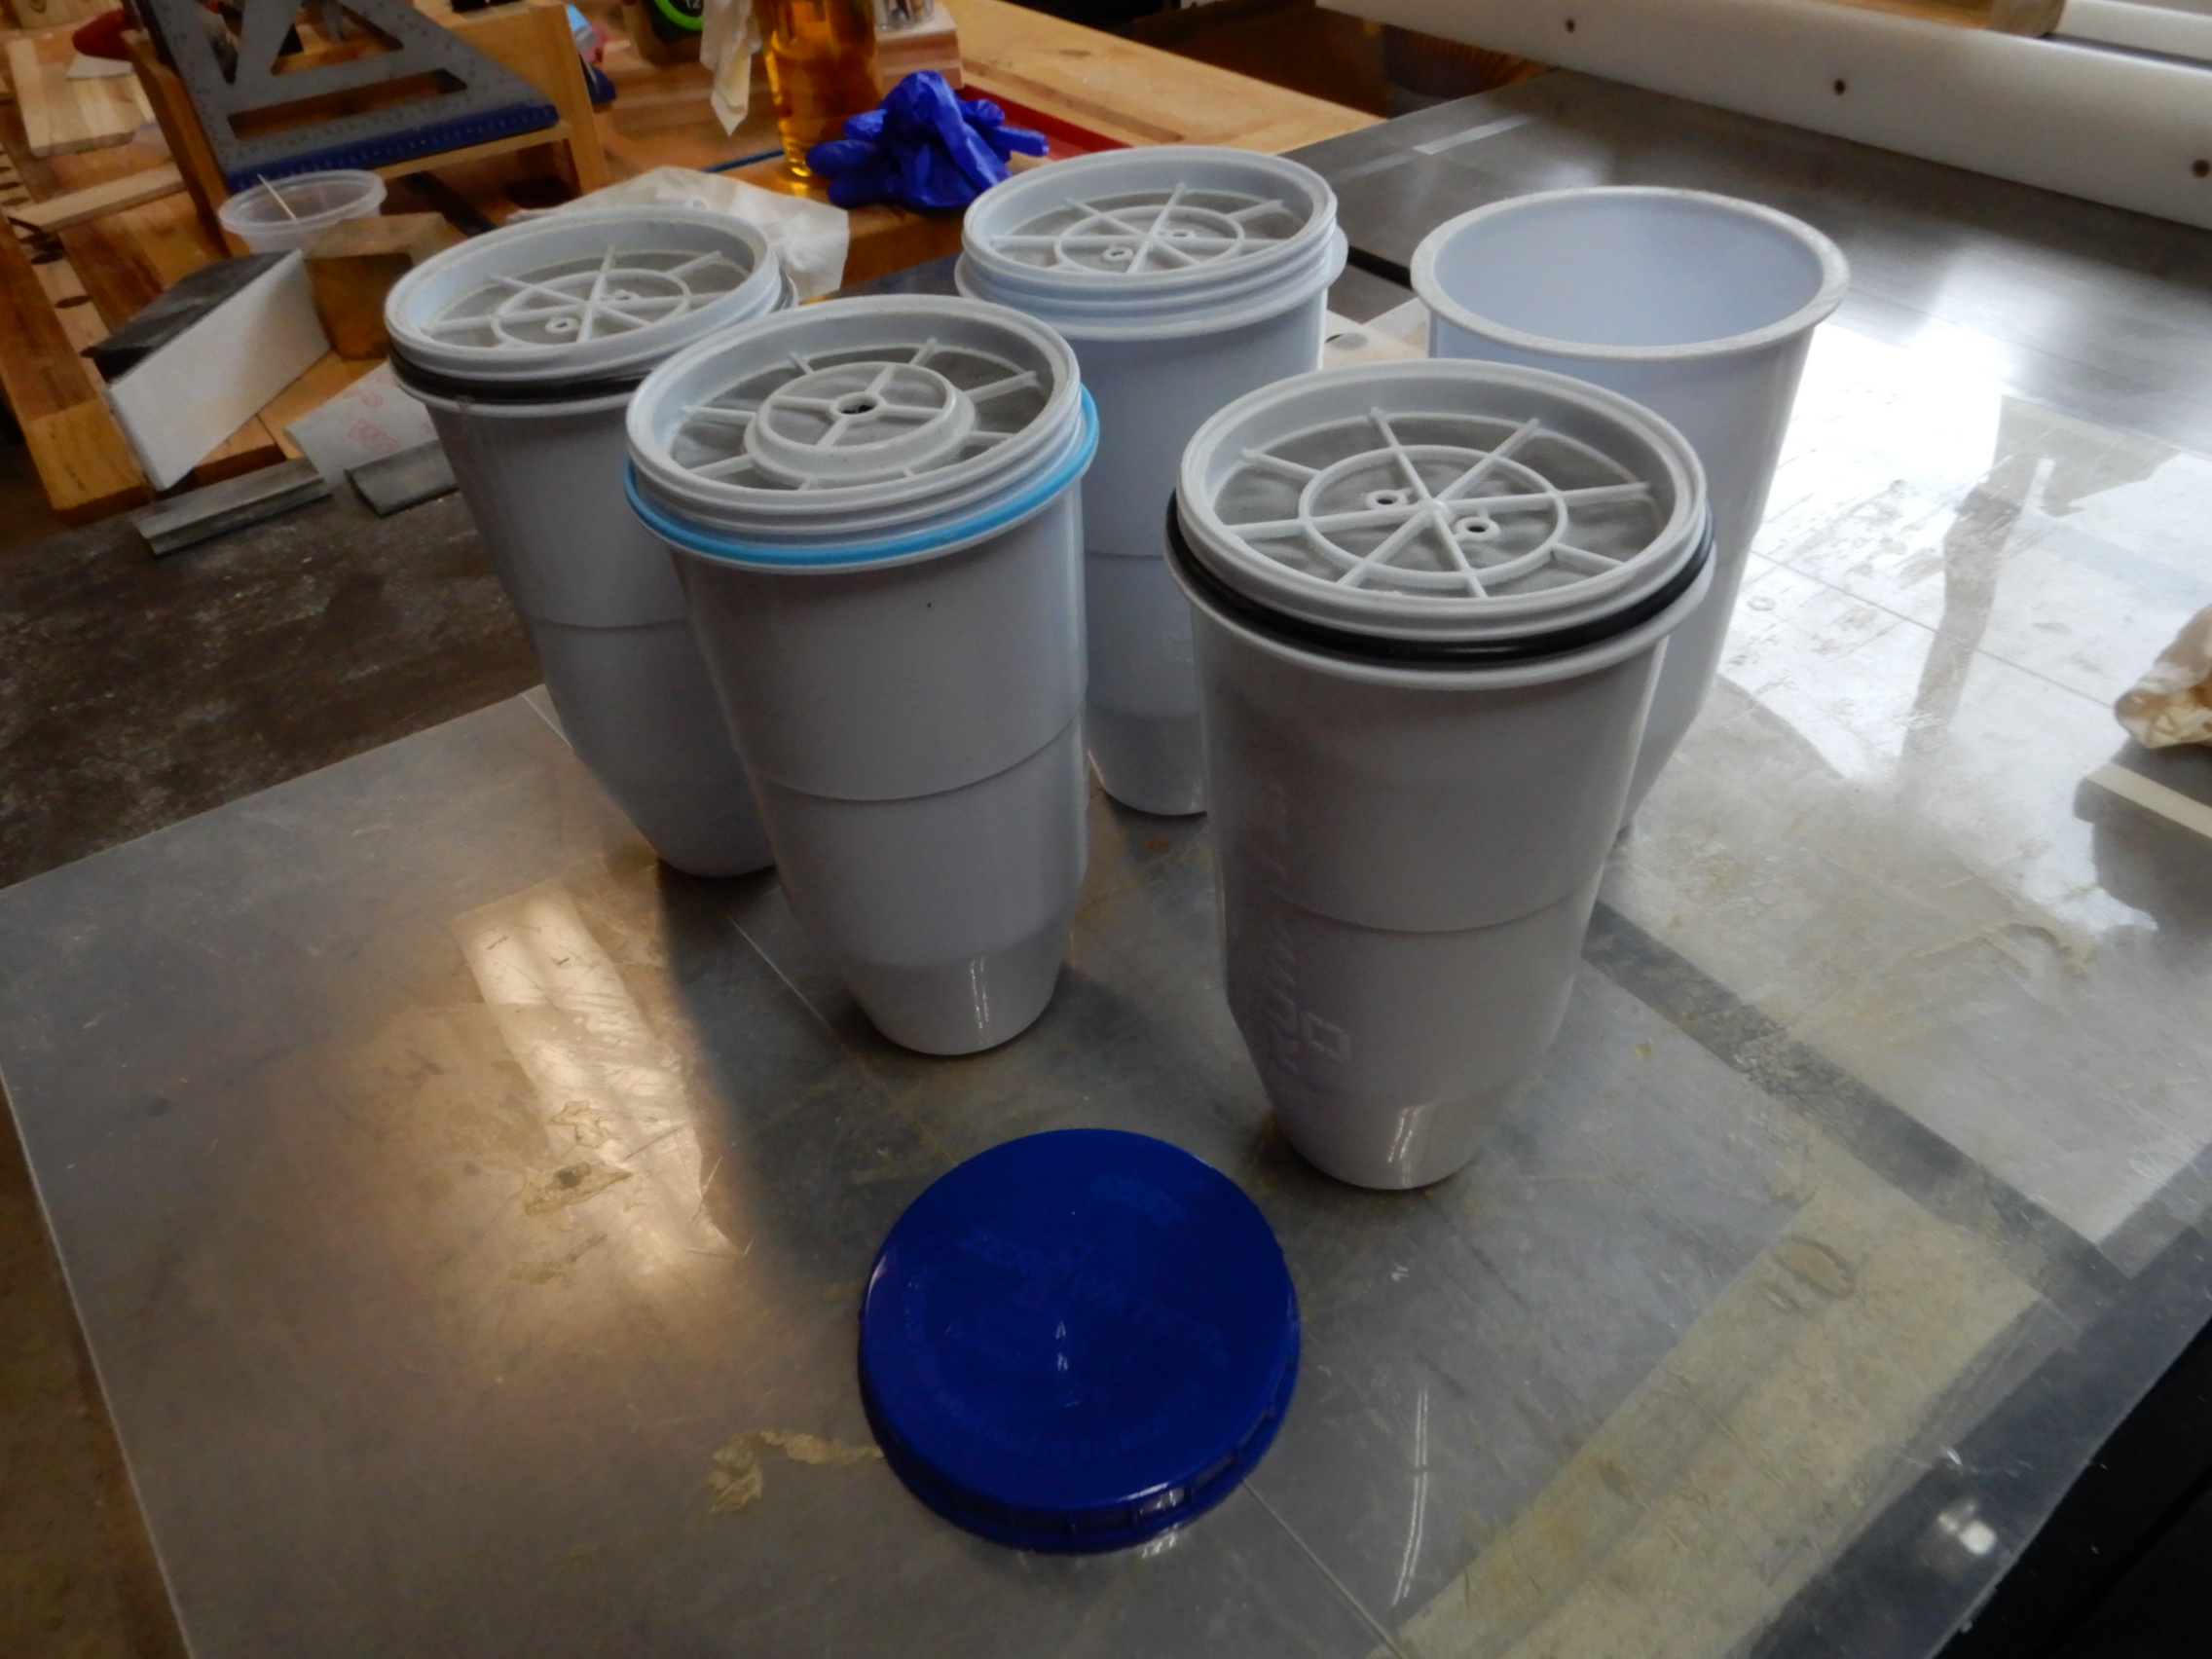
I have a lot of these water filter cartridges that were destined for recycling.
The threaded rim had to be cut off
Holding the cylindrical cartridge was going to be difficult, if not for the plywood that I used earlier to make a trial hole. It really came in handy for holding the cartridge securely. A chisel to clean up the saw marks from the rim.

Rubber pads for the feet.
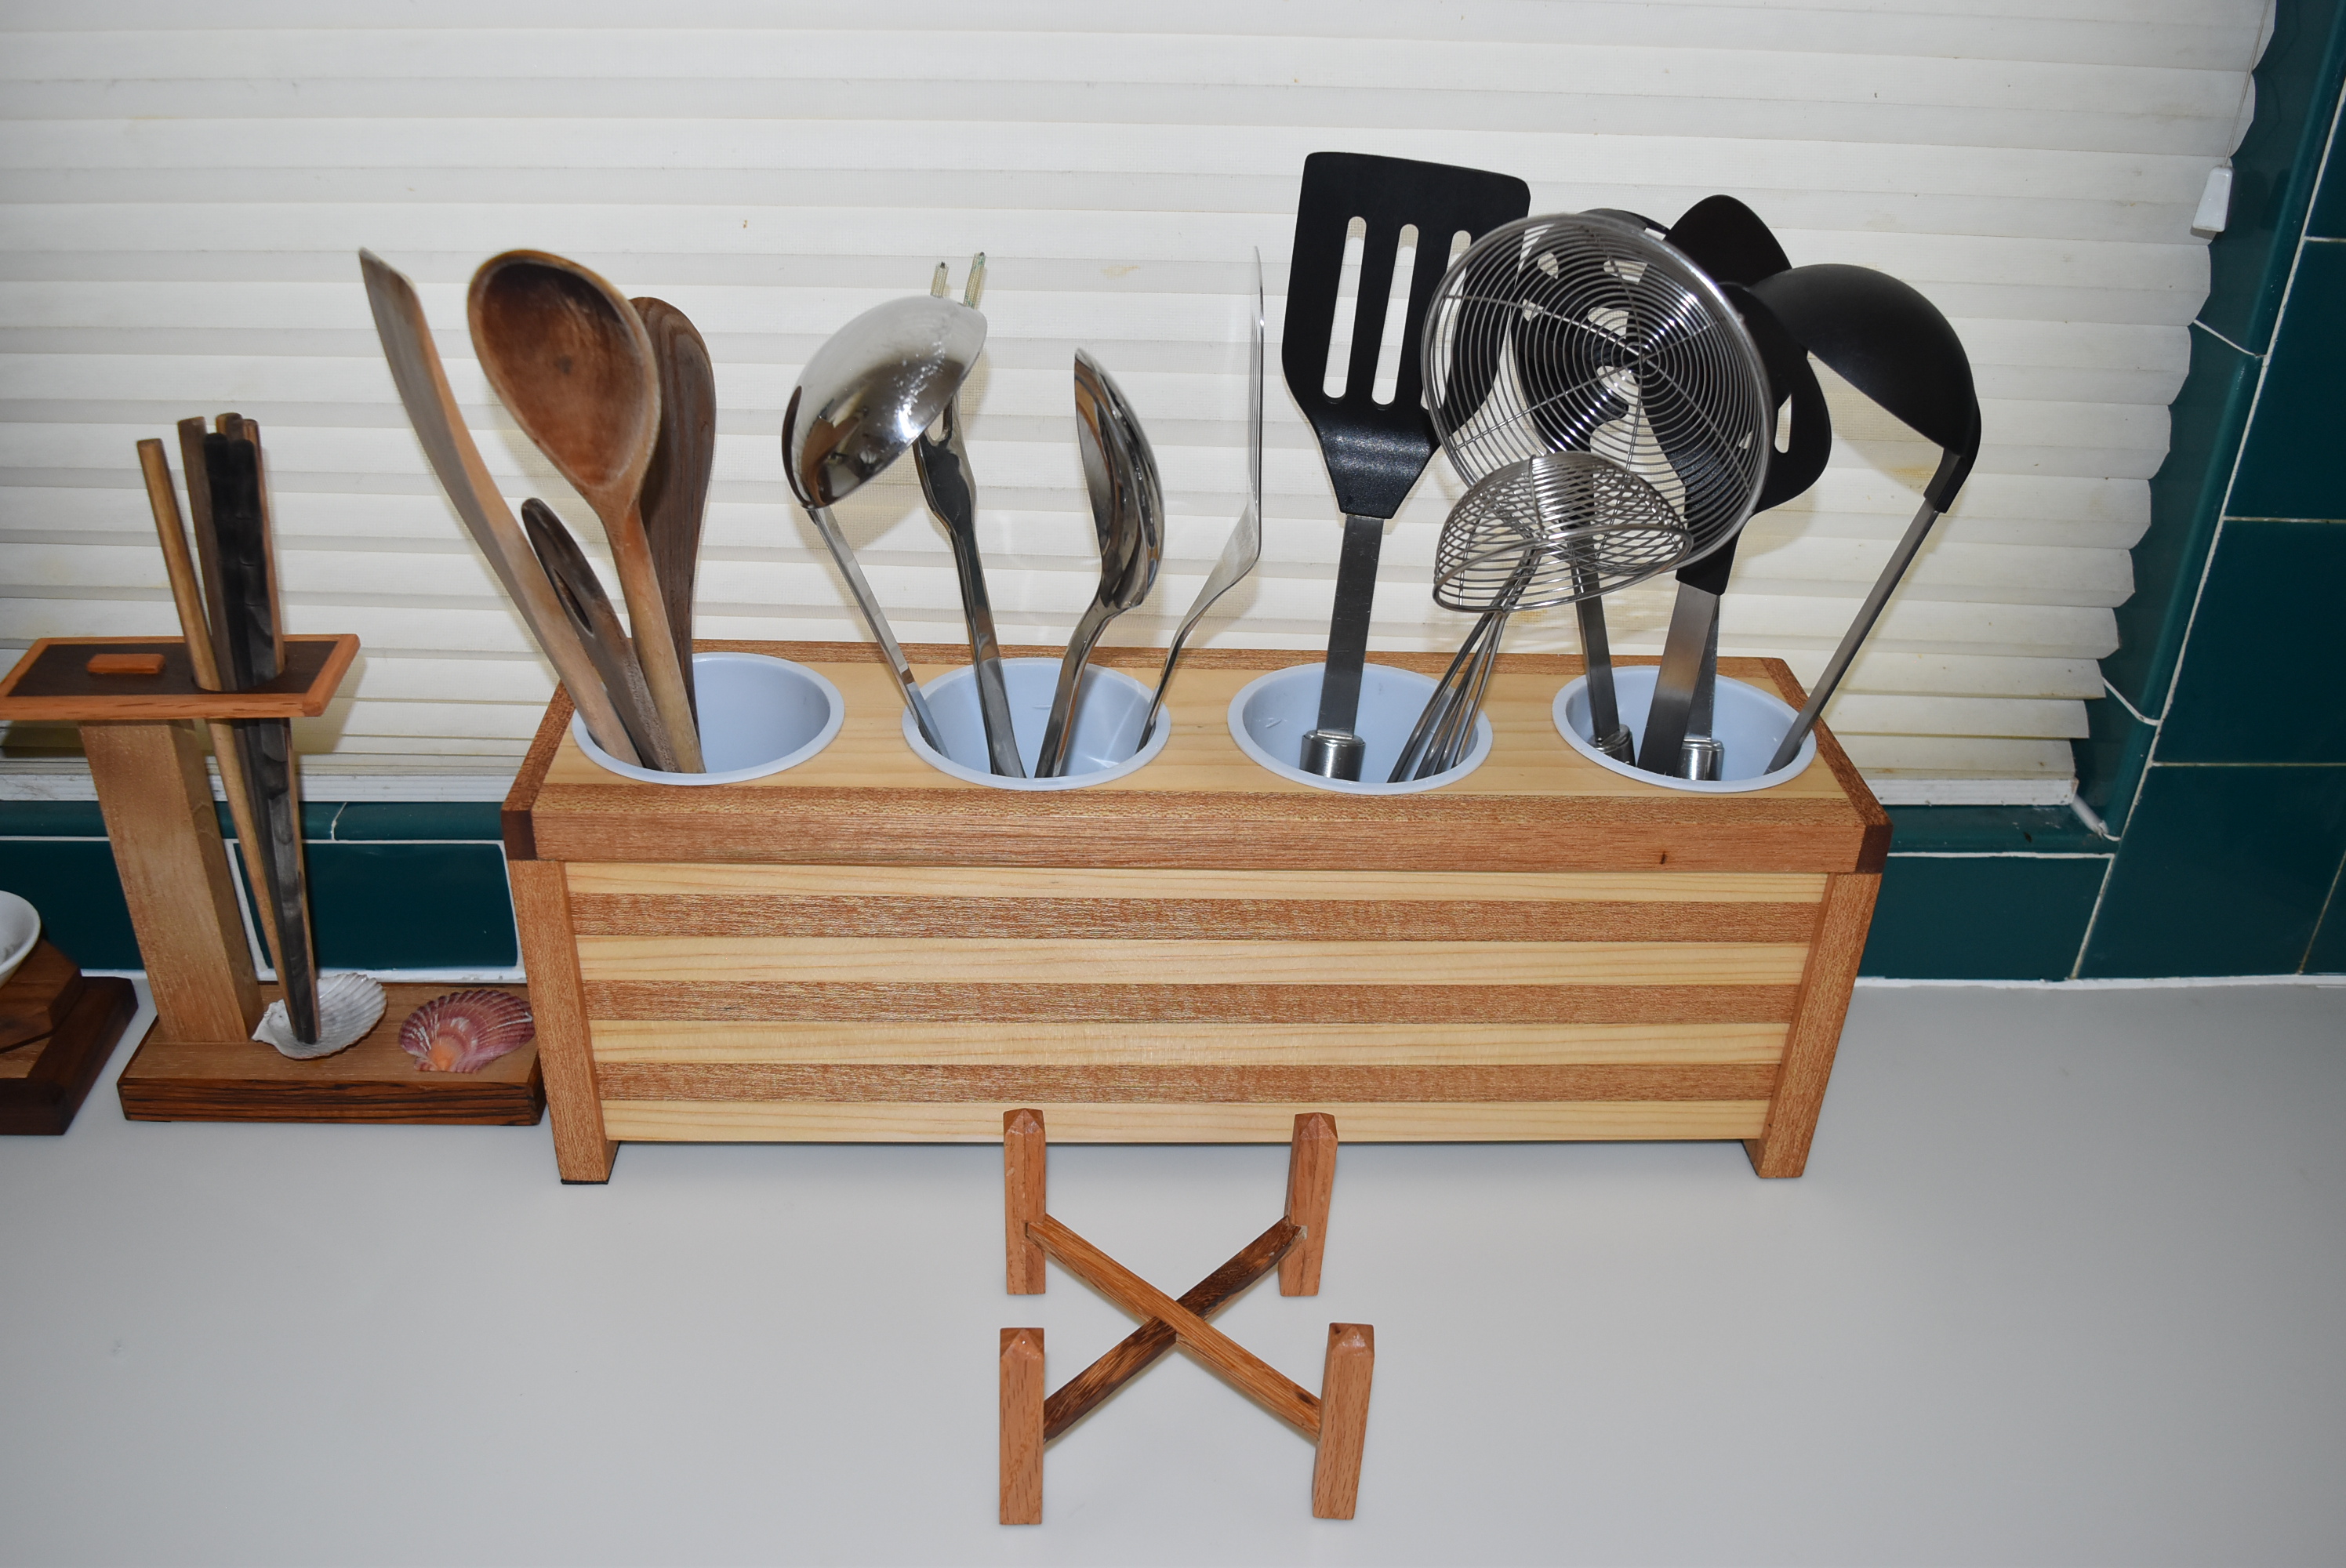
This little piece (below) is a handy little stand for pot/pan cover (lid) as shown in last photo. Of course, it can be made of anything. A small bowl or coffee mug, or anything to elevate the lid above the counter top surface will do the trick. But I took the complicated route to make it.


No comments:
Post a Comment