Every household has them. Plastic containers (and their covers) are as ubiquitous as pots and pans in the kitchen. Organizing them, which they should be, has been a challenge for my wife. At last, she said, I turned it into a project. Covers are stored separately from the containers to save space. Instead of stacked flat over each other, book shelving the covers vertically makes for easy pull out.

I drew the actual spacing of the 1/4 inch grooves over a half inch Baltic plywood piece. I was going to do it before cutting it to size first.

I used a 1/4 inch carbide bit for one set of channels (grooves)


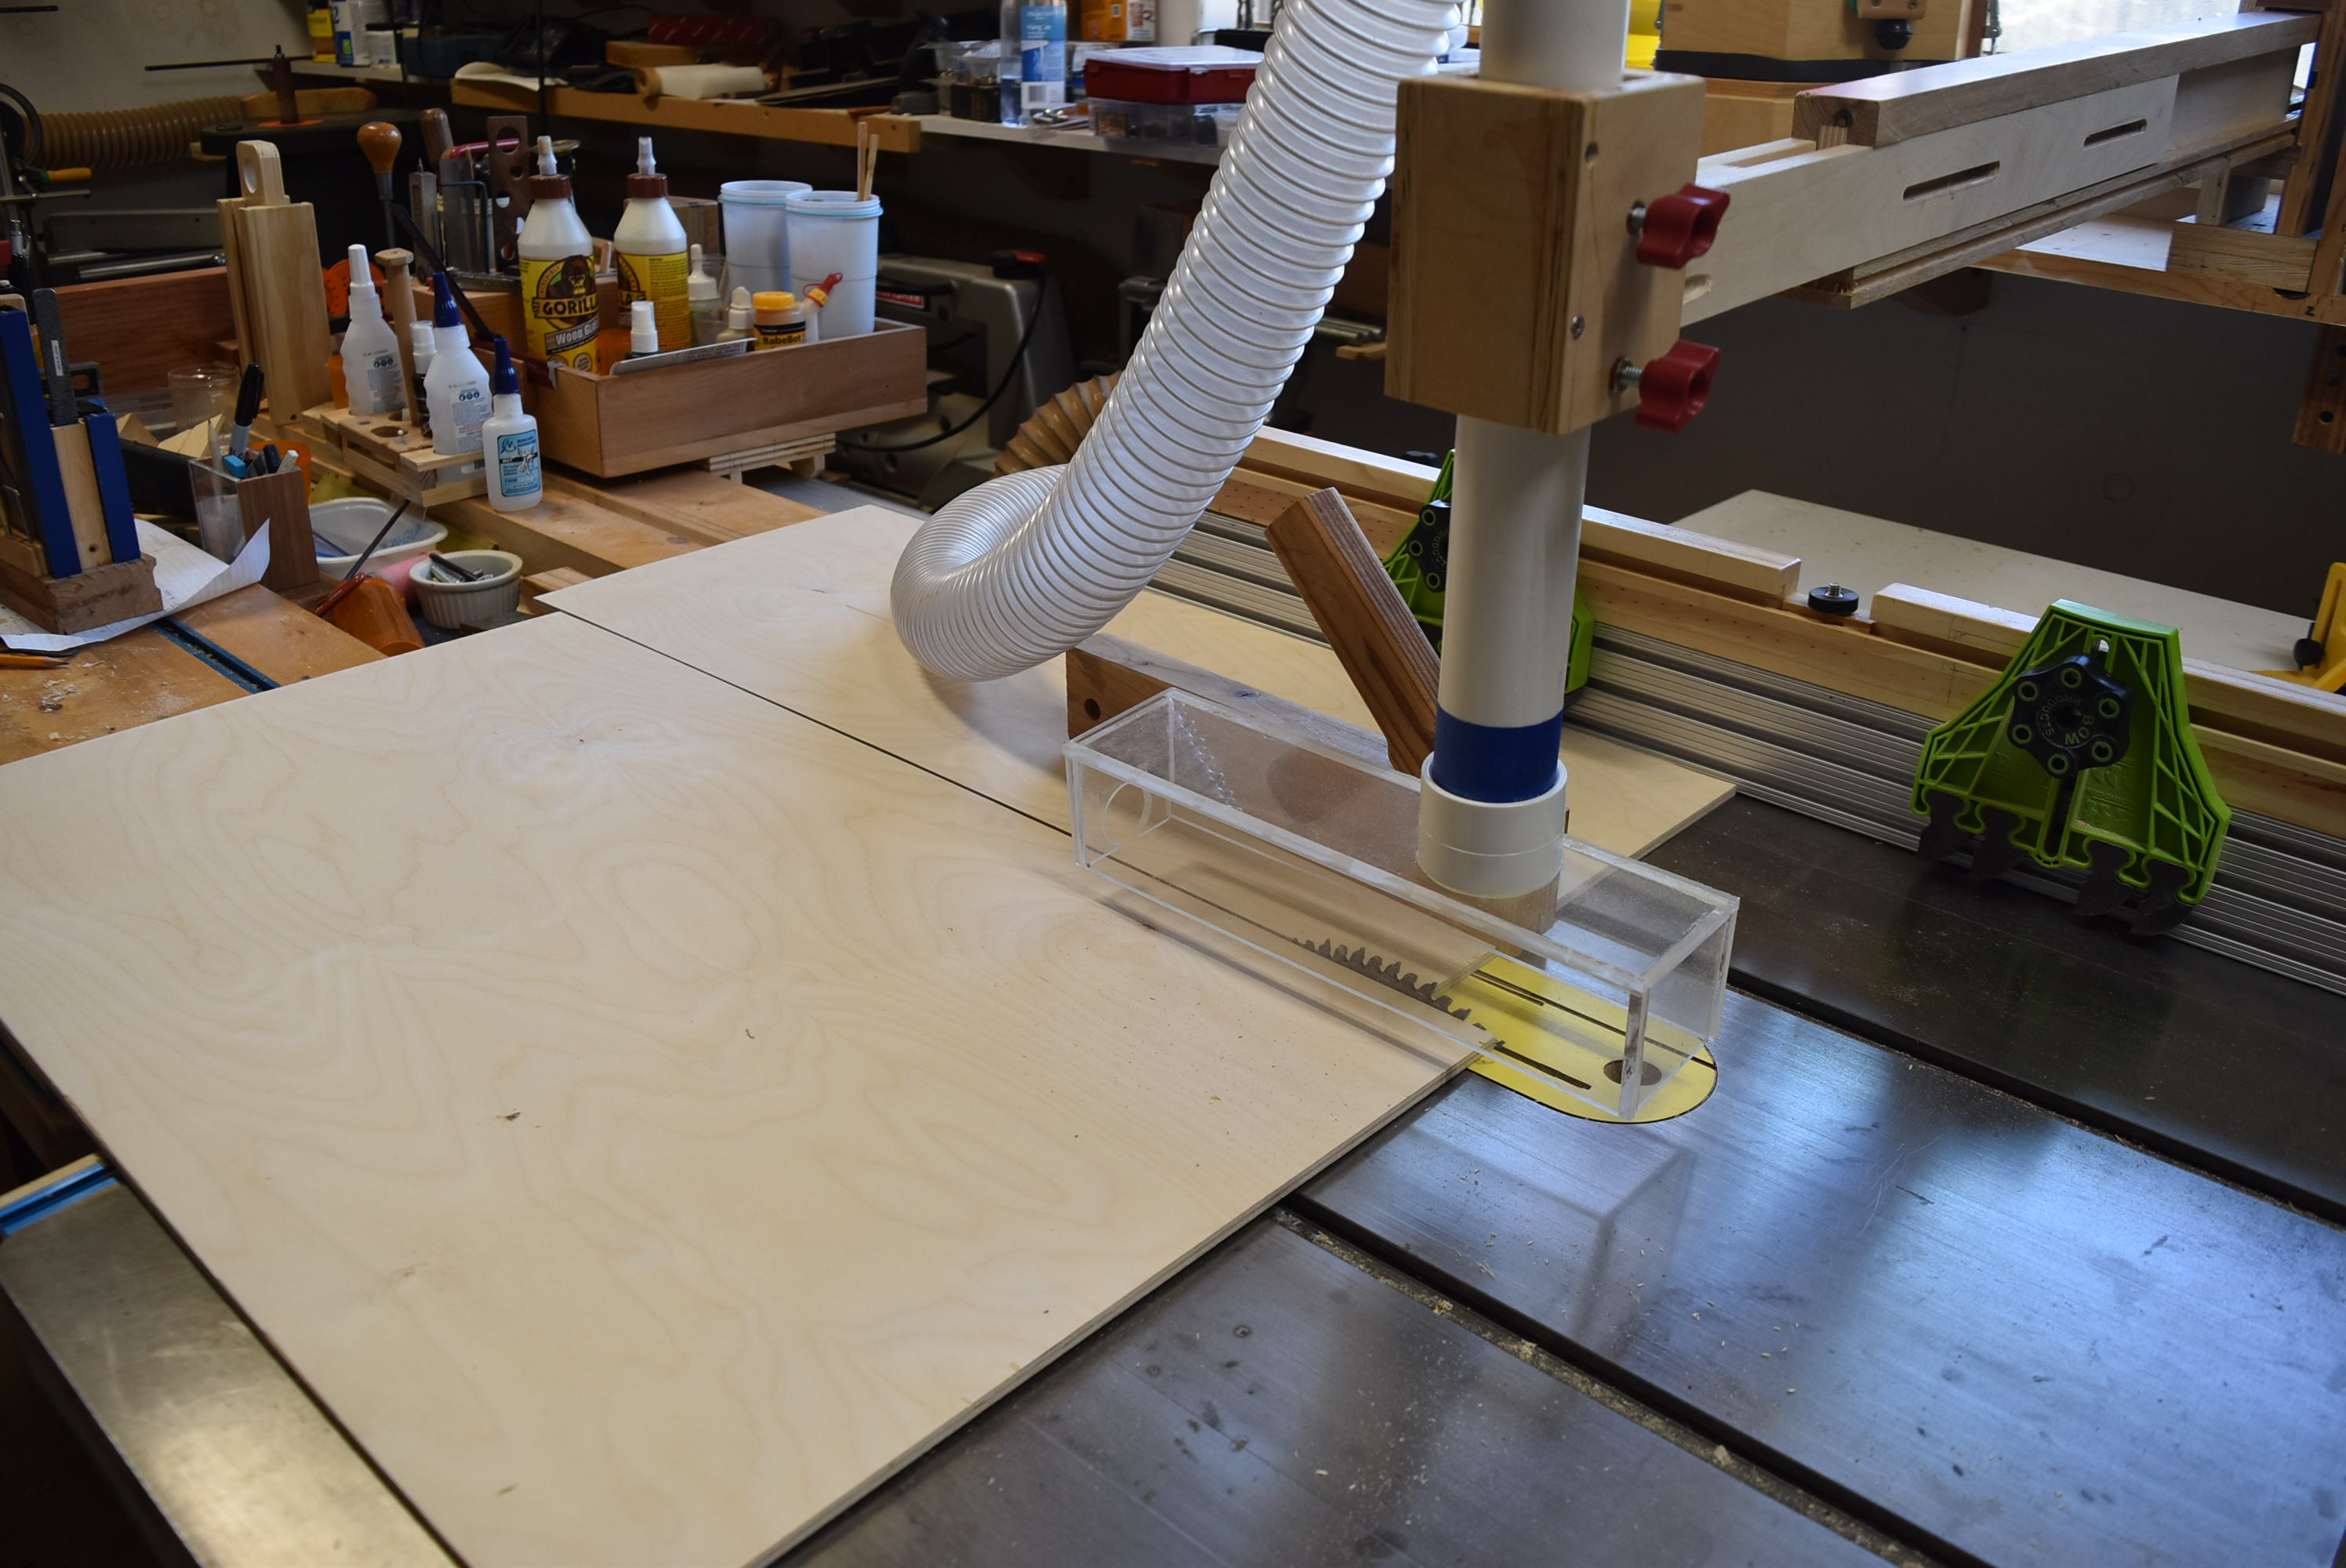
Cutting it to size


I cut the two 1/2 inch wide long channels on the router table.

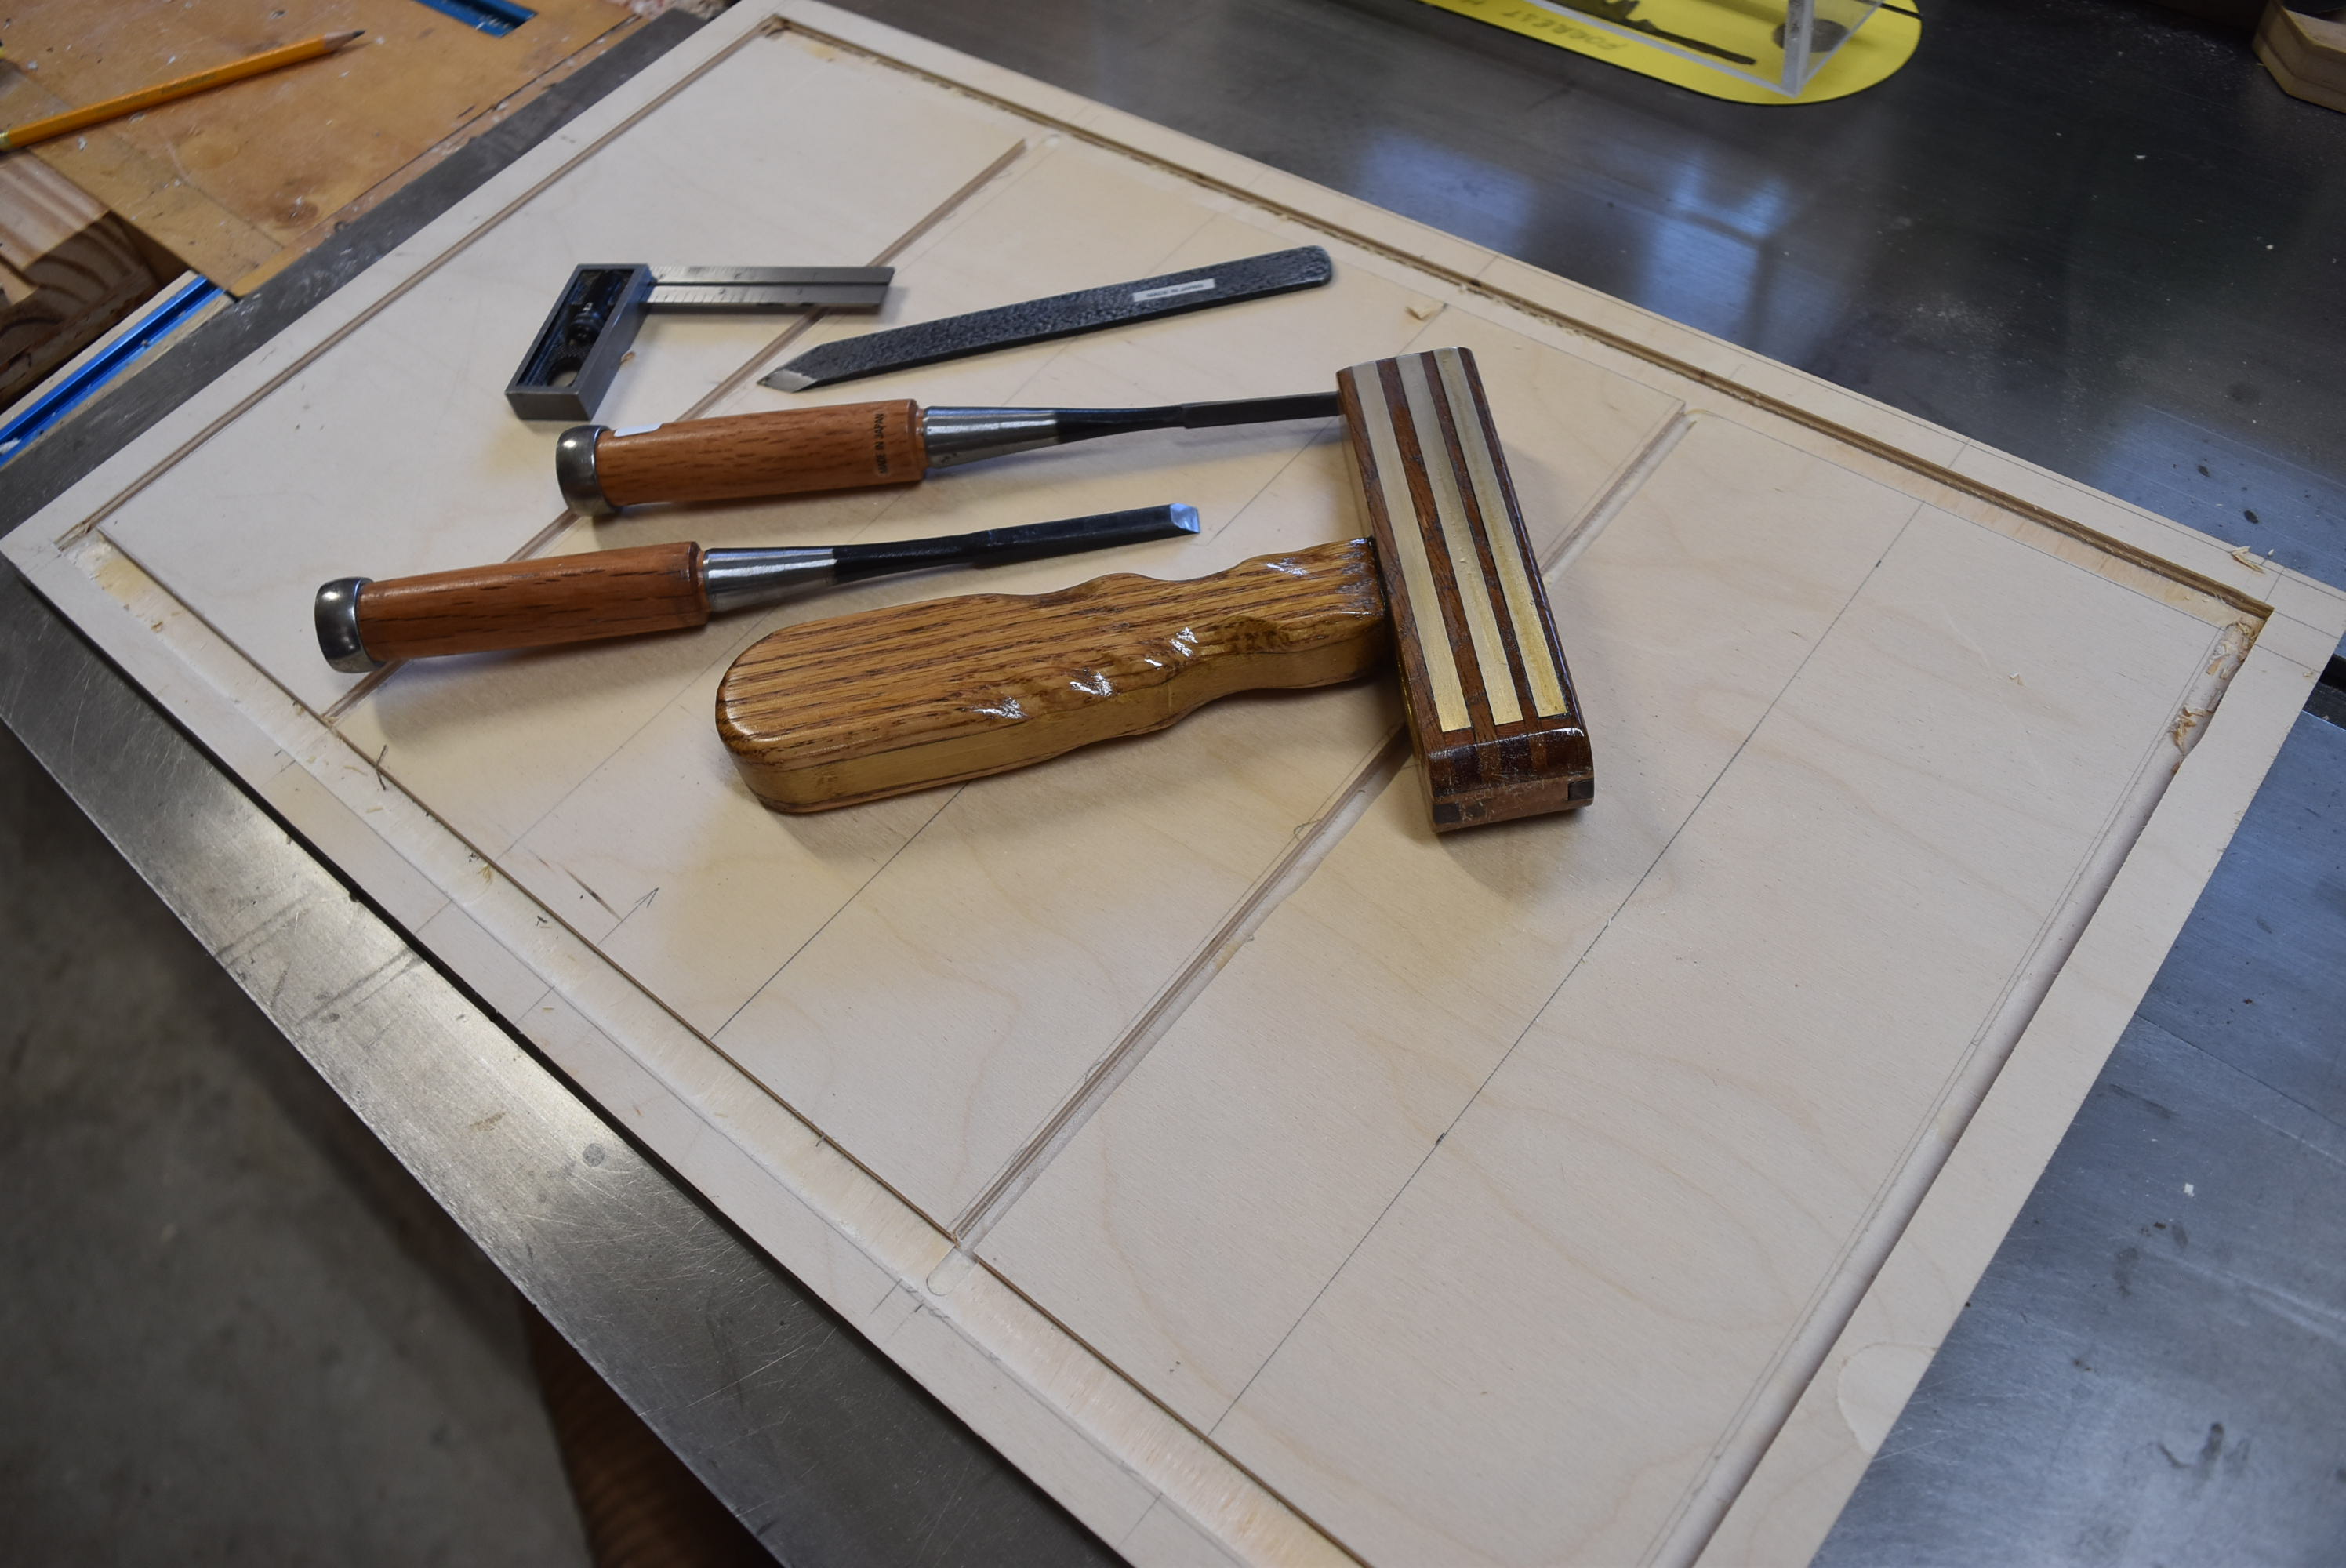
Squaring the ends with chisels
Cutting the 1/4 inch vertical shelving


Round over bits eased the edge of the shelves

The easier way to secure the shelves to the platform would have been to use glue. I opted for using spacers shown below after rounding over their edges at the router table

Shown are stop anchors at four corners, secured with screws underneath.


Shown below in detail are the spacers against the shelves and the anchor stops.

There is an easier way to secure the shelves (using glue) but I went for the higher degree of difficulty, so to speak, because it was more challenging with having to cut each length with precision. Plus, this allows for the shelves to be completely removable.

This makes picking out the covers like getting a book out of a book shelf.

My wife wanted a couple more projects for the two remaining available spaces. I will do it the easy way next time (wait for the next project)

As often the case, there are other ways to organize; this is just one way.

No comments:
Post a Comment