Welcome to Woodworks Made Easy

Practice any art, however well or badly, not to get money and fame, but to find out what's inside you.
--- Kurt Vonnegut

Pictures are meant to be self explanatory, and for visual clarity you may
click on each photo to enlarge. For older projects see Blog Archive. I don't specialize on a particular genre so there is quite a variety of projects for a number of different interests.

Even if you are not a woodworker but you like some or all of the projects, have your local crafts person make them for you from the ideas and photos you see here. For a particular project just click the specific title on the Blog Archive list (right side column below).

For anyone willing to learn or begin to do woodworking for the first time, please read first from the Blog Archive, "How and Where to Begin a Woodworking Hobby.

And it is not for men only. Read my note on "Women in Woodworking" from Blog Archive, April 2010.


click on each photo to enlarge


Monday, April 22, 2019

Case for a Stronger Hexagon

Bees for thousands of years had been making hexagonal beehives exclusively to store honey. Snowflakes are also exclusively hexagonal. There is something about the hexagon that makes it  nature's most efficient shape because more of it can be packed flat in any given area. Or, grouped tightly together, vertical hexagonal boxes will contain more volume with the least amount of material needed to construct them. The reason bees make it is because beeswax is a valued resource as a construction material. It is therefore a woodworking option as will be shown here. 

Hexagonal boxes though has one inherent weakness - edge-to-edge end grain to end grain joinery makes a weak glue joint. But there are ways to strengthen the joints.


Good news is that cutting the hexagon sides is pretty straightforward on  the table saw. Tilt the blade to 60 deg and with a stop block shown in the next photo you can cut as many sides as you want.

A simple but critical tip: Clamping the work whenever possible goes a long way to a safe woodworking operation.


A thin 1/4 inch plywood cut into a circle will act as an internal spline to strengthen the hexagon box. There is limited glue contact between the circle and in between the groove but it adds strength nevertheless and also acts as a bottom for the box.

With a band clamp the circle bottom can be incorporated in the glue up.

A 1/4 inch spline on each corner adds even more strength to the joint. Multiple splines may be made to increase the holding power. Here one is deemed sufficient.


 The following photos show added "accessories" to the box so it can be attached to a column planter.  More of it on the following blog.


Tuesday, April 16, 2019

Car Phone Holder 2G

 I still have the same phone. However, I bought a replacement battery that has three times the capacity of the original.  It is thicker and therefore it's time to replace the holder and time for another wood work.


This and the next photo show the old version.

First version


I added a couple of finger joints for a better alignment of the two-wing-holder


I prefer using the smart phone GPS for portability from vehicle to vehicle which is also constantly updated.

Saturday, March 23, 2019

Cutting Large Irregular Pieces

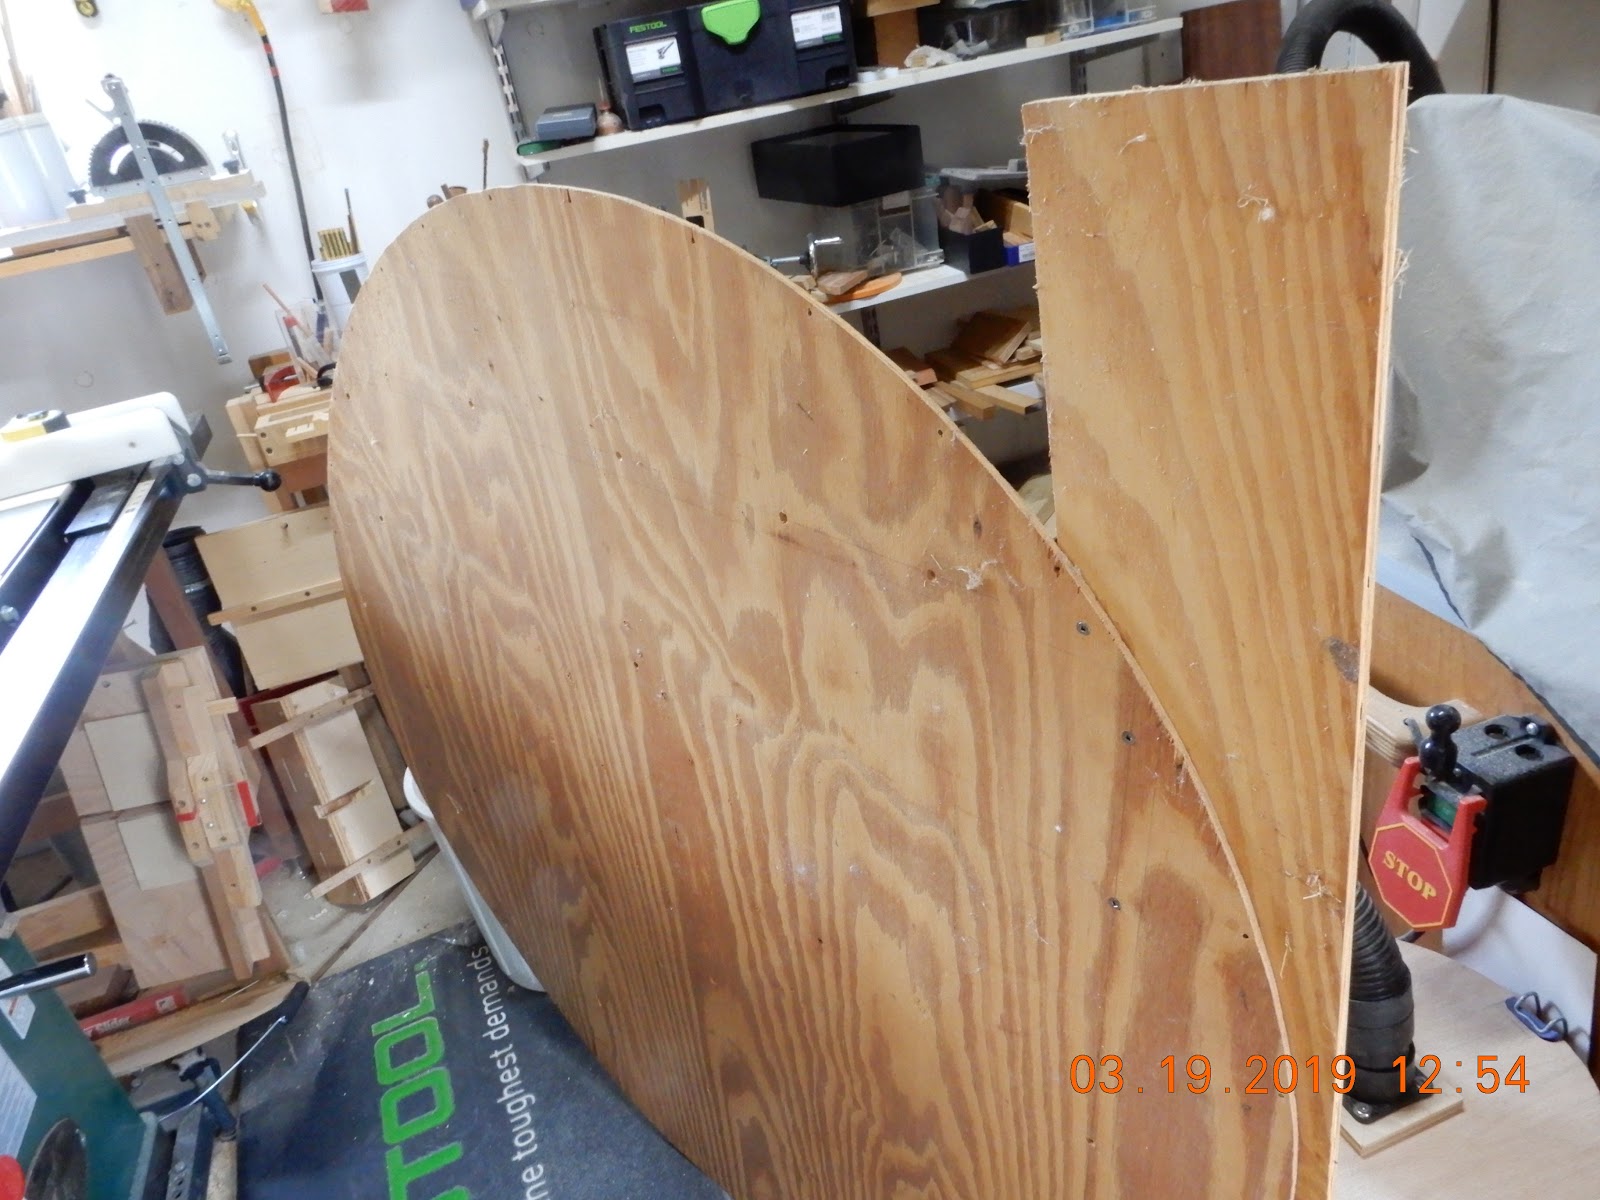
Ripping a wide piece into narrower pieces on the table saw is what it is very good for but only for as long as there is already one side that is straight flat. Irregular shapes would still be no problem by using a sled. A wide circular piece as this one here -  3 ft diameter - that I wanted to cut into narrower rectangles poses a different challenge.


I fastened with screws one section of the circle into a straight edged piece as shown


The key here is for the piece itself to be flat on the table saw while the "sled" is riding on it but flat against the fence.

Keeping the edge of the riding "sled" flat against the fence insures that the cut will be straight on the work piece.  And since the work piece itself is flat on the table saw, it is a much safer way to do it. After this operation the pieces can then be cut to the desired dimension/s.


Monday, March 18, 2019

Hurry Up Project


My small workshop had to be re-organized  - again. Needed to make a low stand alone shelf where a couple of bench tools can be "parked". This is a hurry up project for an afternoon, so pocket hole joinery is the quickest way to put this project together. I've mentioned this before on an earlier blog that pocket hole joinery is the quickest way a novice woodworker can put together a project fairly quickly that will be robust and even aesthetically pleasing in a fairly short time. And a pocket hole jig is inexpensive.

I purchased 3 pieces of 2 X 4 X 96 inch (8 ft long) studs from the home center  for a total of about $10. 

First order of business is to cut them to manageable pieces with a hand saw (here, my favorite is a Japanese razor saw). It will be easier to handle them on the table saw.  Besides, it also takes care of slightly bent stock. In other words the cut off pieces will be straighter than he full length. Make sure to cut rough lengths that exceed the final dimensions of the pieces.
Note: For those without a table saw, a miter saw (cheaper but capable tool) will suffice by simply purchasing "dressed" lumber - those with flat sides on all four - that only needs to be cut off to lengths. Slightly costlier but saves the steps I did here, using the table saw.

These studs have rounded corners so first order of business is to rip one side trimming it flat

Trim the other side so now they're all 2-3/4 wide pieces. Cut the various lengths: 40 inch long for the two rails, 22 inch for the four posts and 10-1/2 for the four cross pieces. Measure and cut the center cross piece later.

Dry fitting

Drilling the pocket holes on the rails and cross pieces

Not completely shown is a full length bar clamp but typically a vise grip is all that's needed to hold the joinery while driving the screws. Since I have the bar clamps it is just quicker to have both ends taken care of.


A right angle chuck for the drill is indeed a huge helper when driving into tight spaces

Two equal vertical spacers  accurately positioned the lower cross pieces.

Note: The Krenov saw horses in the back ground were made using pocket hole joinery.

I started this project after lunch and finished by 5:00 p.m. with a coffee break in between. A hurry up project that is rigidly strong.

This will later have a plywood top.


Saturday, March 16, 2019

Micro Projrct for Micro Tools

For over a few years now I did several micro projects as stands for small household items that ordinarily get shoved into drawers or laid on the kitchen table or desk: pocket knives, small flashlight, pens and pencils, etc. We all know what happens when we need them. It's a lot easier to find them when they're out in the open or when there is a power failure at night, you'd know where that little flashlight is.

A hobbyist woodworker has the advantage of being able to dabble in all kinds of projects - from big to small, from macro projects like a bed or desk to micro ones. I find micro projects a great destination for scrap wood. While I throw away a good amount of scrap, usually soft wood, I hold on to pieces of hard wood or exotic ones, as was the case here.

This project is appropriate because it is a stand or holder of a handful of micro tools, such as the sets of screw drivers and a pair of tweezers with tiny magnifying glass (very handy when I get a splinter) to fix the hinges on eye glasses. Micro tools are a must for replacing small batteries on small gadget controls, even watches, etc.

NOTE: While the reader is not expected to do a project exactly like this one, the techniques and tips here are worth noting.


Micro projects may be small but they require the same precision if not more so sometimes.

The base holder of this set of micro tools is a pentagon. Cutting miters to 36 deg. at each end of five equal pieces make a pentagon.

Tip: Rubber bands are perfect clamping tools for small pieces like this.


I laminated a light colored hardwood - pink flame - with walnut pieces.


Tip: Use a spacer along the saw fence to trim off uneven ends.

This is where a router table is so valuable. 


Tip: The only safe way to trim or cut off small pieces is to clamp it on a sliding sled. A long time ago I spent the time to make this jig exactly for the purpose of dealing with small pieces.  It comes in handy when you need, so keep it close by.
A bench hook, which I covered earlier is simply a good accessory on standby , such as when you need to do some some sanding of small pieces.


The next two photos below shows how much time I spent to figure out how the screw diver set will "seat" properly on the stand. 


If I may say so myself I thought this was a clever idea. 


A snapshot of the micro pieces which are obviously not ordinarily located in one place but were made to huddle here for a photo shoot. I'm sure I'll do another one when the need arises.