Welcome to Woodworks Made Easy

Practice any art, however well or badly, not to get money and fame, but to find out what's inside you.
--- Kurt Vonnegut

Pictures are meant to be self explanatory, and for visual clarity you may
click on each photo to enlarge. For older projects see Blog Archive. I don't specialize on a particular genre so there is quite a variety of projects for a number of different interests.

Even if you are not a woodworker but you like some or all of the projects, have your local crafts person make them for you from the ideas and photos you see here. For a particular project just click the specific title on the Blog Archive list (right side column below).

For anyone willing to learn or begin to do woodworking for the first time, please read first from the Blog Archive, "How and Where to Begin a Woodworking Hobby.

And it is not for men only. Read my note on "Women in Woodworking" from Blog Archive, April 2010.


click on each photo to enlarge


Friday, May 3, 2019

The Corner Table

Solid hardwood to the thickness beyond the standard 3/4 inch from hobby centers and lumber suppliers is more expensive. A 1-1/2 inch thick  12 X 12 inch material, can be prohibitively discouraging to the average hobbyists in price and much too heavy to process. This project is about making a 1-1/2 thick, 16 X 16, table top from 1/2 inch plywood. Photo below is that of a corner table that is half as heavy as solid wood, yet more rigid and immune from warping and more stable with changing humidity that solid wood is sometimes vulnerable to.


And there is the table legs and apron assembly. While the  top gets the visual attention the leg construction is a critical part of construction; with  many different ways to make them. The one I did here is inspired by Japanese joinery.  Japanese craftsmen would fashion this only using hand tools - Japanese saw and chisels. I do not have their skills or training so I used power tools at a fraction of the time, although the Japanese woodworker can still do it relatively quickly.


This is as close to workshop engineered wood as one can achieve. A 1/2 inch good quality oak plywood for the top, a cheaper picture frame 1/2 inch material and another cheaper common 1/2 inch birch for the bottom all laminated together by glue makes for a 1-1/2 inch thick "sandwiched" table top. Ribbed solid oak pieces are then wrapped around - tongue and groove joinery - to make for a solid looking top, lighter and stiffer.  


Frame spacer glued first to the bottom layer

Top oak layer is glued next

Solid oak trim covers the plywood edges.

Finished, is as "solid" looking as a 1-1/2 inch thick table top.
 As specialty tools go, the two options I have are the digital height gauge (below) and a mechanical indicator (next photo). Height of the saw blade is critical to getting it right with the operation in third photo below. 


A drawing of how the table legs and apron will go together is a valuable tool in making sure the cuts are consistently done.


A $60 tenoning jig takes the place of Japanese workmanship. Once set, it will make exact accurate cuts the settings are changed. This does not take away the skills of the Japanese woodworkers; it actually highlights their talents.

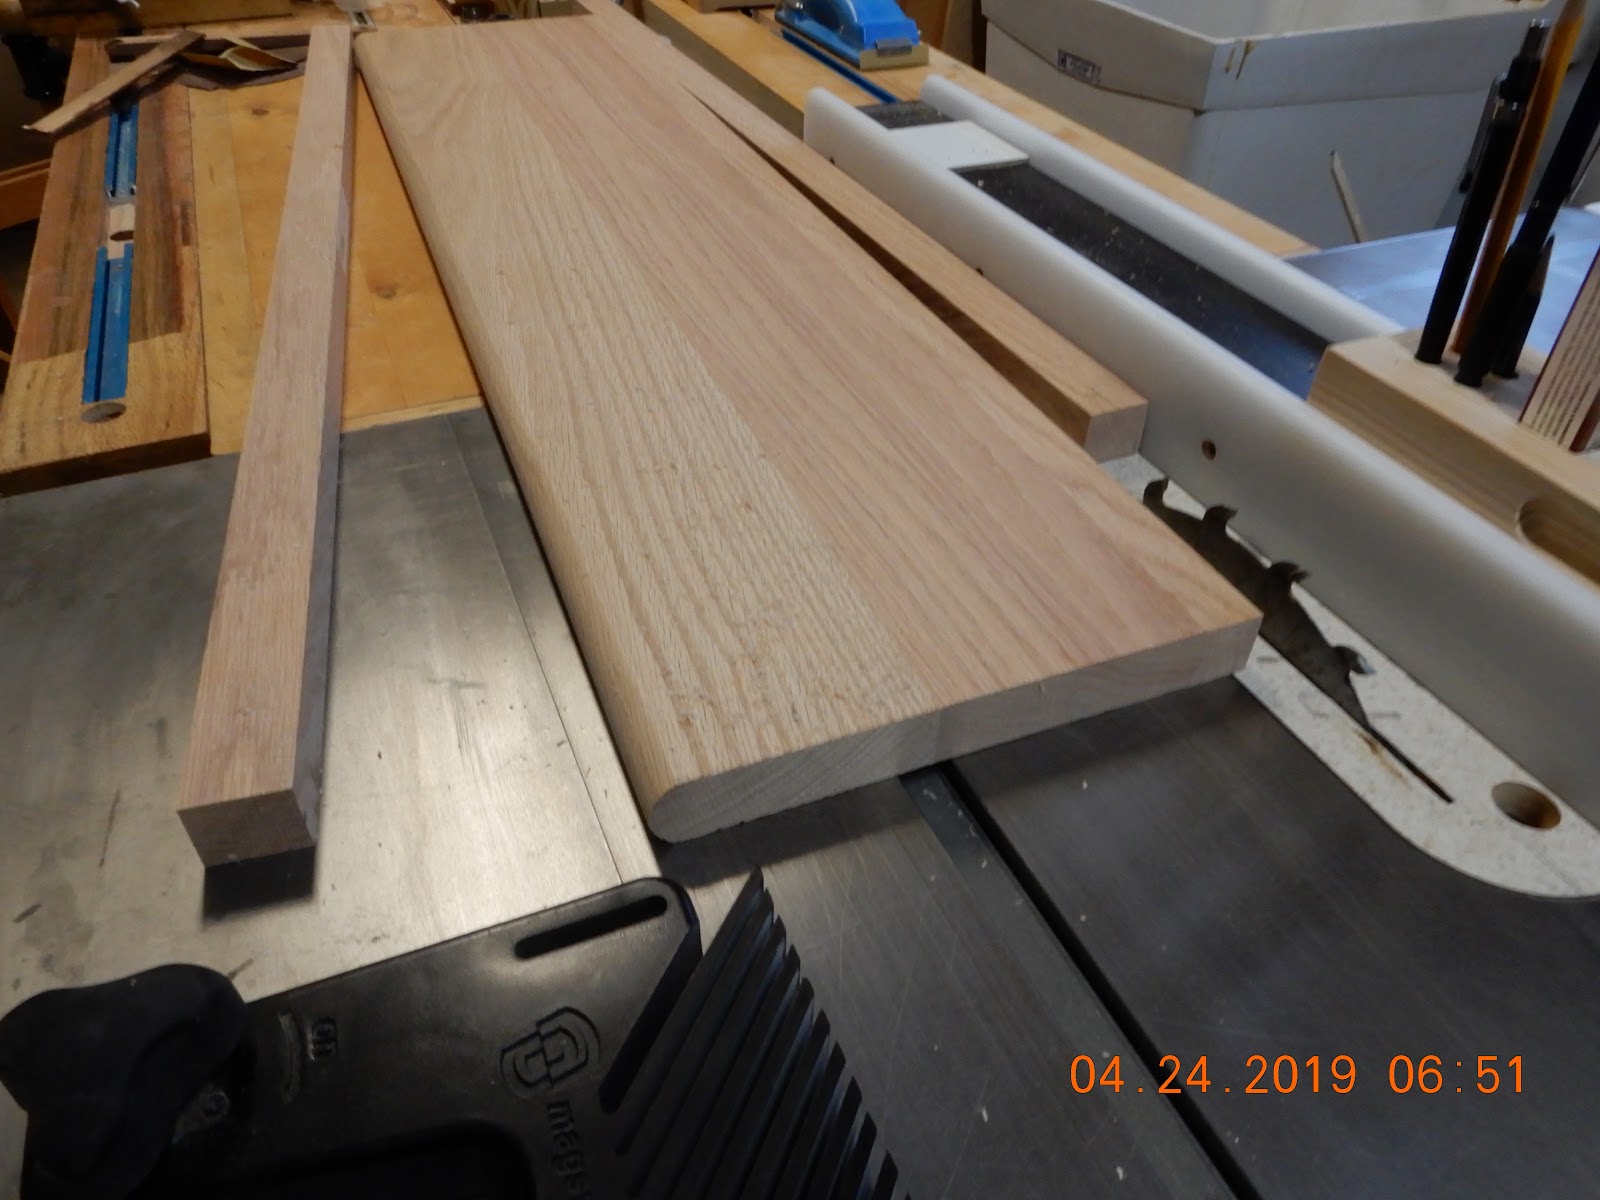
The cutoff piece above (top of photo) is the first cut I did which serves to check the fit of the apron that crosses the leg top. It is easier to check for fit using the cutoff piece instead of the entire leg each time.


Tip: Stair treads from the home center, laminated hardwoods, are a great and economical way to find 1-0 inch thick material than getting the same thickness piece from the lumber yard. You can buy by single pieces - already smooth, straight and flat and well seasoned.


Shop made clips fasten the table top to the apron through the narrow channels routed earlier


This little nook of a mini-office does not take up much footprint, next to the kitchen table, but this is where many of my ideas germinate, or at least how they are initially sketched or drawn on graphing paper.


Wednesday, April 24, 2019

The Rotatable Hexagonal Planter

This is the third installment about a project that cannot be sufficiently covered in one blog. You may refer to the two blogs prior to this to get a feel for what this is about. Now, because there are numerous ways to make a rotating planter, this is merely one way. This is one complicated way but it can be as simple as one 4 X 4 stock lumber from the home center for a center post, a couple of square boards, or even a circular ready-made piece (also available) and a  lazy Susan hardware that is commercially available online or at specialty hardware stores locally. The hanging planter-boxes can also be done in a number of ways - limited only by your imagination. The idea here is to be able to rotate it daily by a quarter turn so plants by the window get maximum sunlight once every four days. Plants will still have light exposure of slightly lower intensity at other times for as long as this planter is by the window or anywhere light can come through from one side.


I probably talked enough about the hexagon that it almost borders on a mild obsession but I preached whenever I can about the hexagon as one very efficient shape in nature. Bees make it, snow flakes are invariably hexagonal and volcanoes make columnar basalt in the unmistakable hexagonal configurations.

Six equilateral triangles will form into a hexagon, which can be circumscribed by a circle whose radius is exactly the length of one side of the triangle. Just another feature of the hexagon that makes it special. This is important to note because as shown in this photo one can make a hexagon from a narrower piece. A hexagon twice as wide can be fashioned from a long narrow board half the dimension. 

Obviously there is a fair amount of difficulty shown in the following photos but again, there are a lot simpler ways; using screws, for example, to attach the boxed-hanger-planters. I used dovetail joinery so the planters can "slip" in and out easily. 


The dovetails are just tight enough for friction to keep them in place, although I provided stops for insurance, but it allows for removal if needed.


The Making of a Hexagonal Column

From the previous blog, "The Case for a Stronger Hexagon", and as continuing homage to the bees, let's keep in mind they do hexagons without the benefit of high school geometry, fine drawing instruments or power tools. This rotatable column will carry several hexagonal planters. It will be a hollow column structure from 1/2 plywood to keep the weight as light as possible, yet structurally sound.


Six panels will be ripped from this board. 1/2 inch dadoes were cut first to accommodate a hexagonal plate for strength (refer to next photos)


One geometric factoid about the hexagon: six equilateral triangles will make a hexagon. 

I could have cut the hexagon plate from one piece but this is one option.


After the glue up, all six pieces of triangle became one perfect hexagon.


Monday, April 22, 2019

Case for a Stronger Hexagon

Bees for thousands of years had been making hexagonal beehives exclusively to store honey. Snowflakes are also exclusively hexagonal. There is something about the hexagon that makes it  nature's most efficient shape because more of it can be packed flat in any given area. Or, grouped tightly together, vertical hexagonal boxes will contain more volume with the least amount of material needed to construct them. The reason bees make it is because beeswax is a valued resource as a construction material. It is therefore a woodworking option as will be shown here. 

Hexagonal boxes though has one inherent weakness - edge-to-edge end grain to end grain joinery makes a weak glue joint. But there are ways to strengthen the joints.


Good news is that cutting the hexagon sides is pretty straightforward on  the table saw. Tilt the blade to 60 deg and with a stop block shown in the next photo you can cut as many sides as you want.

A simple but critical tip: Clamping the work whenever possible goes a long way to a safe woodworking operation.


A thin 1/4 inch plywood cut into a circle will act as an internal spline to strengthen the hexagon box. There is limited glue contact between the circle and in between the groove but it adds strength nevertheless and also acts as a bottom for the box.

With a band clamp the circle bottom can be incorporated in the glue up.

A 1/4 inch spline on each corner adds even more strength to the joint. Multiple splines may be made to increase the holding power. Here one is deemed sufficient.


 The following photos show added "accessories" to the box so it can be attached to a column planter.  More of it on the following blog.


Tuesday, April 16, 2019

Car Phone Holder 2G

 I still have the same phone. However, I bought a replacement battery that has three times the capacity of the original.  It is thicker and therefore it's time to replace the holder and time for another wood work.


This and the next photo show the old version.

First version


I added a couple of finger joints for a better alignment of the two-wing-holder


I prefer using the smart phone GPS for portability from vehicle to vehicle which is also constantly updated.