"Dirty Jobs"
Modern life, though clean and seemingly orderly, is made possible because there are folks out there who do the "Dirty Jobs" for us. They are not to be condescended upon. We do some of the "Dirty Jobs" ourselves or we pay others to do them for us. But first, would you like to know what this is?
Mike Rowe has this popular cable TV show, "Dirty Jobs", where he focuses on men and women who perform these "Dirty Jobs" as homage to these folks who are often taken for granted and whom we prefer to be unseen or unheard from until we need them. Mike Rowe, a college educated, trained opera singer, made it his middle-age mission to focus the spotlight on those from whom we all depend on - to do the "Dirty Jobs" for us.
I tip these folks generously when they come to do something in our household and I can speak for what it takes to do what they do because I have done some of them. The pandemic, if one must look for a silver lining, has presented us with opportunities to do some of these "Dirty Jobs" ourselves.
Next four photos show the diversity of these "Dirty Jobs". One, a mysterious jumble of parts. Those are the ones we do not see under the sink. Not too long ago I undertook the challenge to change the faucets (two sets, one for each sink) in our main bathroom. My wife would have preferred that we hire a plumber as we had done more than a few times before. She was actually right and she knew, being the keeper of the treasury, that at this point in our life we can afford to pay those who will do the "Dirty Jobs"; plus there is a bit of discretionary funds from cancelled and/or postponed trips and cruises . So there is budgetary headroom, so to speak. But it was not about saving money but the challenge that I can still do them. I had twice replaced toilet bowls before. She would remind me every time I bring that up that that was over twenty years ago. But - I have tools begging to join me in the challenge. "We" did it! Later on the result.

I always skip having whole fish cleaned at the store (though it's free) because I have sharp friends at home always willing to step out of their stands at the kitchen counter ready to slice and dice. These "Dirty Jobs" I do willingly with pleasure (not kidding).
Below is one "Dirty Job" I will definitely not do. Roofs and top of tall ladders are now forbidden places for me. I used to but as my wife would say, those days were decades ago. And this one required a professional to leak-proof the chimney. We never think about these folks until our ceilings get water marks or worst, they just simply give way to indoor water falls. This fellow made sure it didn't happen again - during and after hurricane Ike.
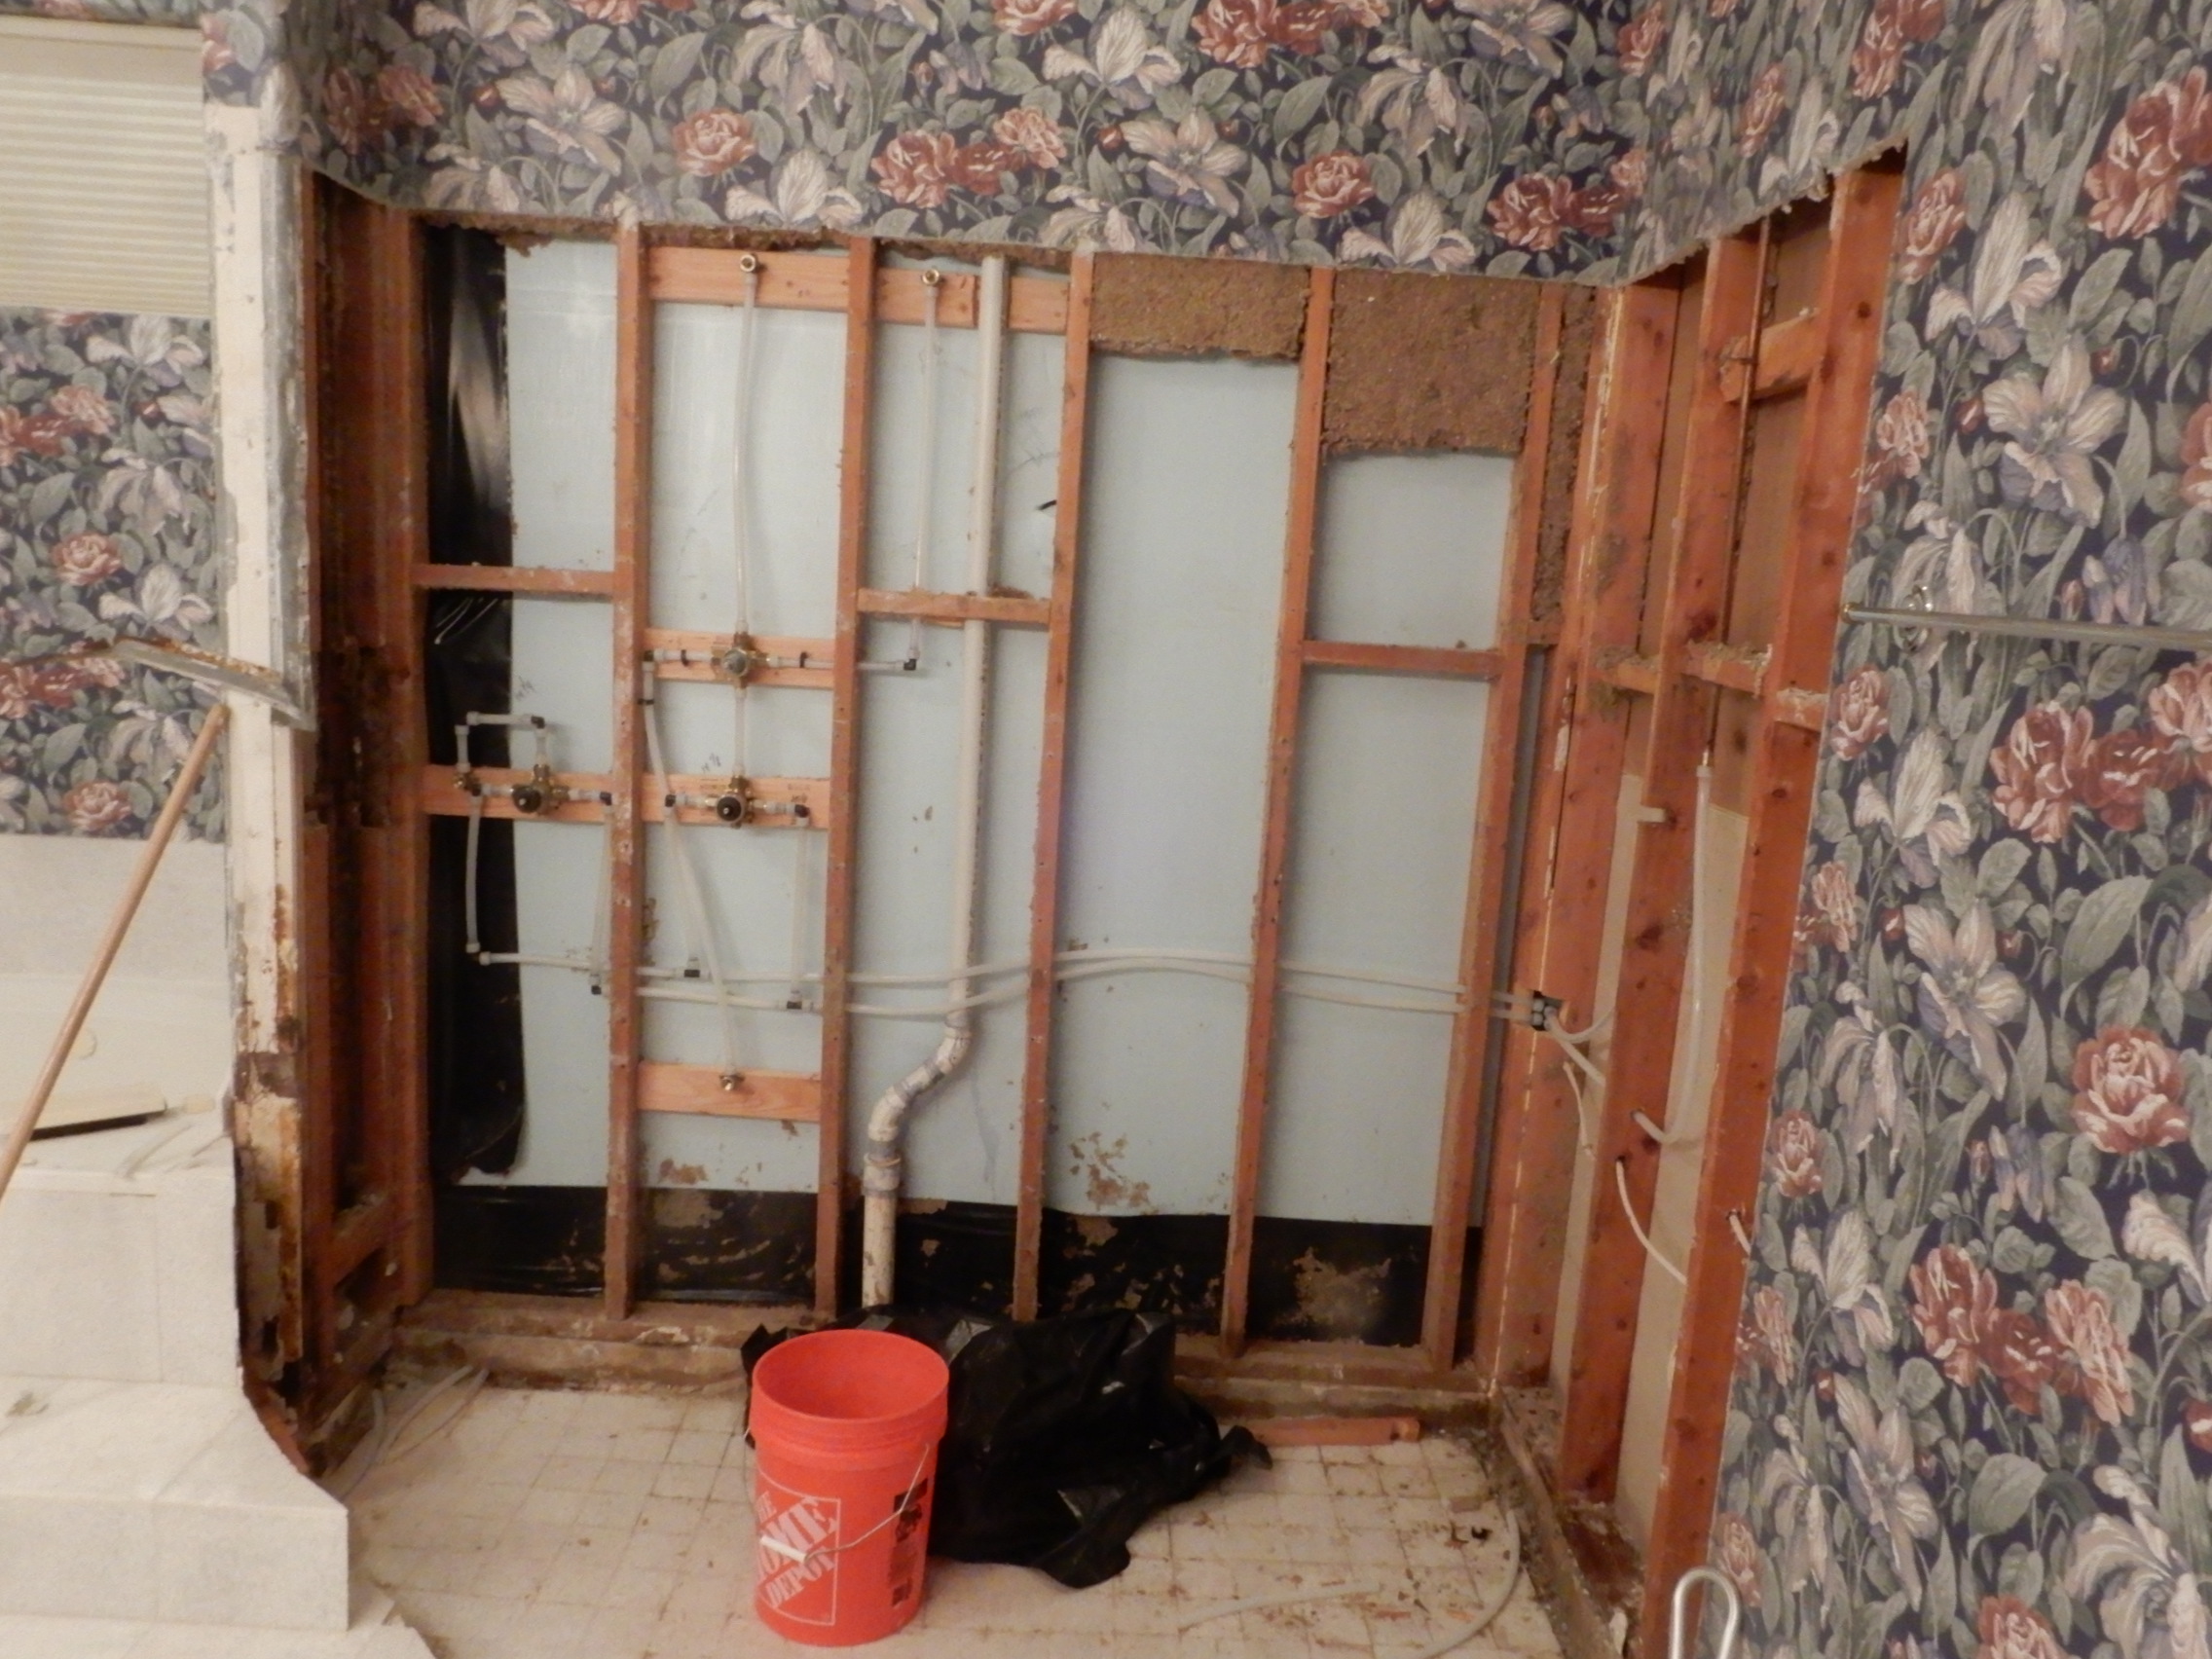
Just a month ago, my wife's dream of renovating the shower in our bathroom came true. We paid dearly for the "Dirty Job" below. Finished photo later of what is a "senior-living compliant" shower. This is a Master plumber's job. The mess lasted for two weeks.

Now, I get a chance to do woodworking with one "Dirty Job" of my own. Again, thanks to some discretionary funds, our 30 year old cooktop can be retired. It was already 15 years old when we acquired the house 15 years ago. It still worked but it needed to be retired. One problem, however. The 45 inch single piece "wing span" is no longer made by the manufacturer. But the counter top cut out is still going to be there. Now, the manufacturer in its infinite wisdom, makes a 30 inch cooktop and a 15 inch accessory cooktop to complement it. Awesome! Except, each of them required their own dedicated 220-240 volt power source. Two "Dirty Jobs": cabinet work to properly bridge the two pieces and an electrician to run the extra 220 line (in addition to the existing one already in place). I convinced my wife I can do the cabinet work, half of the "Dirty Job".
First, the "Dirty Job" of removing the old cook top by myself. I removed as many removable pieces I could, then gingerly lifted what remained without damaging the counter top. Piece of cake, except it took me the entire day. Because I didn't install it, I had no idea about hidden clips that kept the thing from budging. Once the clips were discovered, it was a piece of cake (but NOT exactly weightless).


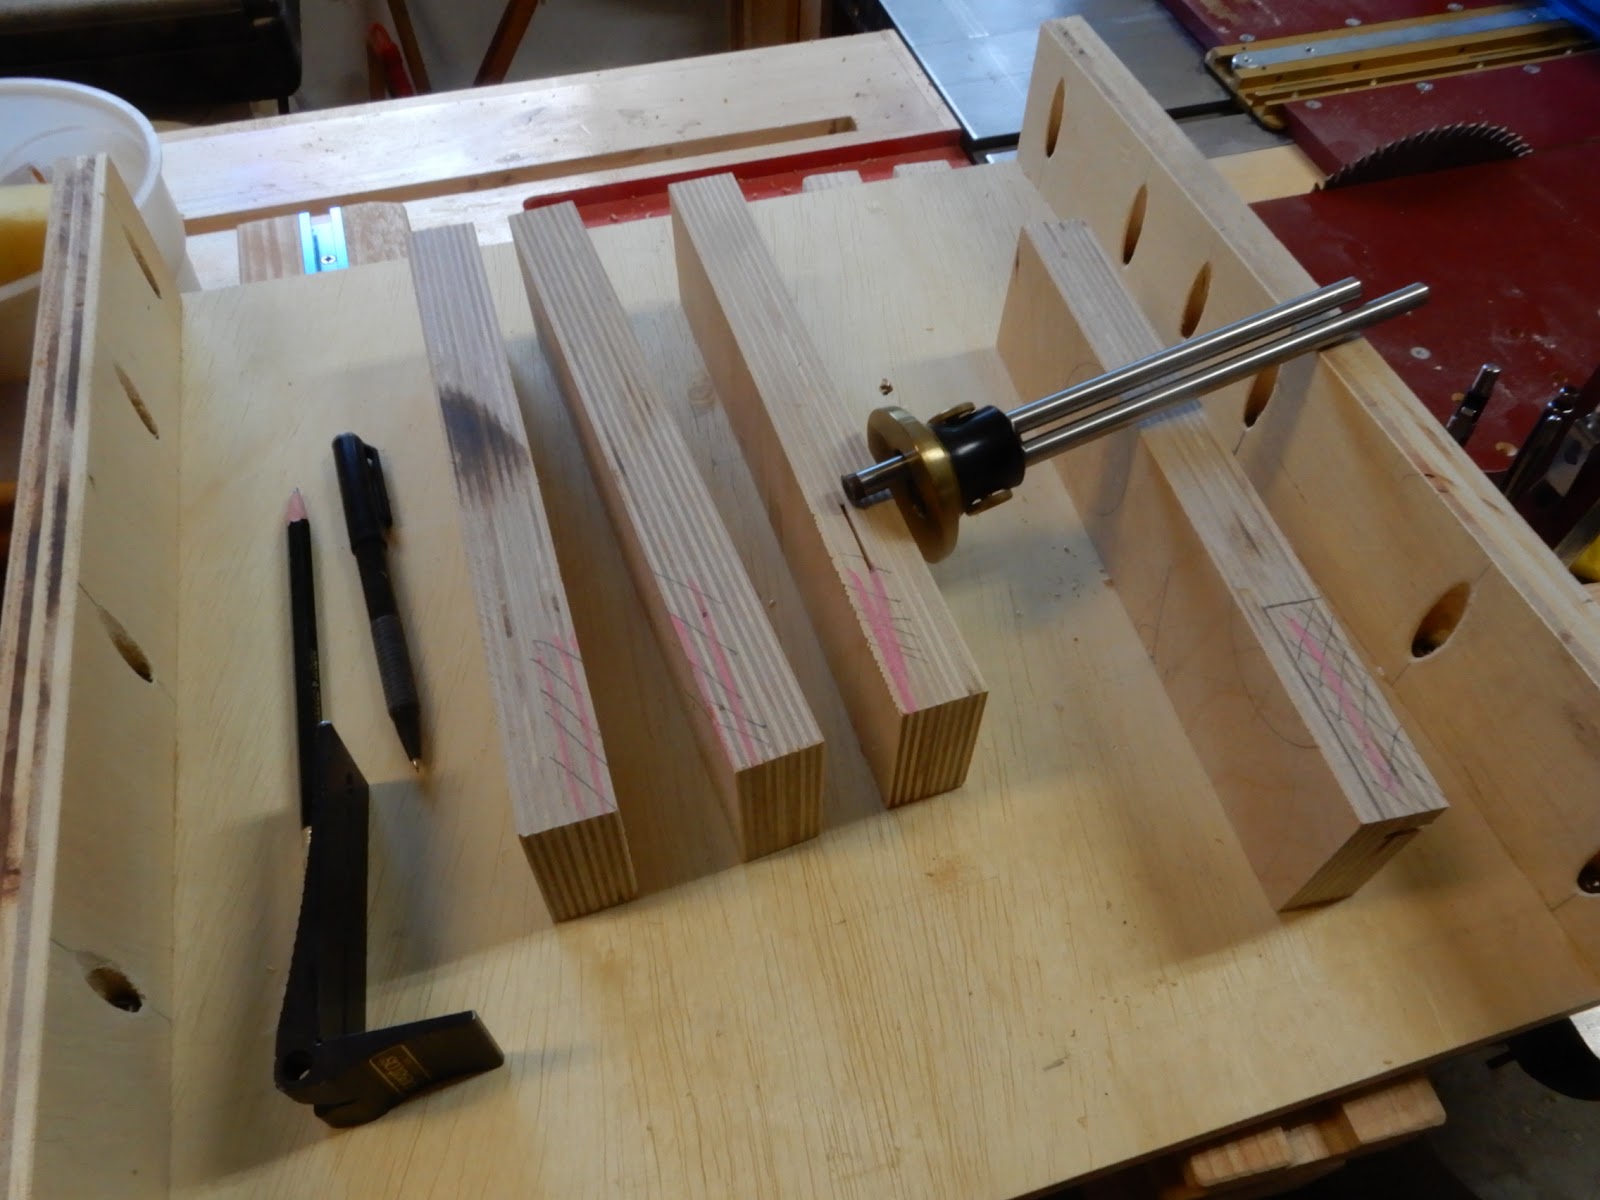
The manufacturer provided this metal bridge. Nope, I was not going to use it. There was a better way that had several times more degrees of difficulty. I opted for the difficult option, although it took me another day just to figure out how to make it even more difficult. The woodworking tools at the workshop wanted it so.
There are some tips in the following photos for anyone willing to do his/her own dirty job. But later, "the proof of the pudding is in the cooking" as I brag a little bit about my newly acquired cooking prowess.
This might seem an unimportant detail in the construction but make note. The base of the bridge is spaced between two pieces to make a long slot. The top with the white laminate has a bottom "keel" that is equivalent to the thickness of the slot. The "keel" allows for a perfect fit into the slot, without a need for any fastener to hold it in place.
I used a white laminate on the surface of the bridge to match the counter top. The finished dimensions allowed only for about 1/8 inch of clearance all around for the cooktops to sit, no clips needed, custom fit, snug and tight.
I installed the 15 inch griddle before calling the electrician. His per hour rate made it look like I was hiring a surgeon. There's Jeff, the electrician, below. He had to run the extra wires from across the farthest corner of the house where the main breaker box is, through the attic, down by the side of the kitchen to behind the cabinet. A whale of a "Dirty Job". He was worth his hourly rate though.
There it is - a 13 X 14 inch 3/8 in. thick stainless steel, polished to a mirror finish. I thought it was much too frivolously designed until I used it. It quickly became my favorite pet at the kitchen.
"The proof of the pudding is in the cooking" (should be "in the eating", but..). Manufacturer lists the recommended settings. With no time to spare, the project was finished just five days before our 49th Wedding Anniversary, so I needed to know how to cook with this thing. I practiced.
Allow me to brag because my share of the dirty jobs was worth every morsel with the first try out. SPAM, the canned goods that help saved Europe and the Far East during WWII, is celebrated yearly for one day by Honolulu's hotels as SPAM day. Once in a while I celebrate it for breakfast. SPAM and eggs and fried rice. And don't laugh, McDonald's will soon have a SPAM burger at a food court near you.
The Japanese style griddle cooking (as in Benihana restaurants) uses large cast steel with gas burner underneath the center. The chef actually uses just a small area (center) to cook and set aside other portions for warming or preparatory cooking on the sides.
Anniversary dinner !!! Covid 19 induced stay-at-home dinner.
So far, I used the standard cooktop only twice. I will soon get tired of the griddle. Not!
One more thing. A recurring "Dirty Job" follows every griddle cooking. The clean up. Unbelievably easy as pie, although I did not believe it at first. Per instruction, set griddle to medium, pour a bit of warm water, scrape with non-metal spatula and non-abrasive sponge (absolutely no scouring pads, steel wool or any cleanser) and wipe clean with micro fiber cloth. A trough in front catches the messy stuff for removal later when it is safely cool to do so. That's it.
By the way, stainless steel cookware (a great and much cheaper alternative to this griddle) is gaining popularity. Check them out on YouTube.
Now to the sink "Dirty Jobs". My first and last attempt at this "Dirty Job". Unbeknownst to my wife I was razor's edge close to calling the plumber by late in the day. Seat cushions and a pillow saved the day. The only way I was able to stay on my back under the sink. Two sinks, remember.
Now, for all the senior readers. I read that an alternative to moving to senior living, as in subdivisions designed with "senior amenities" is to do a little bit at a time at your present home without having to move (if you love your own place now). In fact, there are more businesses now catering to exactly that.
Another "Dirty Job". Two weeks to complete. It cost more than a two-week cruise, for two, to Alaska. But the "Dirty Job" was done masterfully. The tip was indeed generous.
The threshold from the old configuration was removed making the shower and bathroom floors at the same level (flush with each other) for obvious mobility and safety considerations.
My contribution to the "Dirty Job" here is shown below. I found a company online that caters to all kinds of senior living accessories. They make this "collapsible" rubber threshold that effectively keeps excess water from flowing over to the outside floor. And it collapses under the weight of the wheel chair. Mind you, we're not there (yet) but who knows when the wheelchair becomes necessary down the road. Hopefully, not for a very long time.
I purchased the threshold, cut it to the precise length, applied the supplied epoxy and finished it off with silicone sealant.
There, my senior readers is a summary of some "Dirty Jobs" that got done under the Covid 19 environment. I know we're all fortunate to live a semblance of normalcy, albeit a limited one, but we need to appreciate those who come into our homes to do the "Dirty Job" for us. It costs little to show our appreciation by tipping these folks generously. They may not be college educated, but they do the hard and dirty work, and their dedication is often unsung or unacknowledged, yet theirs is the job to make modern living comfortably and orderly and often safety compliant.