It cannot be emphasized enough that houseplants are more than just decorations or ornamental but that they are nature's ultimate air cleaner in any room. They love carbon dioxide and will gobble up other air contaminants as well. In exchange, they exhale pure oxygen. Caring for them, however, can be a bane to some or most homeowners. Watering is often a hit or miss. Over watering is worse than too little. Excess water that overflows the pan is not only messy but could ruin a good table or floor surface.
Non-draining planters solve the problem, requiring little water - 1/2 to 1 cup of water every 7-10 days for half-gallon pots. What began as a little experiment, plastic candy containers, old flower vases, anything that will hold water fairly safely were used for these projects. But, of course, a little woodworking had to go along since this is a woodworking blog.
Lining the bottom of these repurposed containers with an inch or two of small rocks and pebbles, even marbles, before filling them with potting soil did the trick.
Note roots already spreading along the sides.
The other option is to use the plastic draining planter that comes with a store bought plant, put on top of a non-draining container (in this case, another plastic candy container). If you look closely, roots, after a couple of weeks, had grown downwards to the bottom that serves as water reservoir. In this case, with water at the bottom, the soil needs only to be moistened from time to time.
Same planter above now in a decorative platform, that is the woodworking part.
Below are glass jars used as drainless containers. Note rocks at bottom and some roots showing (top photo).
Below, the glass container was originally a flower vase.
A while back a portable convection broiler stopped working. I threw away the top and kept the tempered glass bottom and made it into a drainless planter.
Photo below was when the initial plant cuttings looked when first planted.
Below is what they look like now.
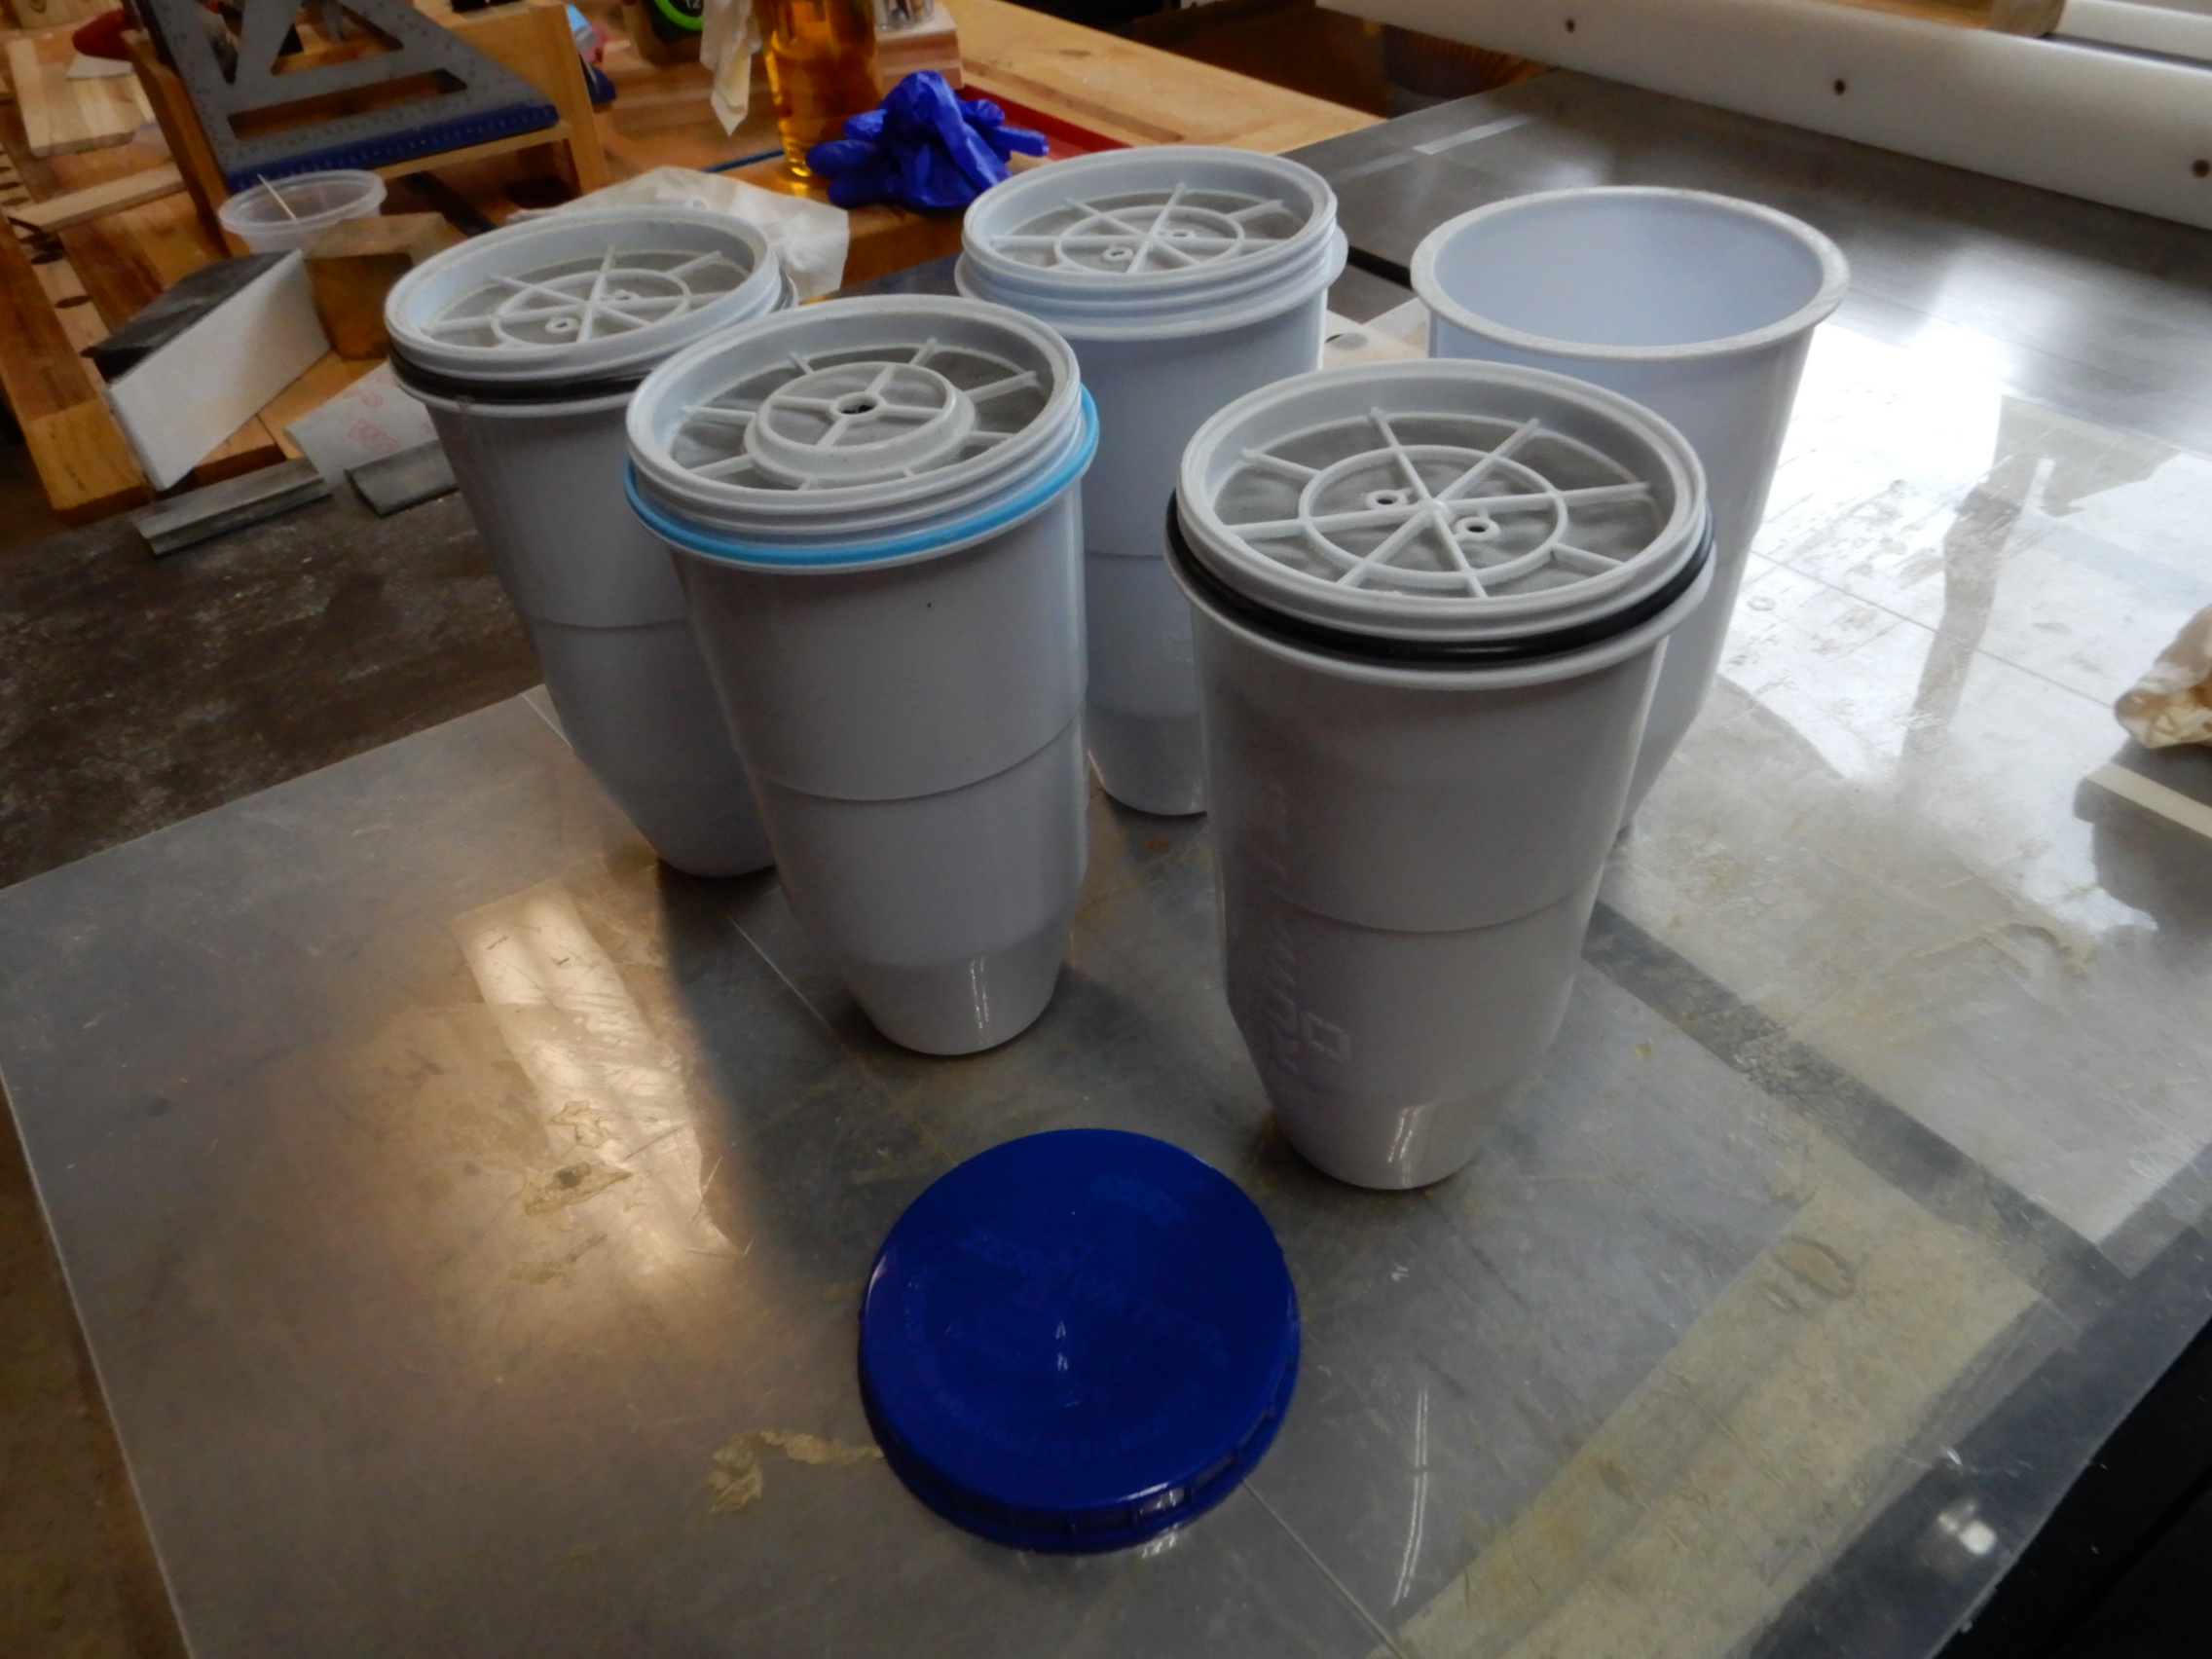
Another household appliance broke down after about several years of use. The cooling and heating housing base of the water filtration appliance was picked up by a recycler. I kept the plastic reservoir with the cylindrical filter elements that look like so below, upside down (for a clearer view). I cleaned out the filtering medium inside the cylinders and re-attached them. They form a water-tight seal and will act as water reservoir for the planter, topside up.

With two holes cut out on top of the pedestal base the planter sits securely. There are four species if houseplants in the container. By now the roots had already found the water reservoir that drains and collects at the filter cylinders below the planter after each capful of watering.


Woodworkers or readers interested to see how this was made, please continue.
Otherwise, some readers, understandably not interested in the woodworking part, may stop reading here and please do find ways to re-purpose some of those plastic or glass vessels no longer serving their original purposes and turn them into a non-draining planter. Imagination is an awesome tool to start with.
So, here's the woodworking part. A friend of mine gave me some old pine planks, complete with worm holes, but they're thick with pleasant grain patterns. After running them through the jointer and planer I ripped them to the desired widths at the table saw.
Miter joints were cut to 45 degrees.Dry fit the corners.
Secure the pieces with masking tape for alignment before the glue up. As can be seen in the next photo this is an excellent technique when gluing up mitered pieces, of any polygon.
Take the time to spread the glue on the end edges of all sides.
Then it is just a matter of "folding" the pieces together. Band clamps are perfect for even pressure on all sides. It will work for hexagons and octagons perfectly, as well.
Splines at the corner are a great way to strengthen the joints. I made a jig for the table saw to cut 1/4 or 3/8 slots for the spline.
1/4 inch splines inserted, glued and clamped to the slots.
Japanese saw made quick work of cutting excess splines from the corners.
Making the cross leg bases and cutting the slots.
The pieces are assembled together without glue, relying only on inter-locking joinery at the base, friction and gravity for stability.
Below: Three non-draining planters that require very little watering every 7-10 days.