Good quality rasps are usually sold bare (no handle). I've also purchased old ones from the flea market and they're also often bare (and rusted, of course). I've restored those and made handles for them. Back then I simply drilled a hole, filled it with a mixture of glue and fine sawdust and insert the rasp handle. I did it differently this time
 |
| This is the finished rasp with handle |
 |
| Even on commercially made handles, the process is the same - holes are drilled and the tool is forced into. Naturally, the handles are reinforced with metal rings to prevent splitting. My version avoids that much stress by the channel method as you will see. |
 |
| I started with a couple of identical work pieces |
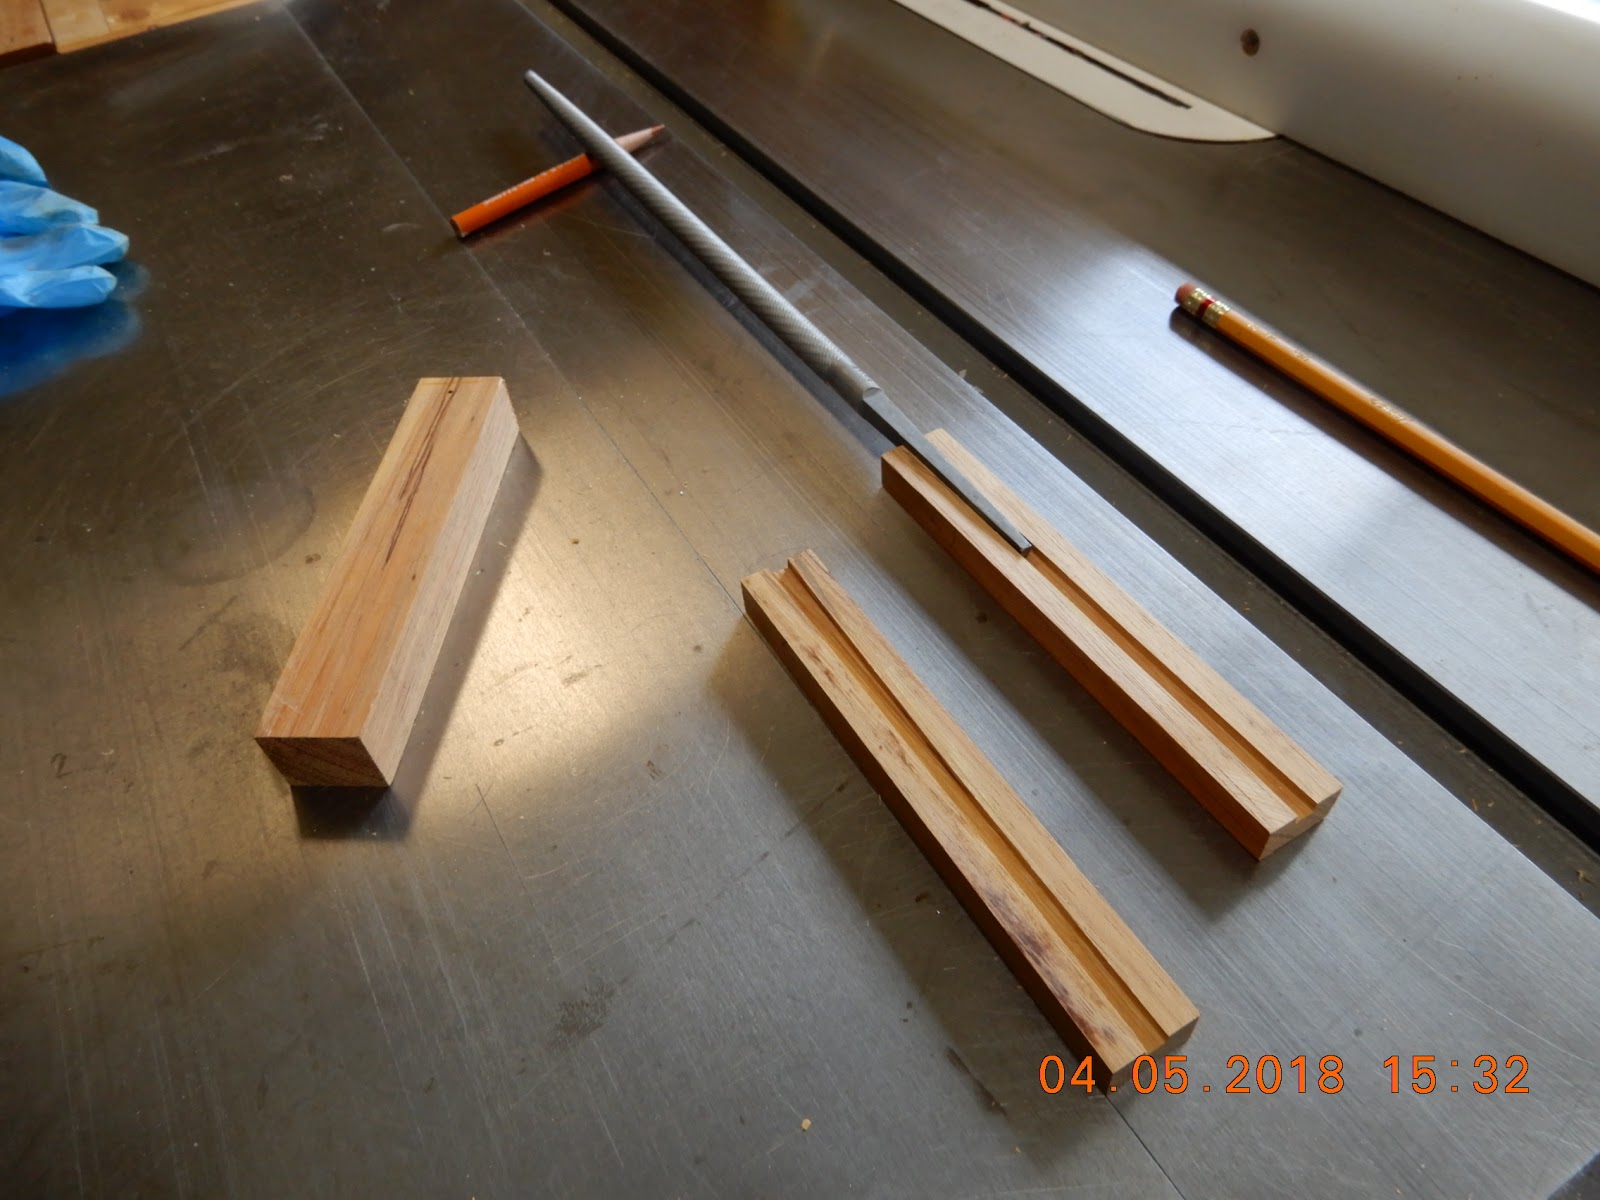 |
| On the table saw I created a channel on each piece, the width being that of the narrowest section of the rasp handle and the depth was half the thickness of the metal handle. |
 |
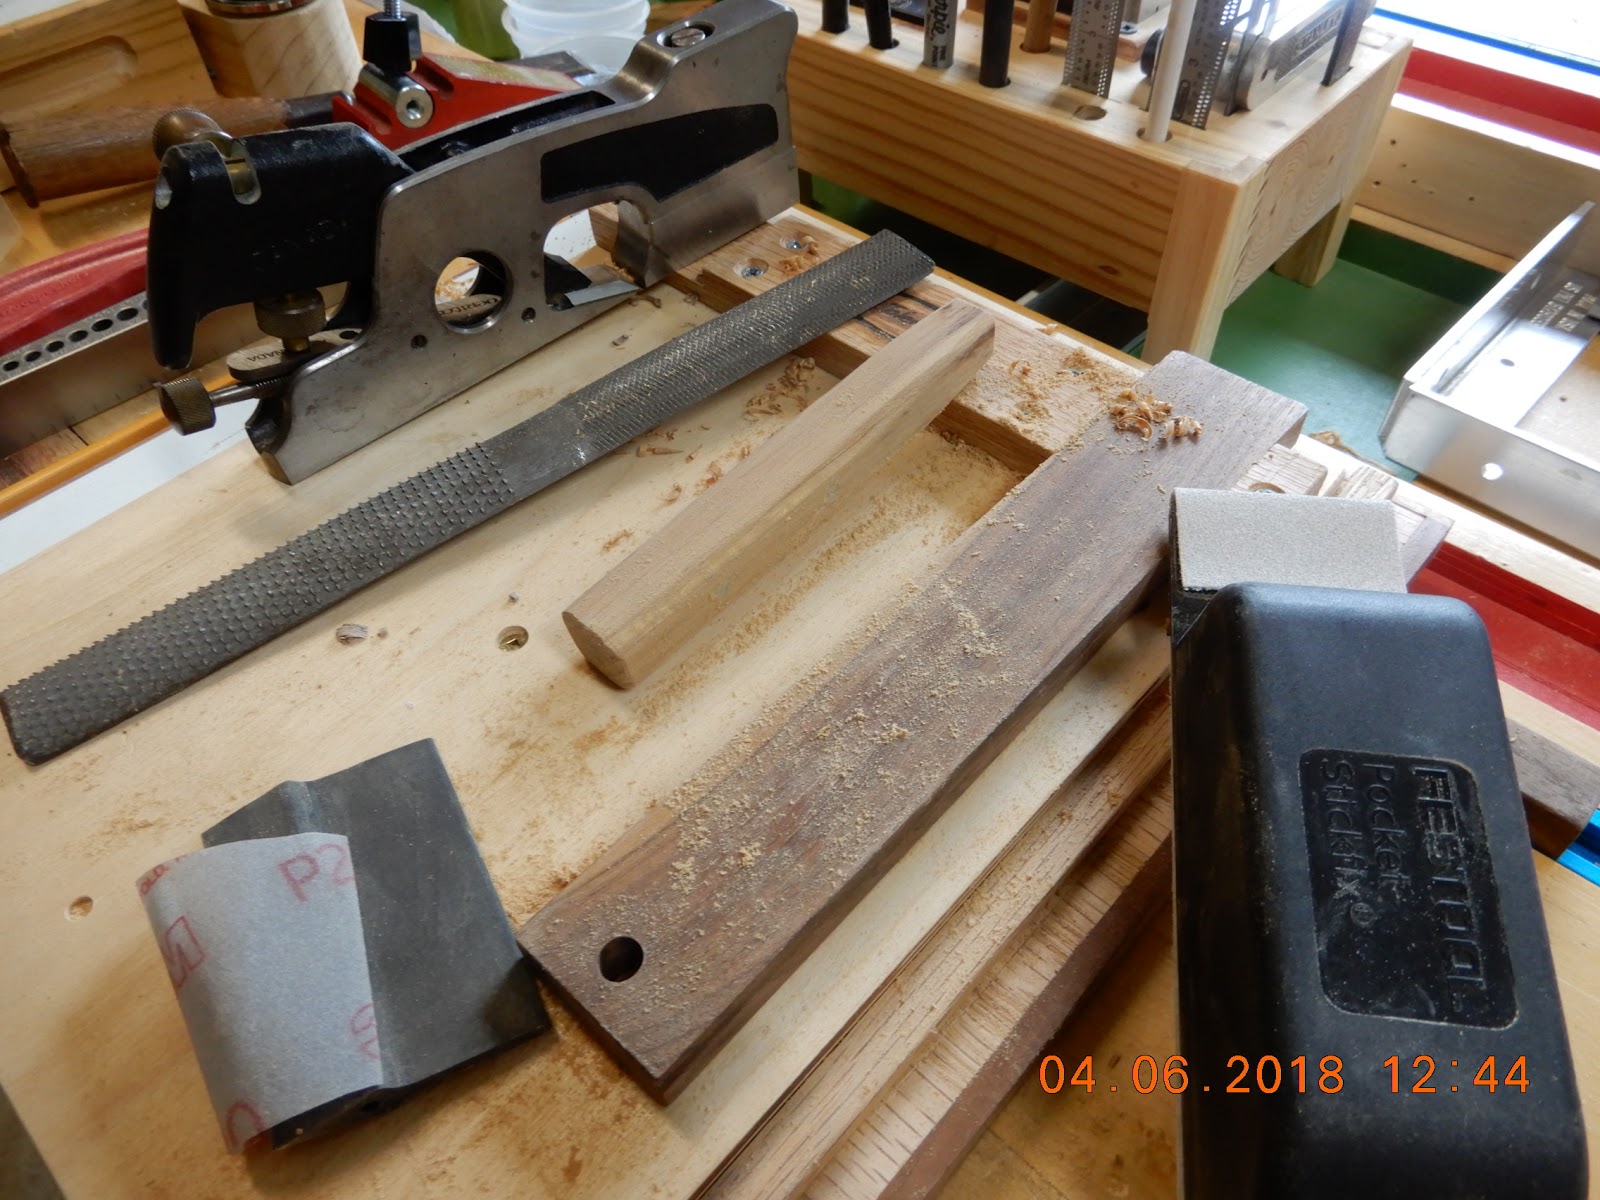
| Using narrow chisels I tapered the channel to conform to the taper on the rasp handle |

 |
| The two pieces were glued, making sure the tapers are on the same end |

 |
| After the glue had dried I drilled two - 3/16 inch holes. I tapped two short 3/16 inch dowels through. |

 |
| With a sharp chisel I tapered a slightly larger piece of walnut to cap the square channel hole at the end |
 |
 |
| After the glued dried I merely cut off the excess |
 |
| I've used this "concoction" before - a putty made by mixing a dab of wood glue with find sanding dust. I tapped the tapered end of the rasp ever so lightly while smearing a section, as shown, with the putty. |

 |
| Once dried the "construction" is finished. The end cap and the now hardened putty will seal off any moisture from entering the interior channel. |

 |
| You know you did a good job of centering the rasp to the handle when it stands upright, like so. |

No comments:
Post a Comment