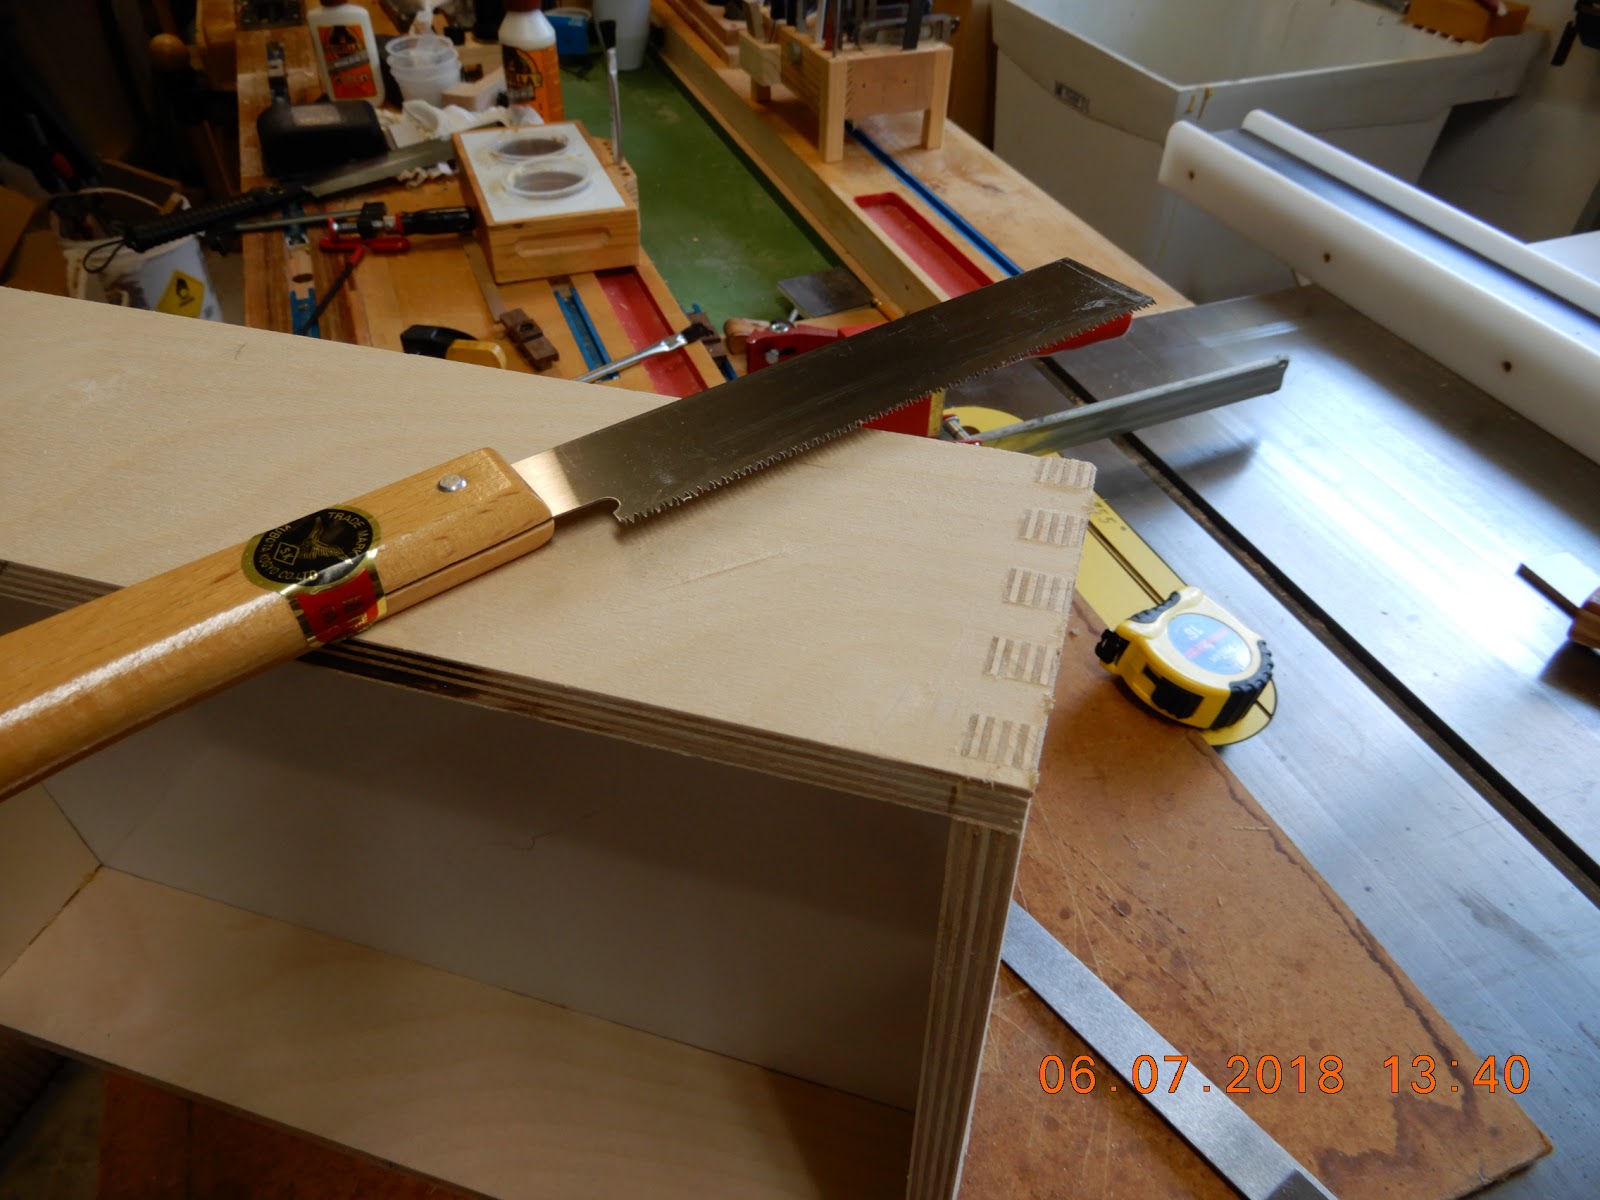
Joinery to make a four-sided box, particularly a drawer box, can be accomplished in so many different ways: from the simple butt joint to dovetails. Finger joints are fairly common in mass produced containers for cigar boxes, confectionery, fragile merchandise, etc. Commercially, automated machines cut the joints at blurring speed. Assembly is equally quick and often partially automated.
 |
| A shop made one is done at a much slower pace; requiring patience and initial trial and error at first but rewarding once properly set up. |
 |
| Box joint jigs are commercially available but a shop made one will be just as precise and repeatably accurate. |
Plans and videos offer many ways to make the jig. I did a version that is a little different, developed it as a protoype and put together almost as I went along. But if I am to make another one, it will be a lot more streamlined, with perhaps less material used but it would still be different from most commercially available or shop-made jigs.
WHAT IS constant and a must is that the "fingers" are created on the table saw and a sled, using the most important component - the KEY block. Without this piece, consistency is not achievable at all. Having said that, craftsmen in the past had done this joinery by hand. That took a lot of skill and years and years of experience. We take our hats off to those craftsmen who toiled for hours to make a few boxes. Today, we're looking at minutes per box, using a jig, with utmost consistency. There is a caveat as you shall see in later captions below in the making of the jig.
A strong box joint must be made to tolerances that are in the thousandths of an inch to be strong and rigid. Impossible? Not only is it possible, a shop made jig will make it so.
 |
| The key - literally speaking - is that piece of wooden block where cut spaces snugly sit as each slot is cut. A table saw sled makes the operation safe and easy as sliding in and out of the cutting blade. |
 |
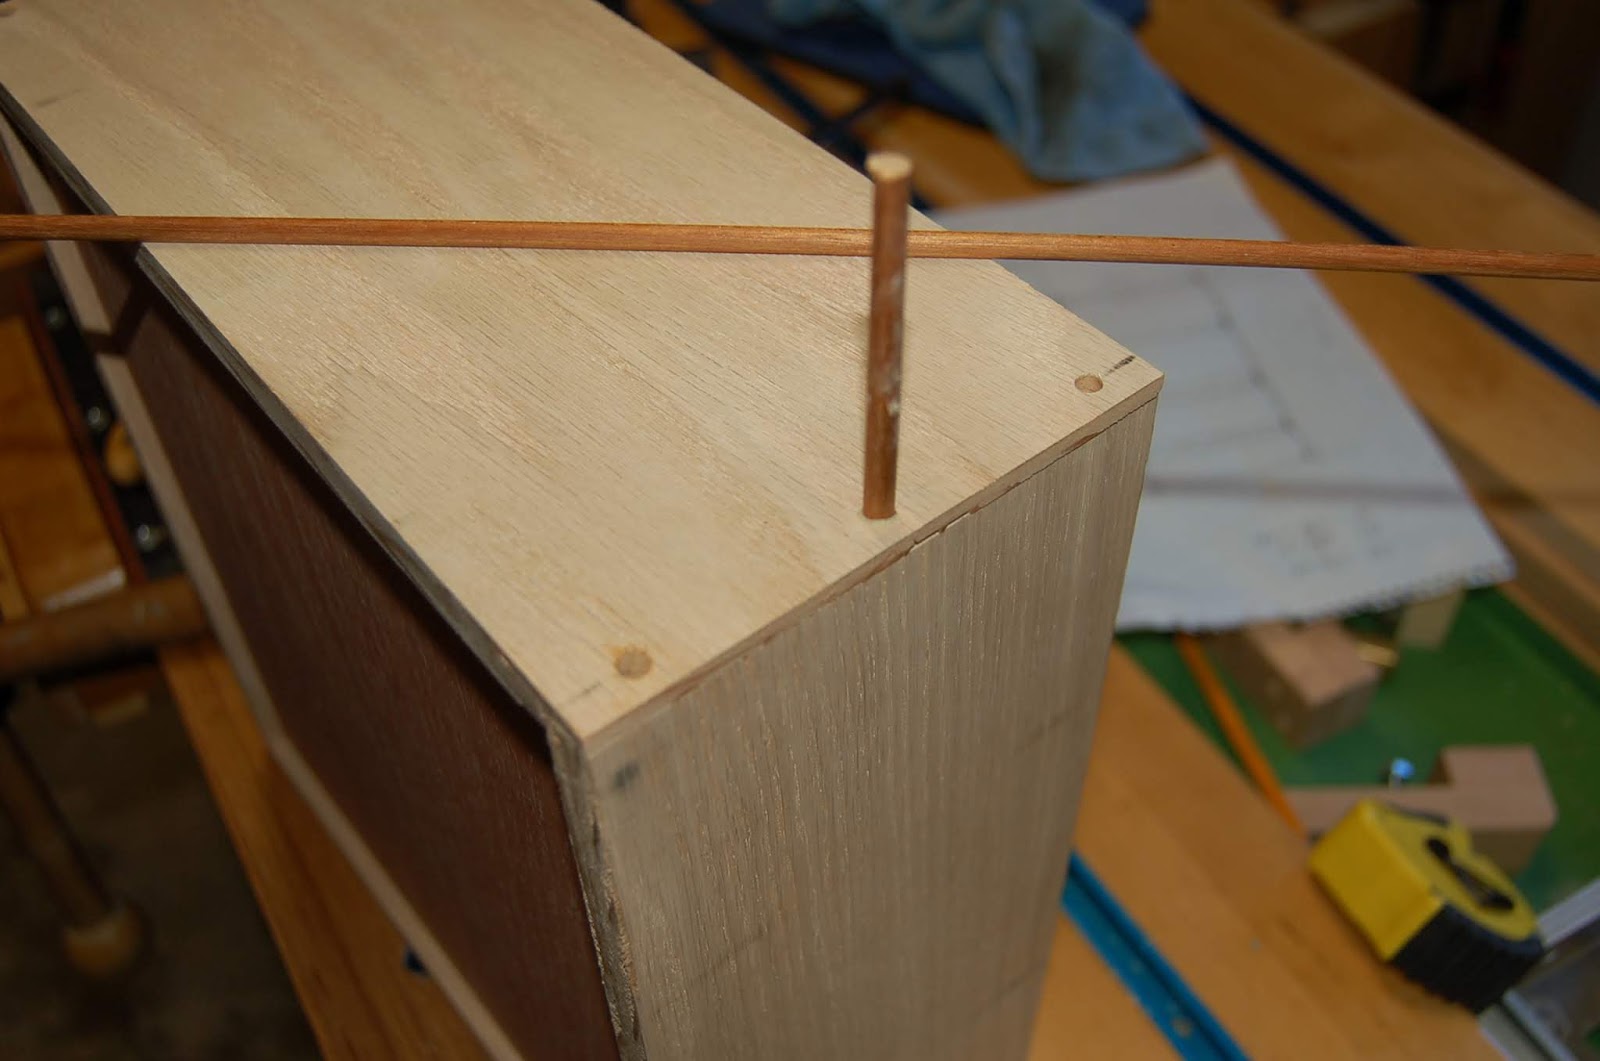
| Once the first side is cut, the mating adjacent side of a drawer box is cut using the first side as spacer first and then the rest of the slots are cut the same way previously. |
 |
| It is rare that the first cut will have a perfect fit. So it is a must to make a couple of test cuts, making adjustments along the way. A feeler gage, such as the one used for automotive spark plugs, is the perfect tool to measure how much to move the key. The feeler gage blades are each with the thickness in thin fractions of an inch. The first cut in this case was too tight so a feeler blade determined how much the gap has to be widened. |
 |
| Using the feeler gage blade to "feel" for the right gap, makes it possible to precisely move the jig, ever so slightly but accurately, to the left or right of the saw blade. |
 |
| A dial indicator provides additional precision measurement as well. This might seem like a lot of work but it does not take much time at all. Once the jig is properly calibrated, cutting all the pieces is as easy as sliding and inserting - with repeatable consistency. |
Making the jig is shown in the following photos.
 |
| The rear protruding part is a safety block to protect the operator's hands when the jig slides back and forth on the table. |
 |
| The stop block shown with a block knob is an additional safety feature. It stops the sled from exceeding the forward movement so the blade is not exposed to the rear of the jig. |
I've tried a variety of drawer construction in the past. They all served well, some easier than others but just as effective.
A box joint is an attractive and very strong option for making boxes or drawers. The best video I've seen on box joints is that of William Ng on youtube, for those interested to watch a video version. It is what inspired me to make the jig.


No comments:
Post a Comment