Welcome to Woodworks Made Easy

Practice any art, however well or badly, not to get money and fame, but to find out what's inside you.
--- Kurt Vonnegut

Pictures are meant to be self explanatory, and for visual clarity you may
click on each photo to enlarge. For older projects see Blog Archive. I don't specialize on a particular genre so there is quite a variety of projects for a number of different interests.

Even if you are not a woodworker but you like some or all of the projects, have your local crafts person make them for you from the ideas and photos you see here. For a particular project just click the specific title on the Blog Archive list (right side column below).

For anyone willing to learn or begin to do woodworking for the first time, please read first from the Blog Archive, "How and Where to Begin a Woodworking Hobby.

And it is not for men only. Read my note on "Women in Woodworking" from Blog Archive, April 2010.


click on each photo to enlarge


Friday, April 13, 2018

Let there be more LED Light

LED lights for the home are the way to go, I am convinced without reservation. Furthermore, manufacturers are giving us models and configurations to fit our needs.  More importantly, energy consumption are so much less for far greater lighting advantages. Just think about replacing three standard 4 ft. fluorescent tubes rated at 40 watts each and replacing them with three LED tubes, also 4 ft long, that consume a mere 18 watts per, yet giving off brighter lights.

The above ceiling light fixture over the kitchen island is 16 feet from the floor. I've replaced the tubes four times since 2005. It has come to  a point now that hoisting up the ladder on the island is not such a good idea anymore. Even if I hire an electrician, he will have to do the same thing. I decided to have 4 ft LED lamps placed over the cabinets as indirect lighting. It's a lot safer and I have no qualms going up  just few rungs on a ladder.


The LED tubes do not require capacitors and the wiring is ten fold simpler. In fact, only one end will have live power. It is called single ended for this particular installation but I have also used double ended ones when I replaced existing light fixtures in my workshop, walk-in closet and utility room. The difference is spectacularly brilliant.
The tubes that remain cool to the touch will not shatter or crack and if they do there will be no harmful vapor to escape.

It was going to be a woodworking project.


In a single ended installation only one end has live wiring. This end does not.

This is the powered end.


I ordered three light controllers with one remote. This allows for options to turn one, two or all lights remotely. 


The next two photos are where I used double ended tubes to replace the closet lights, the utility area and my workshop.

Replacing existing lamps is very easy - just follow the clear instructions on wiring connections

I removed the ballast first then connected the wires per the instruction, which is very straight forward.


Saturday, April 7, 2018

Making a Handle for a Rasp (File)

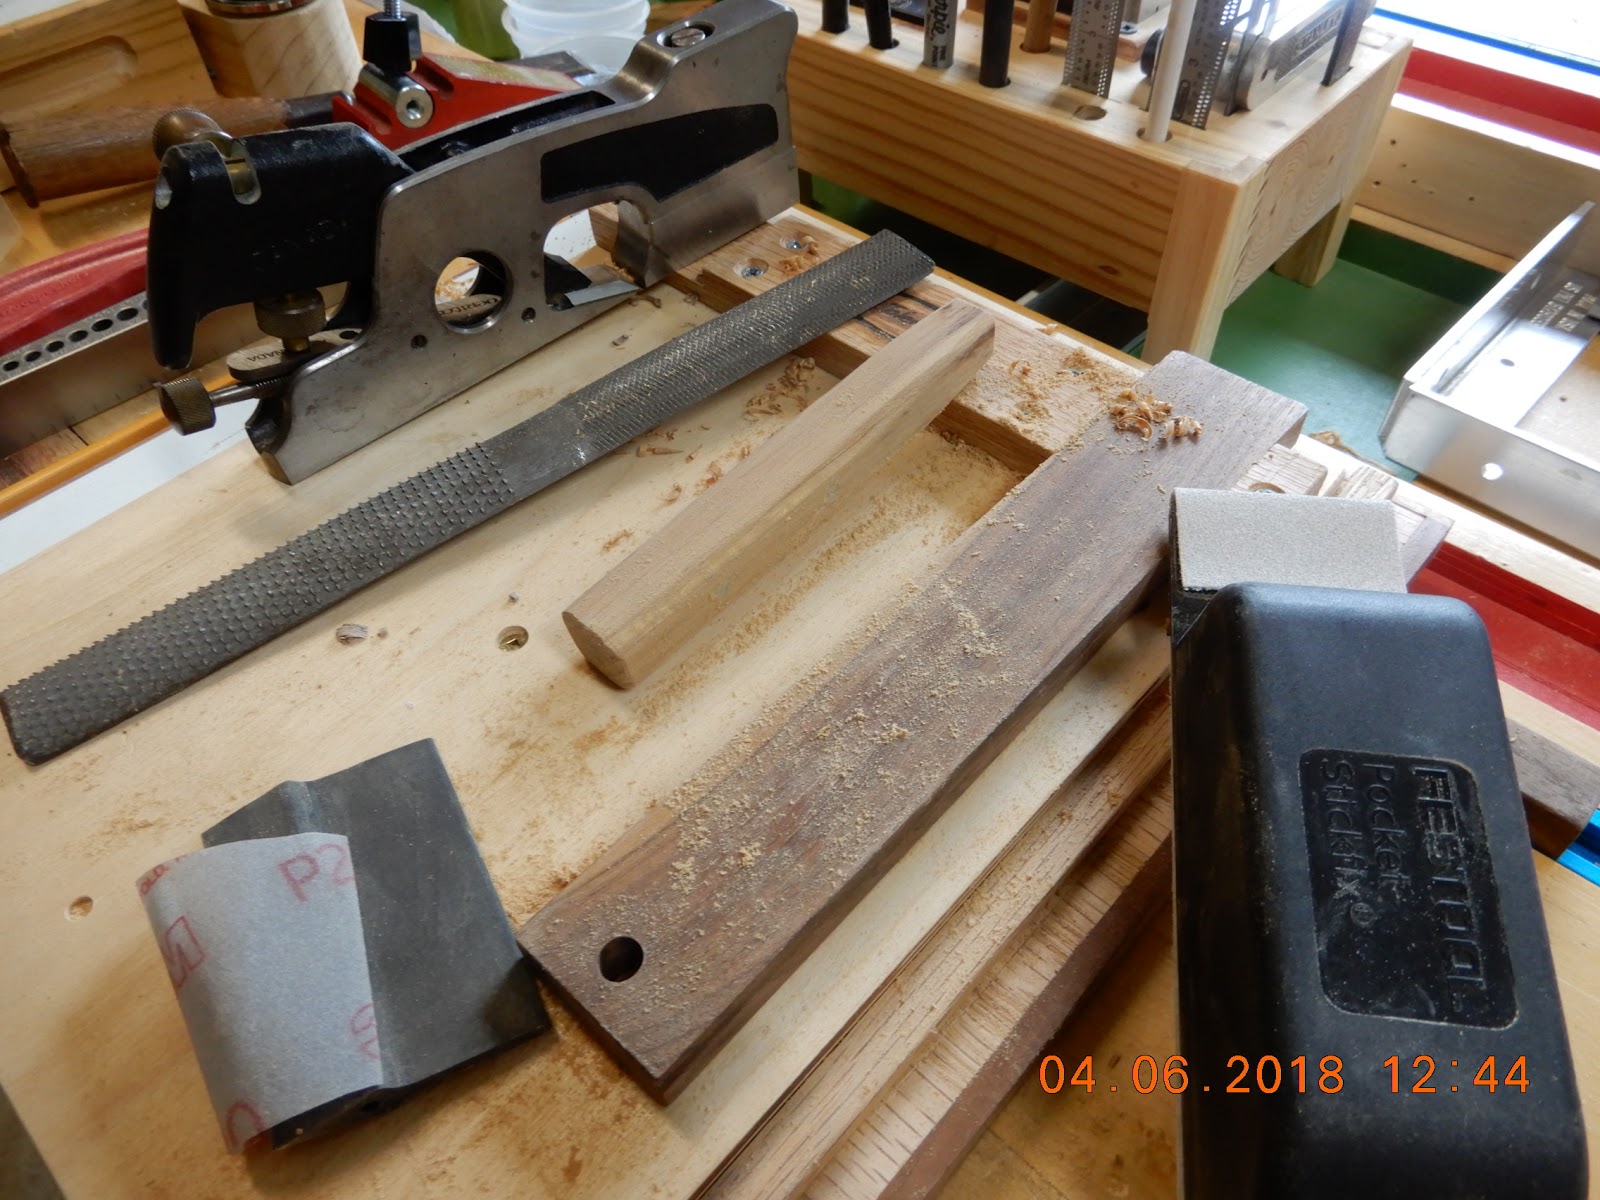
Good quality rasps are usually sold bare (no handle). I've also purchased old ones from the flea market and they're also often bare (and rusted, of course). I've restored those and made handles for them. Back then I simply drilled a hole, filled it with a mixture of glue and fine sawdust and insert the rasp handle. I did it differently this time

This is the finished rasp with handle
Even on commercially made handles, the process is the same - holes are drilled and the tool is forced into.  Naturally, the handles are reinforced with metal rings to prevent splitting. My version avoids that much stress by the channel method as you will see. 


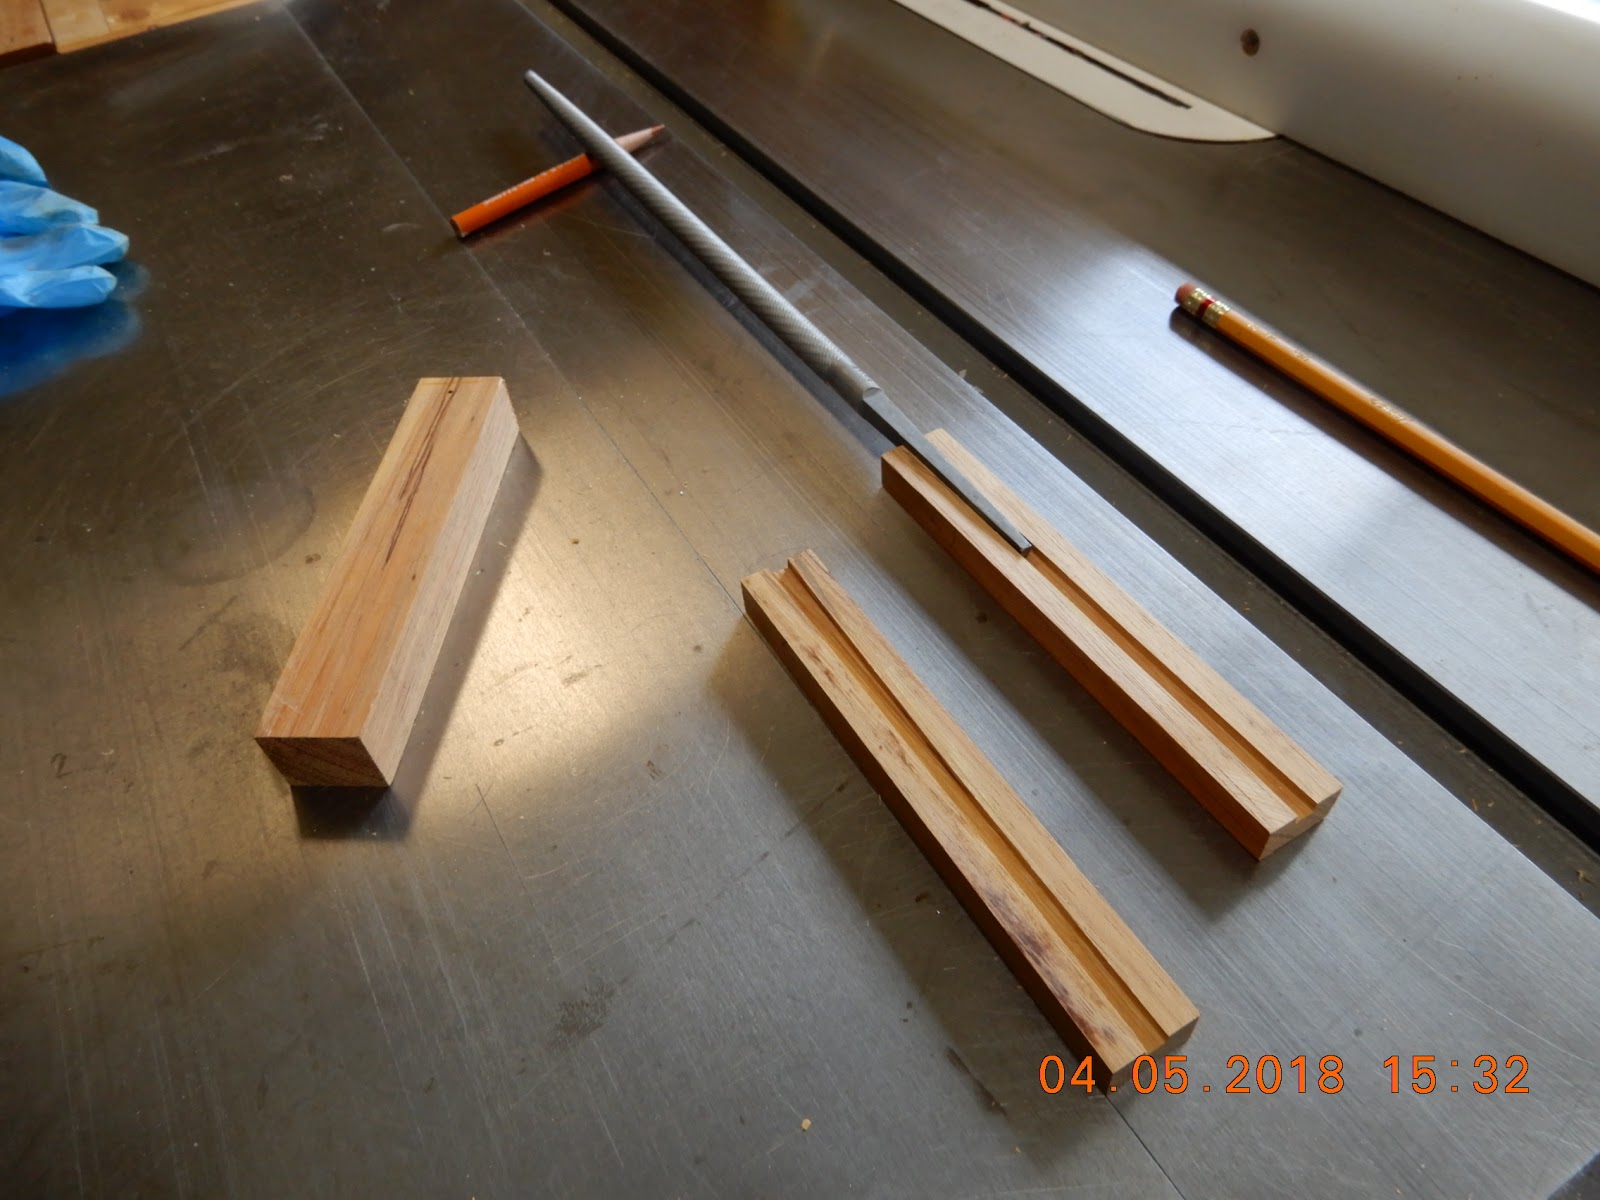
I started with a couple of identical work pieces

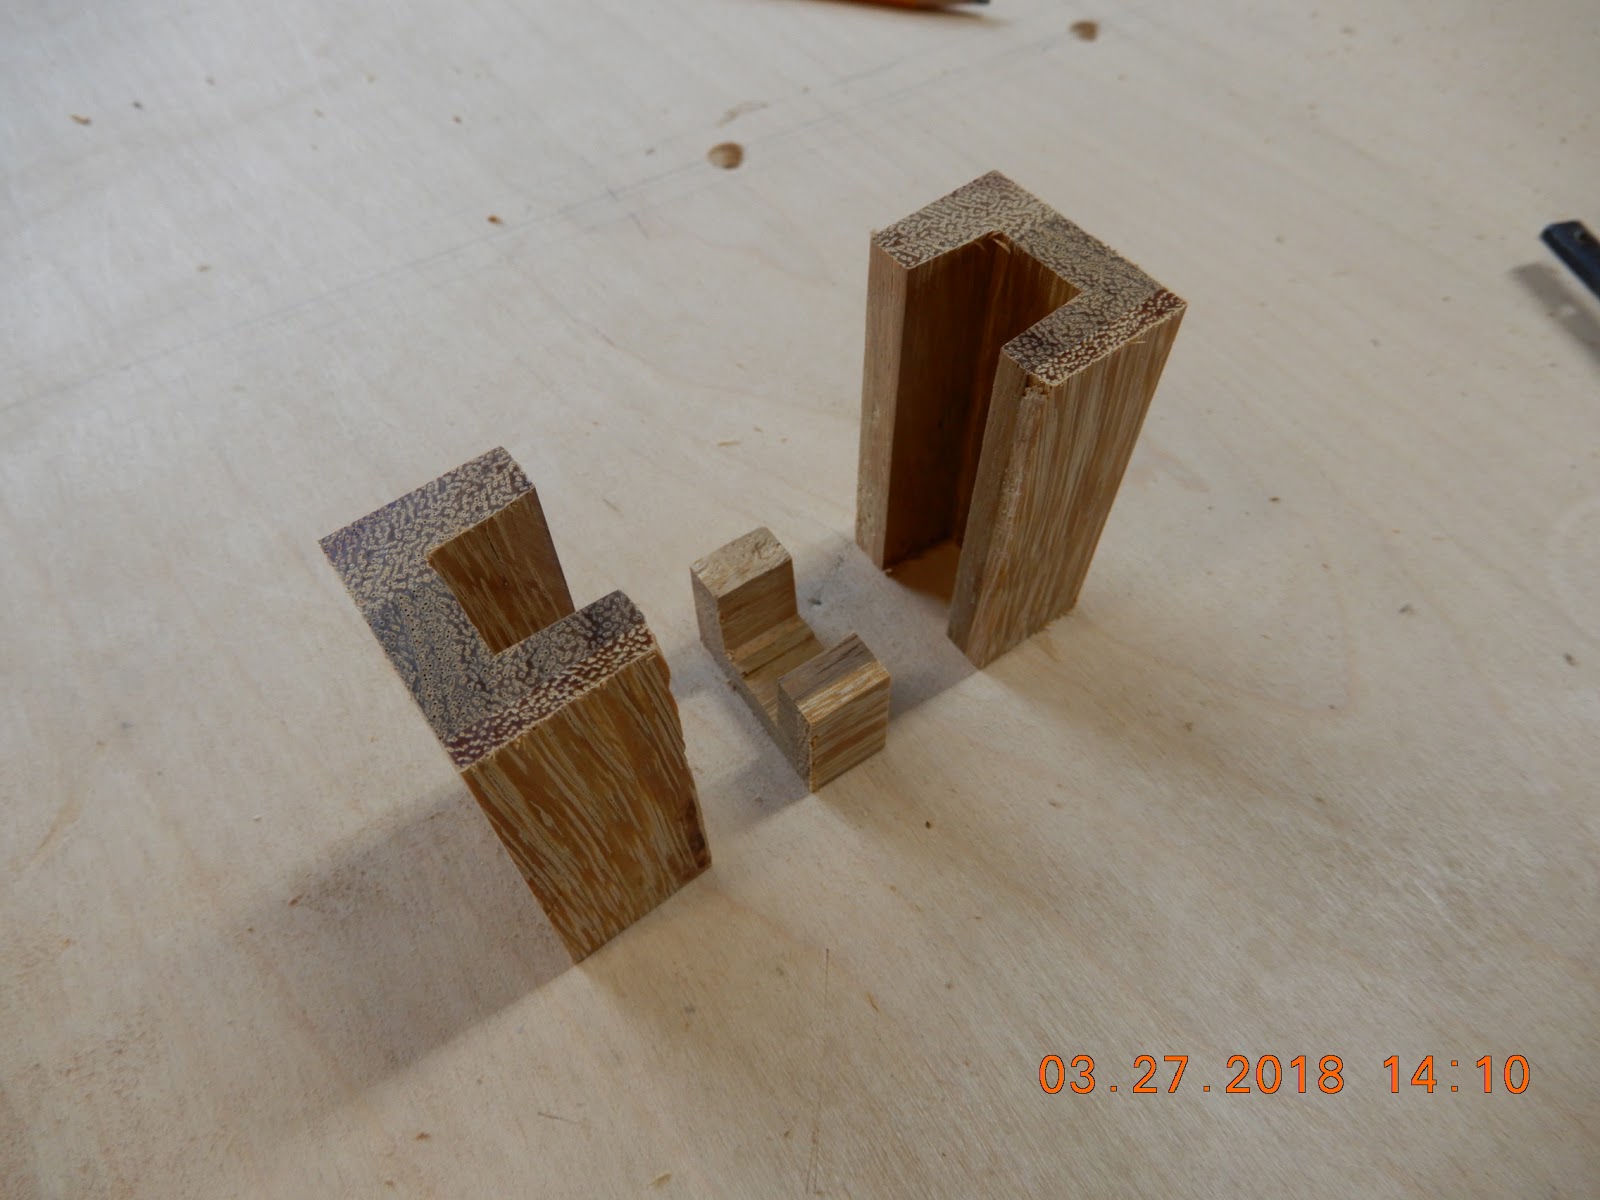
On the table saw I created a channel on each piece, the width being that of the narrowest section of the rasp handle and the depth was half the thickness of the metal handle.

Using narrow chisels I tapered the channel to conform to the taper on the rasp handle


The two pieces were glued, making sure the tapers are on the same end


After the glue had dried I drilled two - 3/16 inch holes. I tapped two short 3/16 inch dowels through.

With a sharp chisel I tapered a slightly larger piece of walnut to cap the square channel hole at the end


After the glued dried I merely cut off the excess

Let me back up to how the rasp was inserted into the handle; see next photos. 


I've used this "concoction" before - a putty made by mixing a dab of wood glue with find sanding dust. I tapped the tapered end of the rasp ever so lightly while smearing a section, as shown, with the putty.


Once dried the "construction" is finished. The end cap and the now hardened putty will seal off any moisture from entering the interior channel.


You know you did a good job of centering the rasp to the handle when it stands upright, like so. 

Thursday, April 5, 2018

More Micro Projects fob (Car remote) and Wallet Cradle

I throw away a lot of scrap wood except for a binful of hardwoods. From time to time when inspiration strikes I would dig a handful from there and do a micro project. In woodworking micro projects, on a per pound or per volume basis, do demand an inordinate amount of patience and attention to detail compared to the bigger projects. Most importantly, it is the small projects where safety is big. Handling (securing) the small pieces when using power tools do require more of the woodworker's attention and experience. 

From the perspective of utility or the presence of alternatives to these particular small projects, I must admit and agree with those who will say or think the obvious, that these belong to the category of overkill. As you will see, a saucer, an empty box, a plastic receptacle, even coffee mugs, etc. will do what these projects were made for. 

What is undeniable is that a little organization at home is a good thing. More than once I had driven away without my wallet (and driver's licence). Forgetting to have my mobile phone, while not too crucial, is not an uncommon occurrence.  I had driven once quite a ways only to come back home and realize I did not have my wallet, hence having driven without a license.  So, these little projects are visual aids that will locate the three items I need to have before heading out the back door/garage - a live 3-D visual checklist all in one place. No more, "Where are my keys, my phone, my wallet?"

This is too much, one might say, but it works for me. My wife says, her purse takes care of all these ... well, to each his or her own.

I won't fib about missing the fob every once in a while'


Creating  the channel on a piece of scrap hardwood.

Checking to make sure the measurements were correct.
Three parts from that one single piece


One single screw and a dab of glue are good enough for this joinery


One down, one more to go (next photos)

This scrap was a flooring cut off a friend gave me a while back.


A digital angle gauge makes for an accurate positioning of the saw blade.

This sled I made several years ago is one of the most useful jigs that continue to do its job.

I will not venture to cut small work pieces without this sled.


The scraper I bought for $5 ($40 brand new) at the flea market still does the job it was intended to do and well.

The table saw sled cutting a short work piece safely

Only way I'd do this operation safely with the router bit spinning at 16000 RPM. Work piece is clamped to another shop made pushing sled


Note: the square fixture where the work piece sits is shop made but worth every square inch when handling small pieces.

Screws from the bottom will not be visible from the top.


A small table by the back door is the permanent spot for these three. However, like I said, there are countless ways to organize them. A bowl, a cigar box, anything to hold these items will do - a woodworker is merely looking for a reason to cut, glue, sand and finish because he or she can. 


These micro projects are big at keeping things in their places and making them easy to find. I wish I can have everything this well organized but the truth is I have barely began to scratch the surface, but it is a start. Trust me, I am constantly fighting disorganization but dealing with chaos is the bane of every woodworker. The byproducts of woodworking are scrap wood, sawdust (including sanding dust) and completed projects; or some not so successfully done (which adds more to the scrap heap). Saw dust goes to the compost heap, I throw away most scrap wood but if I must keep some I need to do something with them; otherwise, what is the point.