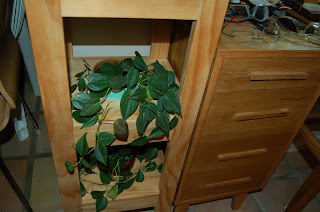
From the blog archive you will find, "Quick Projects with Fewest Tools", were pocket holes were used exclusively to join the parts of this stand but it was not quite finished. For an explanation this blog finishes the project after two years.
 |
| Two years ago I did the above project with pocket hole joinery with the intention of adding a removable shelf half way down supported by the middle rails. I did not get around to doing it although later on another project I did construct a couple of middle shelves with center holes to accommodate non-draining pots for plants (see next two photos below). |
 |
| The shelves were notched to fit perfectly with all the four corners where the legs extend downwards from top to bottom. |
Creating the notches on the shelf to get around the four legs is typically done one particular way. Cut the shelf to its rectangular dimension and then with a two-cut operation at the table saw all four notches are created. The problem with that method is cutting the notches with the work piece vertically on its edge along the table saw. Most woodworkers are not comfortable doing that. There is another way.
 |
| Preparing the stock by joining a few scrap pieces of pine. |
 |
| Cut the board to the dimension to fit accurately within one inside width. |
 |
| One width of the board fits within two opposing legs as shown. Cut one piece that fits along the rail as shown and another one for the opposite side |
 |
| Note the exposed rail in this photo. A piece cut to that dimension will cover it up and once glued (next photo) to the board, a perfect notch is created. |


No comments:
Post a Comment